Intake manifold — removal and installation
Warning: Gasoline is extremely flammable, so take extra precautions when you work on any part of the fuel system. Don’t smoke or allow open flames or bare light bulbs near the work area, and don’t work in a garage where a gas-type appliance (such as a water heater or clothes dryer) is present. If you spill any fuel on your skin, rinse it off immediately with soap and water. When you perform any kind of work on the fuel system, wear safety glasses and have a Class B type fire extinguisher on hand.
Warning: Wait until the engine is completely cool before beginning this procedure.
Removal
1. Relieve the fuel system pressure (see Fuel and exhaust systems), then disconnect the cable from the negative terminal of the battery (see Engine electrical systems).
2. Remove the intake air duct and air filter housing (see Fuel and exhaust systems).
3. Clearly label and detach any vacuum lines and electrical connectors which will interfere with removal of the manifold.
4. Disconnect the electrical connectors from the throttle body.
5. Clamp off and disconnect the coolant hoses at the throttle body.
6. Disconnect the fuel feed line at the fuel rail (see Fuel and exhaust systems).
7. Raise the vehicle and support it securely on jack stands.
8. Remove the lower splash shields.
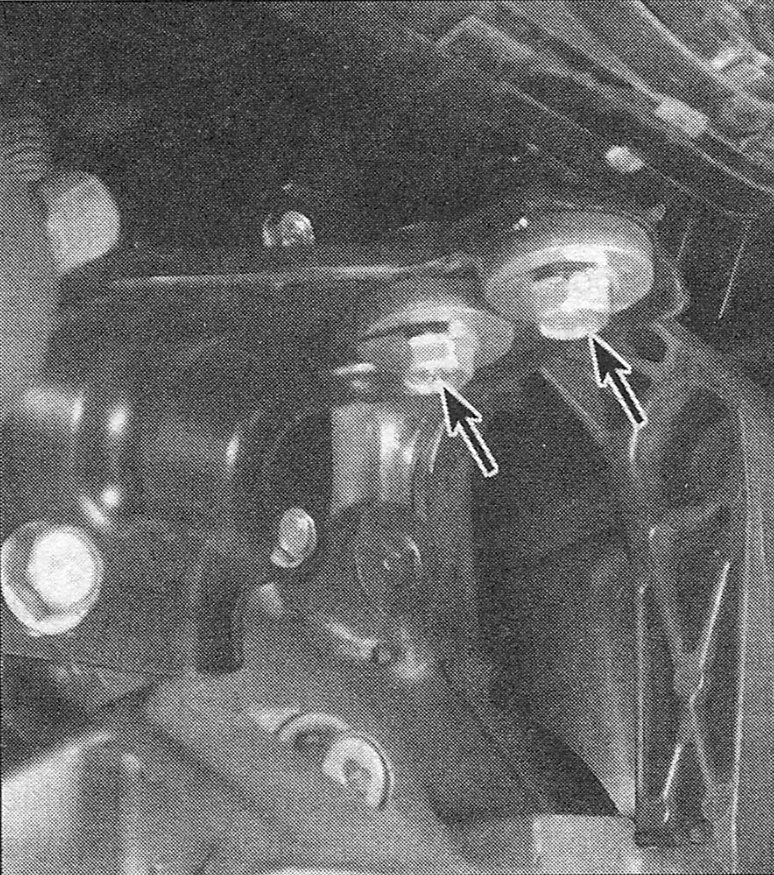
9. Working from underneath the engine compartment, remove the intake manifold (see illustration) support bracket.
i.9 Remove the intake manifold support bracket bolts
10. Disconnect the heater hoses from the intake manifold bracket.
11. Remove the intake manifold nuts and bolts and remove the manifold from the cylinder head.
12. Remove the intake manifold gaskets from the cylinder head.
Installation
13. Check the mating surfaces of the manifold for flatness with a precision straightedge and feeler gauges.
14. Inspect the manifold for cracks and distortion. If the manifold is cracked or warped, replace it or see if it can be resurfaced at an automotive machine shop.
15. Check carefully for any stripped or broken intake manifold bolts/studs. Replace any defective fasteners with new parts.
16. Remove all traces of old gasket material from the cylinder head and manifold mating surfaces.
17. Install the intake manifold with new gaskets, then install the fasteners and tighten them to the torque listed in this Chapter’s Specifications.
18. Reconnect the battery (see Engine electrical systems).
19. The remainder of installation is the reverse of removal. Refer to Chapter Tune-up and routine maintenance and check the coolant level, adding as necessary.