Oil pump — removal, inspection and installation
Removal
Note: The oil pump housing mounts directly to the front of the balance shaft housing.
1. Set the engine to TDC no the compression stroke for cylinder number 1 (see Top Dead Center (TDC) for number one piston — locating).
2. Remove the oil pan (see Oil pan — removal and installation).
3. Remove the balance shaft assembly (see Balance shaft assembly and balance shafts — removal, inspection and installation).
4. Remove the oil pump housing mountingbolts. Loosen the oil pump mounting bolts one turn. Then, gradually and evenly, loosen each bolt in several steps.
5. When all bolts are loose, remove thebolts and oil pump.
Inspection
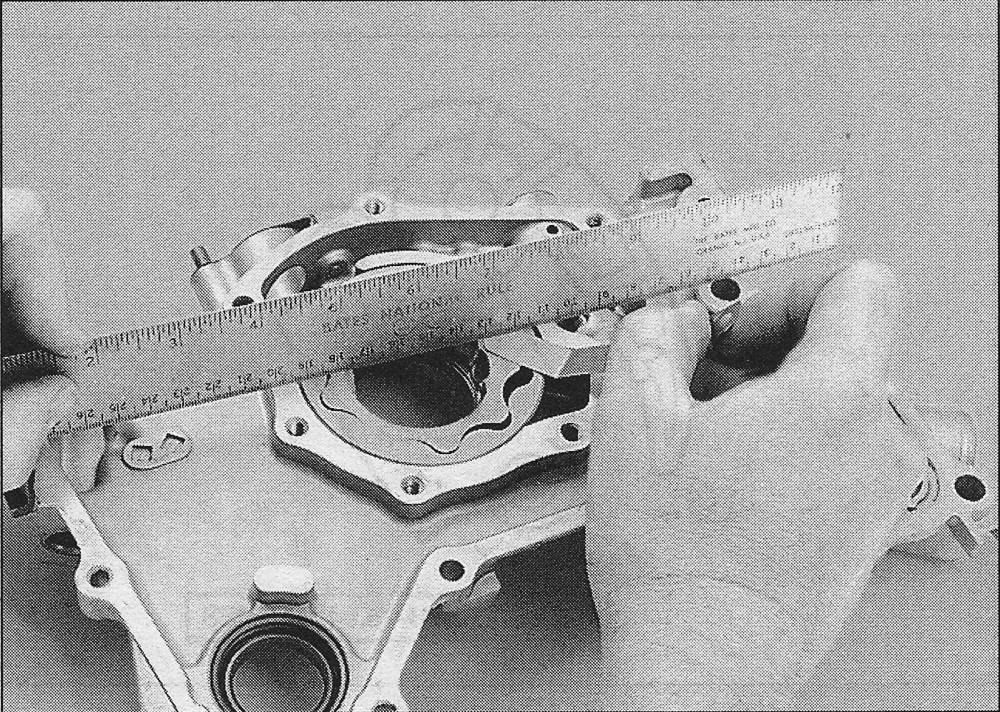
6. Check the oil pump rotor-to-housingclearance, tooth tip clearance and rotor-tobody clearance (see illustrations). Compare your measurements to the figures listed in this Chapter’s Specifications. Replace the pump if any of the measurements exceed the specified limits.
i.6a Use a feeler gauge and straight-edge to check the clearance between the rotors and the housing (typical)
i.6b Use a feeler gauge to check the tooth-tip clearance between the inner and outer rotors (typical)
i.6c Use a feeler gauge to check the outer rotor-to-pump body clearance (typical)
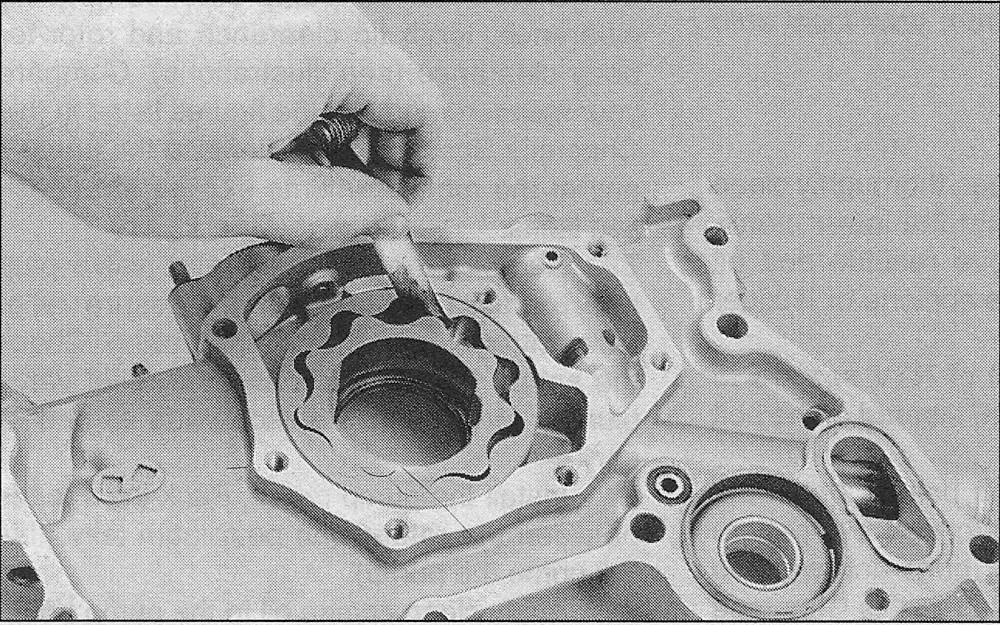
7. Remove the pressure relief valve plugand extract the spring and pressure relief valve plunger from the pump housing. Check the spring for distortion and the relief valve plunger for scoring. Replace parts as necessary.
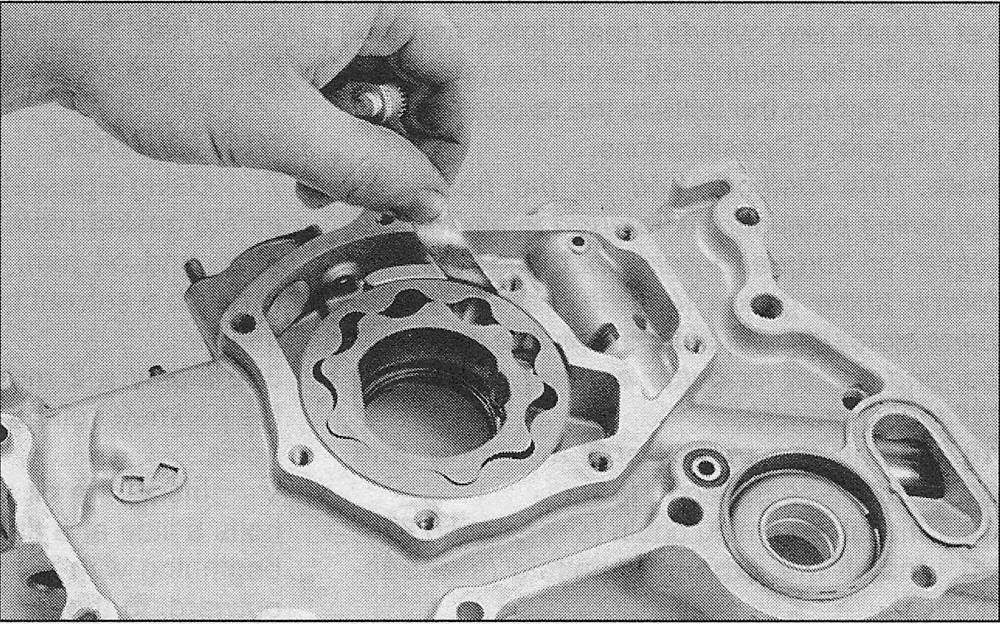
8. Install the pump rotors. Pack the spacesbetween the rotors with petroleum jelly (this will prime the pump).
9. Apply clean engine oil to the pump housing bolts, install the housing and tighten the
bolts to the torque listed in this Chapter’s Specifications. Install the oil pressure relief valve and spring assembly. Use a new sealing washer on the plug and tighten the plug to the torque listed in this Chapter’s Specifications.
Installation
10. Install the oil pump housing bolts and tighten by hand until snug. Tighten the bolts gradually and evenly to the torque listed in this Chapter’s Specifications.
11. Make sure the engine is still set to TDC compression for cylinder number 1 (see Top Dead Center (TDC) for number one piston — locating).
12. Install the balance shaft assembly (see Balance shaft assembly and balance shafts — removal, inspection and installation).
13. Refer to Tune-up and routine maintenance and fill the engine with oil. Install a new oil filter.
14. Reconnect the battery (see Engine electrical systems).
15. Run the engine and make sure oil pressure comes up to normal quickly. If it doesn’t, stop the engine and find out the cause. Severe engine damage can result from running an engine with insufficient oil pressure!