Radiator — removal and installation
Warning: Wait until the engine is completely cool before beginning this procedure.
Removal
1. Disconnect the cable from the negativebattery terminal (see Engine electrical systems).
2. Raise the front of the vehicle and sup-port it securely on jack stands, then remove the under-vehicle splash shield (see Oil pan — removal and installation, illustrations 3a and 3b).
3. Drain the cooling system (see Tune-up and routine maintenance). If the coolant is relatively new or in good condition, save it and reuse it.
4. Remove the engine cooling fans (see Engine cooling fans — replacement).
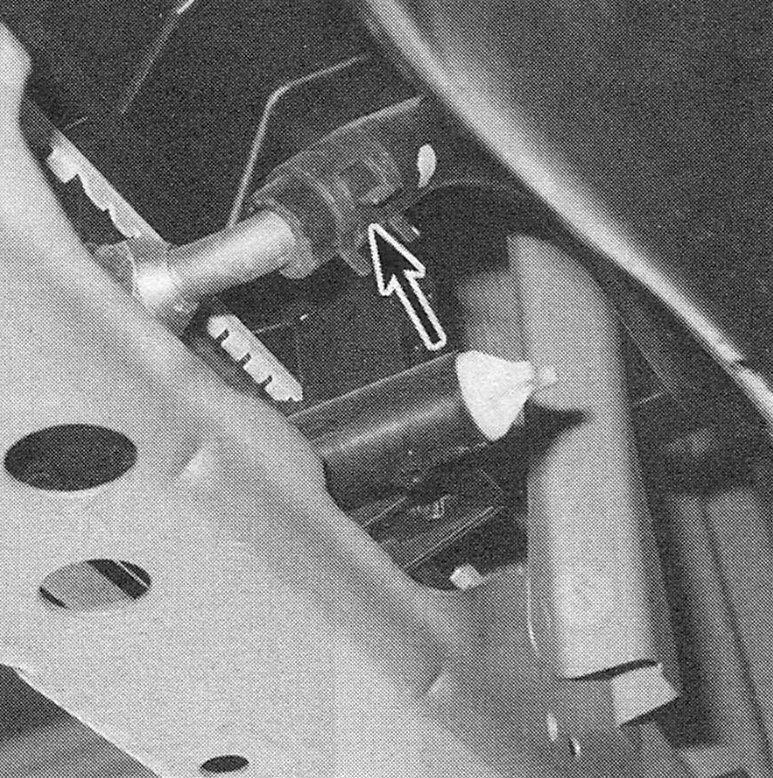
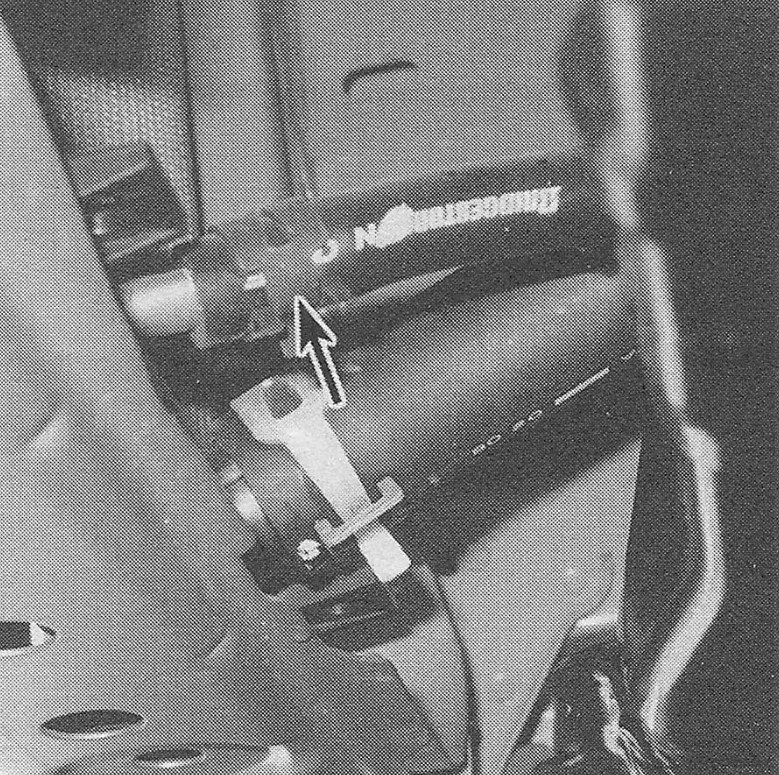
5. On automatic transaxle models, disconnect the transaxle fluid cooler lines from the bottom of the radiator (see illustrations).
i.5a Location of the transaxle coolinghose on the right side of the radiator …
i.5b … and the left side of the radiator
6. Remove the radiator brackets (see illustration 5.10).
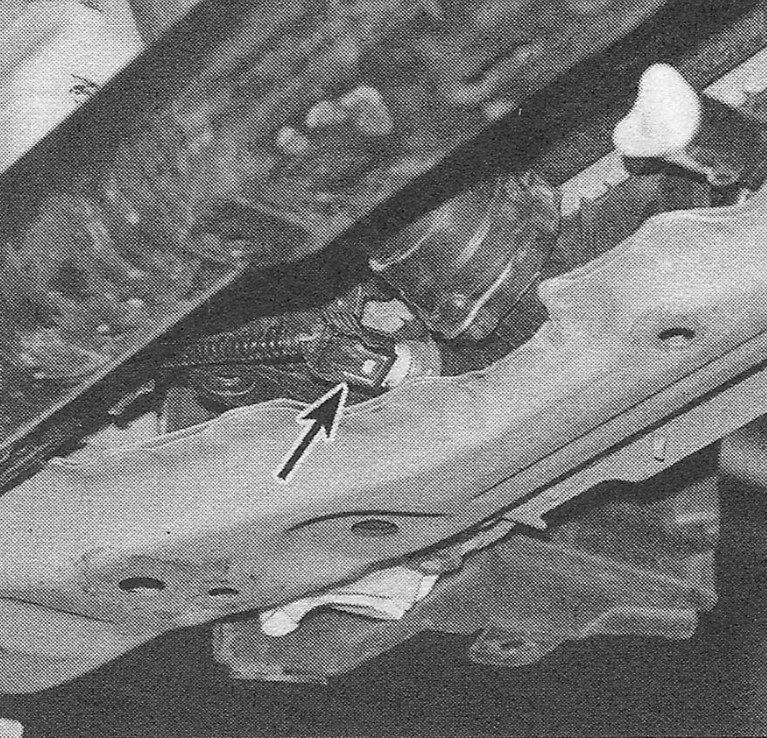
7. Disconnect the electrical connector tothe #2 ECT sensor (see illustration).
i.7 Number 2 ECT sensor location — 1.8Lshown, 2.4L similar
8. Carefully lift out the radiator. Don’t spillcoolant on the vehicle or scratch the paint.
9. Inspect the radiator for leaks and damage. If it needs repair, have a radiator shop or dealer service department perform the work as special techniques are required.
10. Bugs and dirt can be removed from the radiator by spraying with a garden hose nozzle from the back side. The radiator should be flushed out with a garden hose before reinstallation.
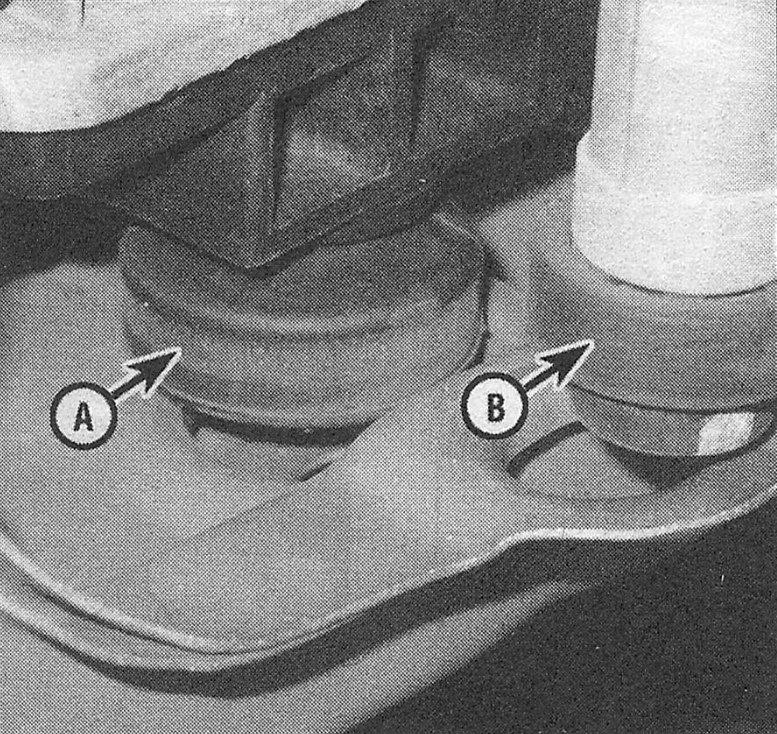
11. Check the radiator mounts (see illustration) for deterioration and replace if necessary.
i.11 Location of the radiator (A) and the condenser (B) rubber mounts
Installation
12. Installation is the reverse of the removal procedure. Guide the radiator into the mounts until they seat properly.
13. After installation, fill the cooling system with the proper mixture of antifreeze and water (see Tune-up and routine maintenance).
14. Reconnect the battery (see Engine electrical systems).
15. Start the engine and check for leaks. Allow the engine to reach normal operating temperature, indicated by the upper radiator hosebecoming hot. Recheck the coolant level and add more if required.
16. Check and add transaxle fluid as needed.