Fuel rail and injectors — removal and installation
Warning: Gasoline is extremely flammable, so take extra precautions when you work on any part of the fuel system. See the Fuel system warnings in Fuel and exhaust systems.
Fuel rail
1. Relieve the system fuel pressure (see Fuel pressure relief procedure), then disconnect the cable from the negative battery terminal (see Engine electrical systems).
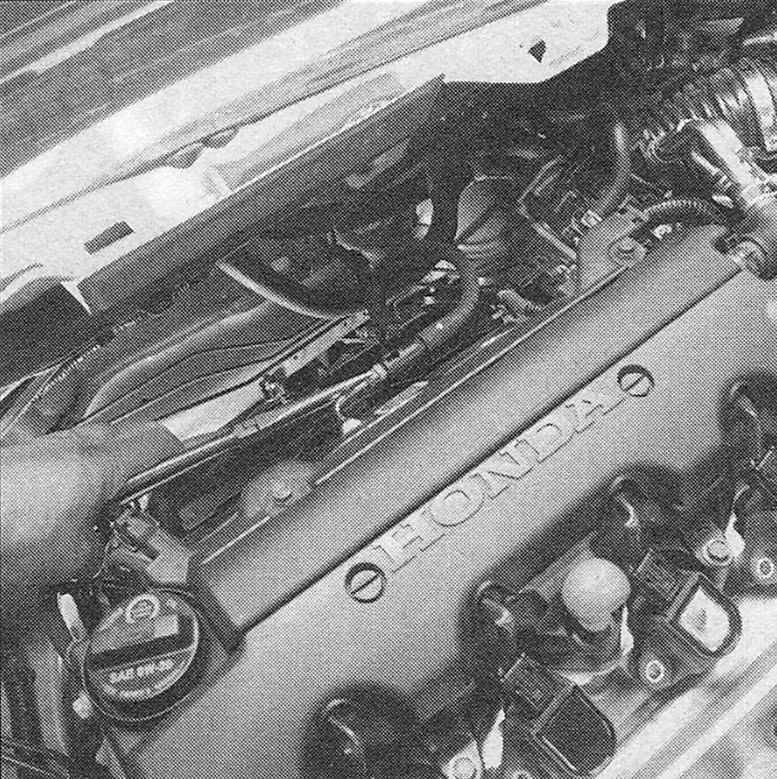
2. Remove the engine covers as necessary.
Except 2015 and later CR-V models
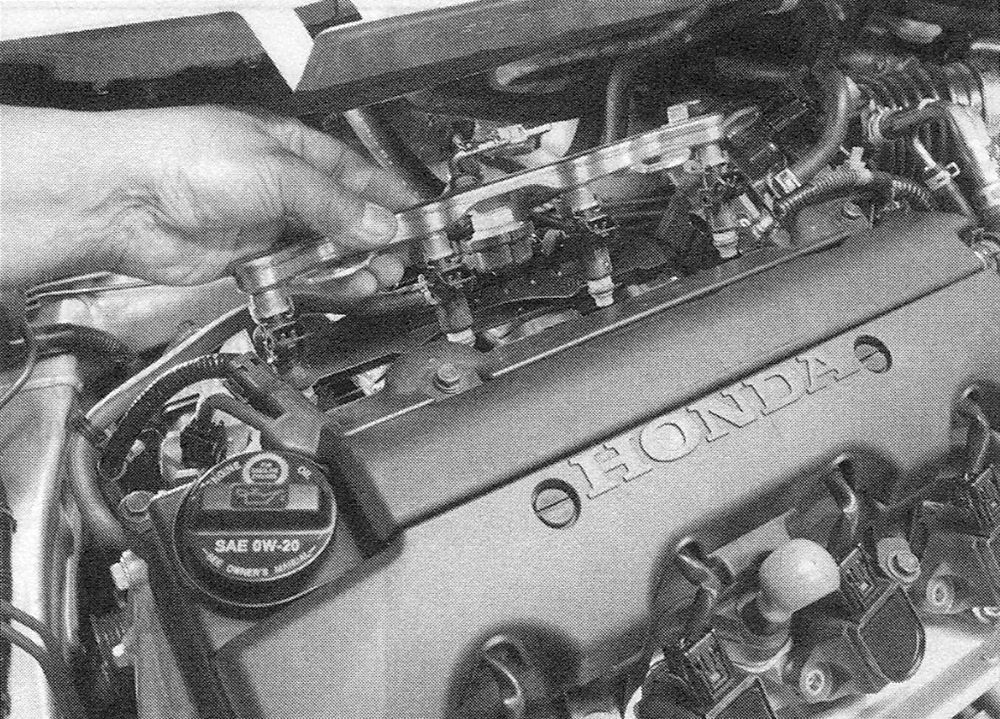
3. Disconnect the fuel injector electrical connectors and position the fuel injection harness to the side.
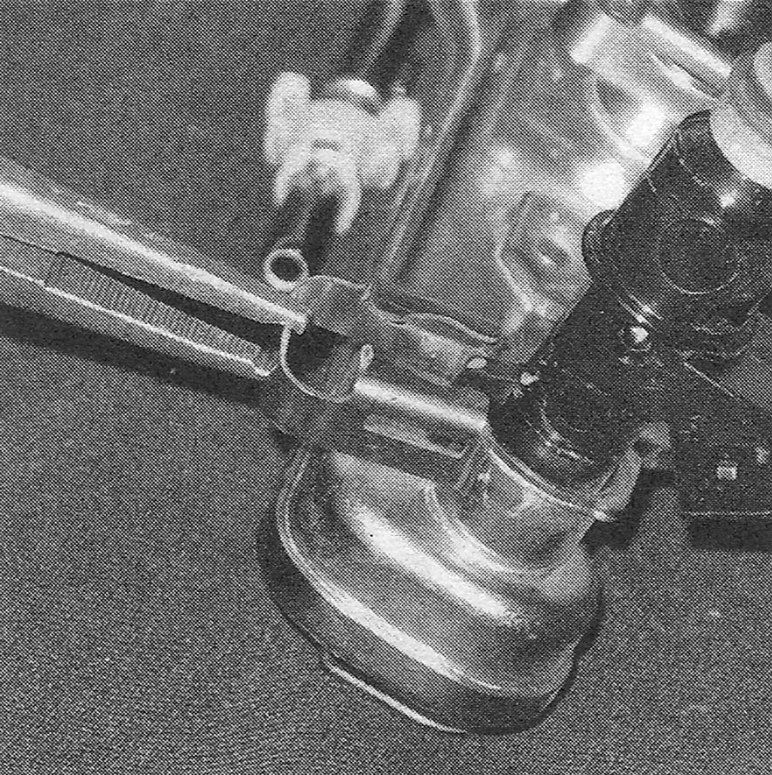
4. Remove the fuel line quick-connect fitting from the fuel rail (see illustration).
i.4 Remove the quick-connect fitting at the fuel rail
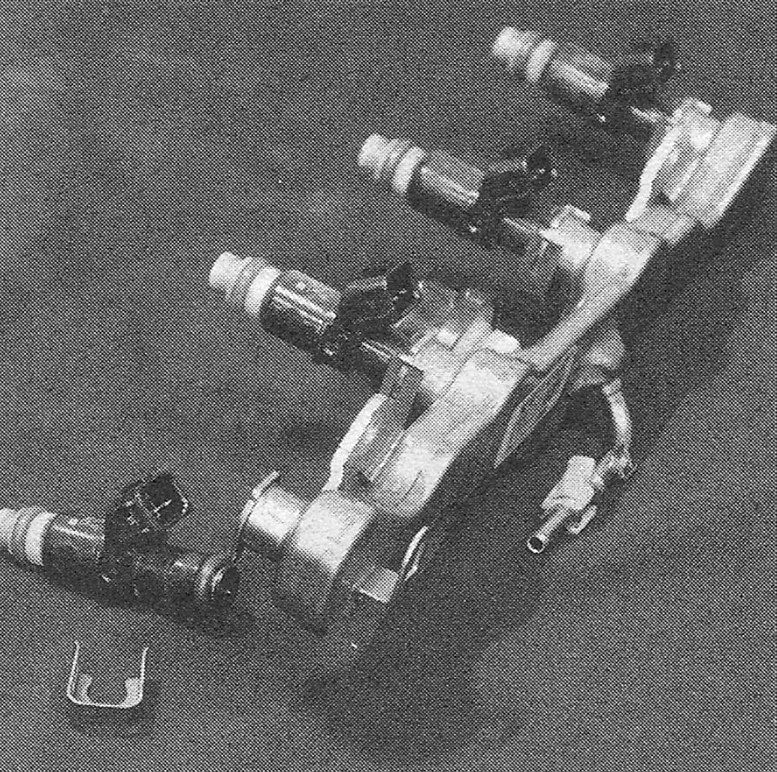
5. Remove the fuel rail fasteners and remove the fuel rail from the engine with the fuel injectors attached (see illustration). If any of the injectors are difficult to extract from their bores, carefully pry them loose by wiggling them from side to side and pulling up at the same time.
i.5 Remove the fuel rail from the engine with the injectors attached
6. Remove the fuel injectors from the fuel rail as described later in this Section.
7. Installation is reverse of removal. Coat the lower 0-rings with clean engine oil, then
guide the fuel rail and injectors into place. Ensure the injectors are fully seated into the intake manifold.
8. Tighten all fasteners to the torque listed
in this Chapter’s Specifications. Start the engine and check for fuel leaks at the pump fuel line connections. Turn the ignition switch to on to activate the fuel pump and build up fuel pressure in the fuel lines and the fuel rail, but DON’T operate the starter yet. Repeat this step two or three times, then check the fuel lines, fuel rails and injectors for fuel leaks.
2015 and later CR-V models
9. Remove the intake manifold (see 1.8L Intake manifold — removal and installation or 2.4L Intake manifold — removal and installation).
10. Remove the fuel pipe from between the high-pressure fuel pump and fuel rail. Discard the pipe as it is recommended to not be reused.
11. Remove the fuel rail mounting bolts and carefully pull the injectors out of the cylinder head.
12. Remove the fuel rail from the engine with the injectors attached. Pull the injectors straight out of the cylinder head.
13. Remove the fuel injectors as necessary.
i.16a Remove the injector retaining clip…
i.16b. . and remove the injector from the fuel rail (2015 Civic 1.8L shown)
14. Installation is reverse of removal. Coat the lower seals with clean engine oil, then guide the fuel rail and injectors into place. Ensure the injectors are fully seated into the cylinder head.
15. Tighten all fasteners and fuel pipe fittings to the proper torque found in this Chapter’s Specifications. Turn the ignition switch to on to activate the fuel pump and build up fuel pressure in the fuel lines and the fuel rail, but DON’T operate the starter yet. Repeat this step two or three times, then check the fuel lines, fuel rails and injectors for fuel leaks.
Fuel injectors
Except 2015 and later CR-V models
Note: If you only removed the fuel rail assembly to replace a single injector or a leaking 0-ring, it’s a good idea to remove all of the injectors from the fuel rail and replace all the 0-rings, cushion rings and seal rings at the same time.
16. To remove each injector from the fuel rail, remove the retainer clip, then pull the injector out of its bore in the fuel rail (see illustrations).
17. Remove and discard the upper and lower 0-rings from each injector, then install new 0-rings. Lubricate the 0-rings with a film of clean engine oil.
18. Insert each injector into the fuel rail and secure with the retaining clips.
19. Install the fuel rail and injectors and tighten the fasteners to the torque listed in this Chapter’s Specifications.
2015 and later CR-V models
20. Use a pick tool to remove the Teflon seal at the lower end of the injector. Clean any car- bon from the injector using a paper towel. A special installation tool is required to install the new Teflon seal to the injector. Ensure the seal is not deformed after installation. Another tool is used to size (compress) the Teflon seal into its recess.
21. Remove the 0-rings and back-up rings from the upper ends of the injectors.
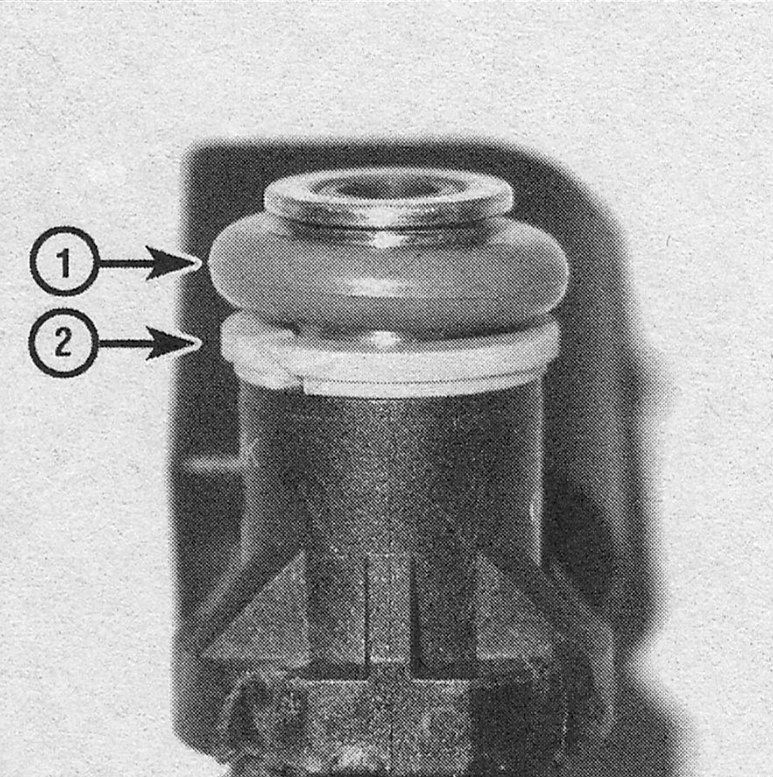
22. Coat each new 0-ring with clean engine oil, then install the back-up ring and 0-ring (see illustration). Repeat this procedure for each injector.
i.22 Note that the upper 0-ring (1) is installed above the back-up ring (2)
23. Insert each injector into its corresponding bore in the fuel rail and use a new clip to secure the injector to the fuel rail.
24. Lightly lubricate the injector bores in the cylinder head with clean engine oil.
25. Install the fuel rail to the engine as described previously in this Section.