1. If you’re working on a Civic 1.8L model, loosen the right front wheel lug nuts.
2. Raise and support the front of the vehicle on jack stands. On Civic 1.8L models, remove the right front wheel.
3. On Civic 1.8L models and 2014 and earlier CR-V models, remove the splash shield.
4. On 2015 and later CR-V models, remove the front floor undercover, located under the vehicle in the area of the passenger’s floorboard.
5. Locate the knock sensor.
) Located on the firewall side of the engine block on Civic 1.8L models and 2015 and later CR-V models.
) Located on the front side of the engine block on Civic 2.4L models and 2014 and earlier CR-V models.
6. On Civic 1.8L models, remove the intake manifold support bracket.
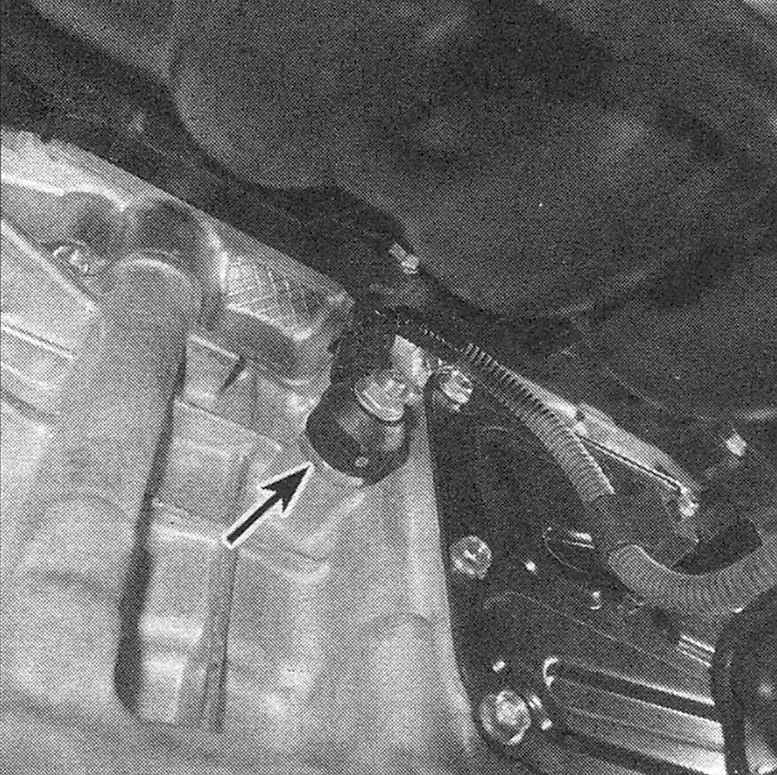
7. Disconnect the knock sensor electrical connector (see illustration).
i.7 Disconnect the knock sensor electrical connector and remove the retaining nut (Civic 1.8L shown)
8. Remove the knock sensor retaining bolt or nut and remove the sensor.
9. Installation is the reverse of removal. Be sure to tighten the knock sensor retaining bolt or nut to the torque listed in this Chapter’s Specifications.