1. Remove the center console rear cover (see Body).
2. Block the front wheels, raise the rear of the vehicle and support it securely on jack stands. Apply the parking brake lever until you hear one click.
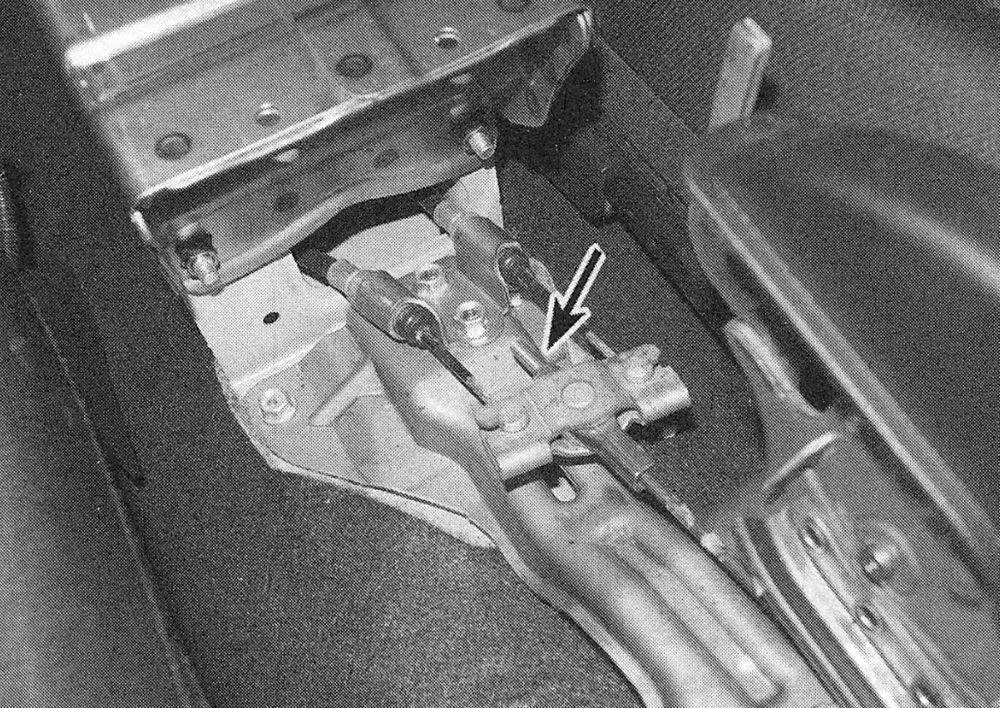
3. Tighten the adjusting nut on the equalizer while rotating the rear wheels (see illustration). Stop turning the nut when the brakes just start to drag on the rear wheels.
i.3 Parking brake adjusting nut (center console removed for clarity)
4. Release the parking brake lever and check to see that the brakes don’t drag when the rear wheels are turned. The travel on the parking brake lever should be as listed in the Tune-up and routine maintenance Specifications when properly adjusted.
5. Lower the vehicle and reinstall the center console rear cover.
CR-V models
6. Block the front wheels, raise the rear of the vehicle and support it securely on jack stands.
7. Working inside the vehicle, pull the driver’s seat all the way forward and pull back the carpet under the seat.
8. Remove the fasteners securing the parking brake equalizer cover, then remove the cover.
9. With the parking brake lever fully released, remove the return spring from the parking brake equalizer.
10. Apply the parking brake pedal until you hear one click.
11. Tighten the adjusting nut on the equalizer while rotating the rear wheels. Stop turning the nut when the brakes just start to drag on the rear wheels.
12. Release the parking brake and check to see that the brakes don’t drag when the rear wheels are turned. The travel on the parking brake pedal should be as listed in this Chapter’s Specifications when properly adjusted.
13. Lower the vehicle and reinstall the equalizer return spring and cover.