Shock absorber (rear, Civic models) — removal and installation
1. Loosen the rear wheel lug nuts. Raise the rear of the vehicle and support it securely on jack stands. Block the front wheels to prevent the vehicle from rolling. Remove the wheel.
2. -Fold down the trim panel in the trunk for access to the shock absorber upper mount.
3. Support the lower arm with a floor jack placed under the trailing arm (where it meets the knuckle).
Warning: Do not move the jack while it is supporting the lower arm and the coil spring tension.
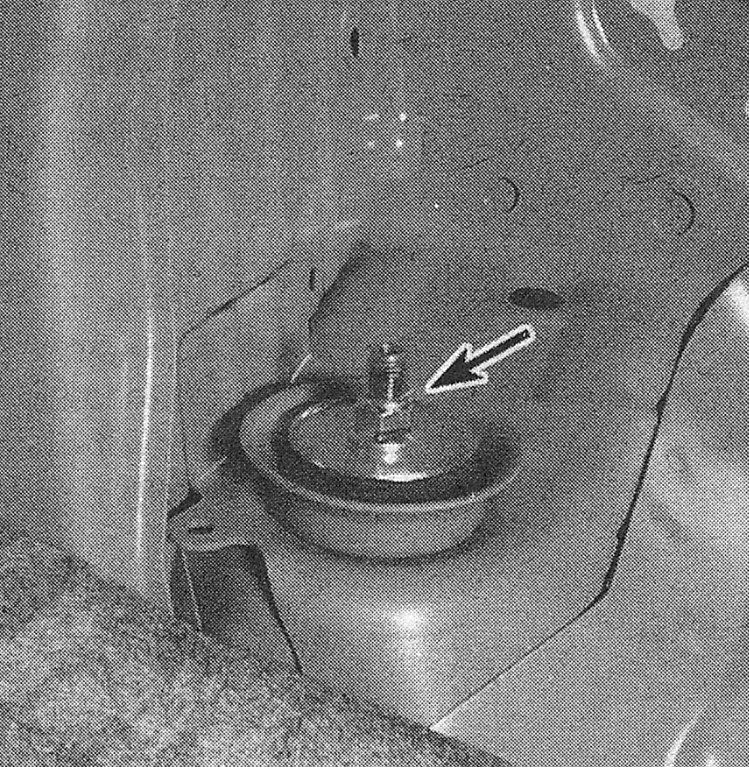
4. Remove the shock absorber upper mounting nut (see illustration).i9.4 Rear shock absorber upper mounting nut (Civic models)
Note: Hold the damper shaft with a hex bit while loosening the nut to prevent the shaft from turning.
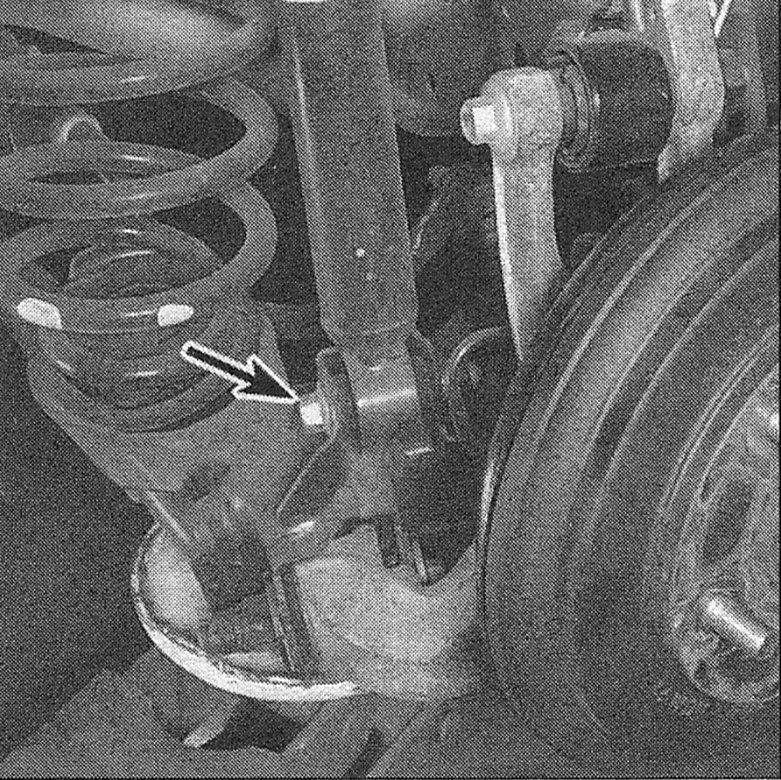
5. Remove the shock absorber lower mounting bolt (see illustration), then remove the shock absorber.
6. Check the shock body for leaking fluid, dents, cracks and other obvious damage which would warrant repair or replacement.
7. Guide the shock absorber up into the fender well and insert the damper through the hole in the body. Once the damper rod protrudes from the hole, install the bushing, washer and nut so the assembly won’t fall back through.
Note: Be sure to use new mounting bushings.
8. Connect the shock to the trailing arm. Raise the trailing arm with the floor jack to simulate normal ride height, then tighten the shock absorber lower mounting bolt and damper mounting nut to the torque listed in this Chapter’s Specifications.
9. Install the wheel and lug nuts, lower the vehicle and tighten the lug nuts to the torque listed in the Tune-up and routine maintenance Specifications.