1. Loosen the wheel lug nuts, raise the front of the vehicle and support it securely on jack stands. Apply the parking brake and block the rear wheels to keep the vehicle from rolling off the jack stands. Remove the wheel.
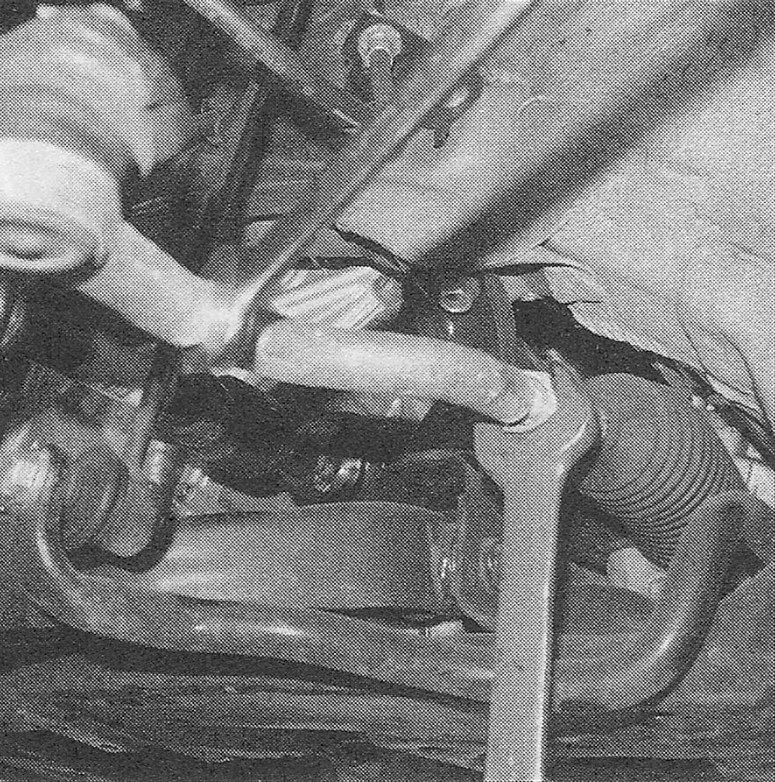
2. Using a back-up wrench, loosen the tie-rod end jam nut. Mark the relationship of the tie-rod end to the threaded portion of the tie-rod. This will ensure the toe-in setting is restored when reassembled (see illustrations).
i.2a Use one wrench to hold the tie-rod, then loosen the jam nut
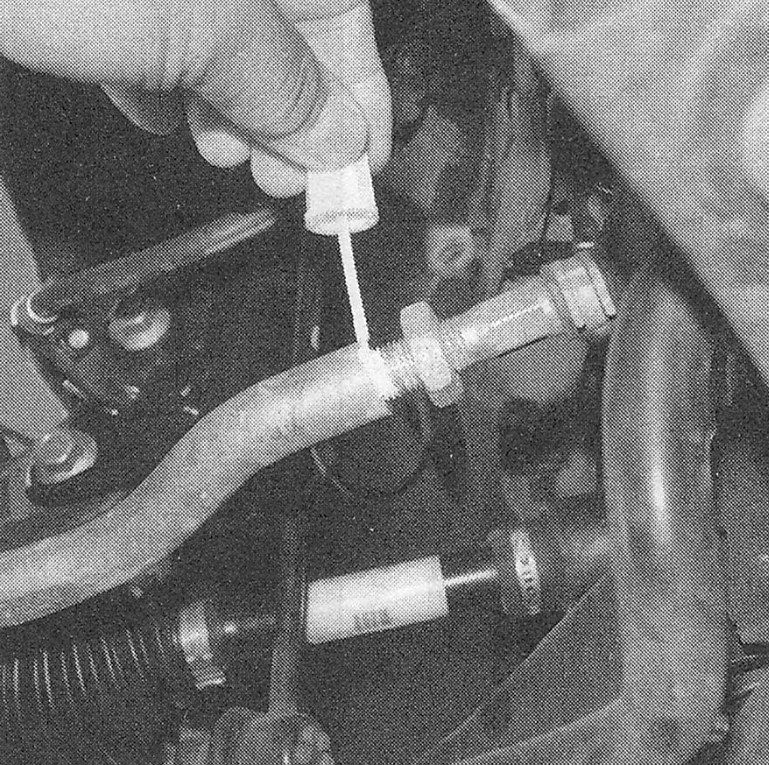
i.2b Mark the exposed threads for reinstalling the tie-rod end
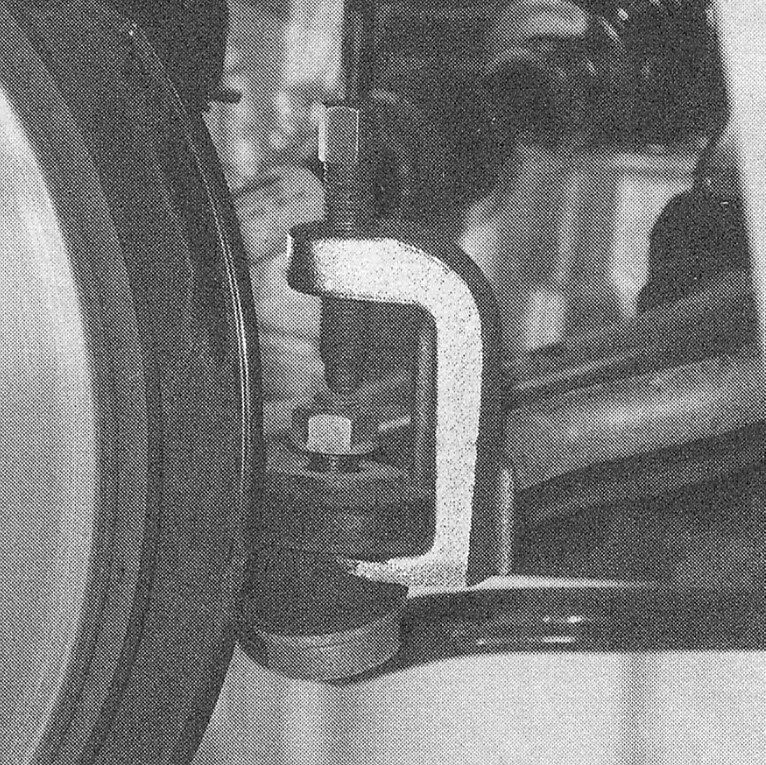
3. Remove the cotter pin and loosen the nut from the tie-rod end ball stud a few turns. Disconnect the tie-rod end ball stud from the steering arm with a puller (see illustration).
17.3 Use a two-jaw puller or ballpoint separator to push the tie-rod end out of the steering arm
4. Remove the nut from the ball stud, separate the tie-rod end from the steering knuckle, then unscrew the tie-rod end from the tie-rod.
Installation
5. Thread the tie-rod end onto the tie-rod to the marked position and connect the tie-rod end to the steering arm. Install the nut on the ball stud and tighten it to the torque listed in this Chapter’s Specifications. Install a new cotter pin.
Note: If necessary, tighten the nut a little more to allow insertion of the cotter pin. Never loosen the nut to align the cotter pin holes.
6. Tighten the jam nut securely and install the wheel. Lower the vehicle and tighten the lug nuts to the torque listed in the Tune-up and routine maintenance Specifications.
7. Have the front-end alignment checked and, if necessary, adjusted.