Instrument panel — removal and installation
Warning: Models covered by this manual are equipped with a Supplemental Restraint System (SRS), more commonly known as airbags. Always disable the airbag system before working in the vicinity of any airbag system component to avoid the possibility of accidental deployment of the airbag, which could cause personal injury (see Chassis electrical system).
Note: This is a difficult procedure for the home mechanic. There are many hidden fasteners, difficult angles to work in and many electrical connectors to tag and disconnect/connect. We recommend that this procedure be done only by an experienced do-it-yourselfer.
Note: During removal of the instrument panel, make careful notes of how each piece comes off, where it fits in relation to other pieces and what holds it in place. If you note how each part is installed before removing it, getting the instrument panel back together again will be much easier.
Note: It is not necessary, but it is suggested to remove both front seats to allow additional working space and lessen the chance of damage to the seats during this procedure.
1. Disconnect the cable from the negative battery terminal (see Engine electrical systems).
2. Remove the instrument cluster bezel (see Dashboard trim panels — removal and installation).
3. Remove the instrument cluster (see Chassis electrical system).
4. Remove the nuts and lower the steering column (see Suspension and steering).
5. Remove the side kick panels (see Interior trim components — removal and installation).
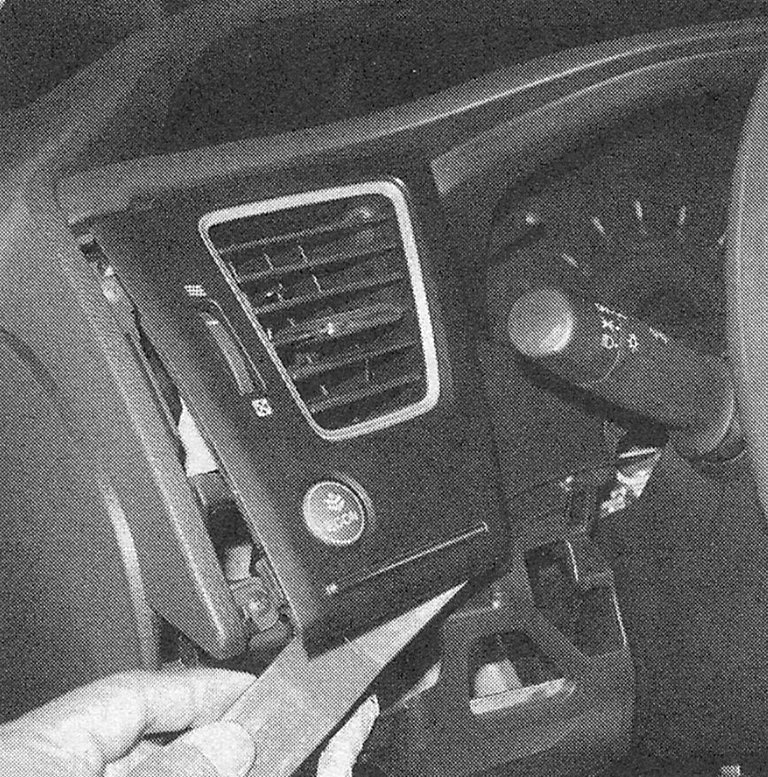
6. Remove the center, driver and passed-ger vents (see illustration).
i.6 Use a plastic trim tool to pry the vents out
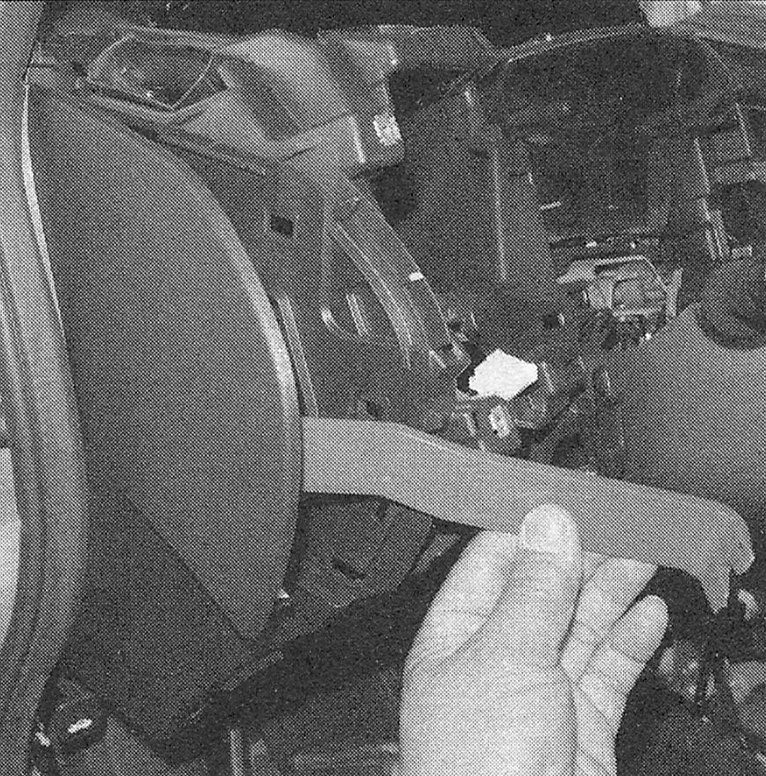
i.7 Pry the side covers from the dash
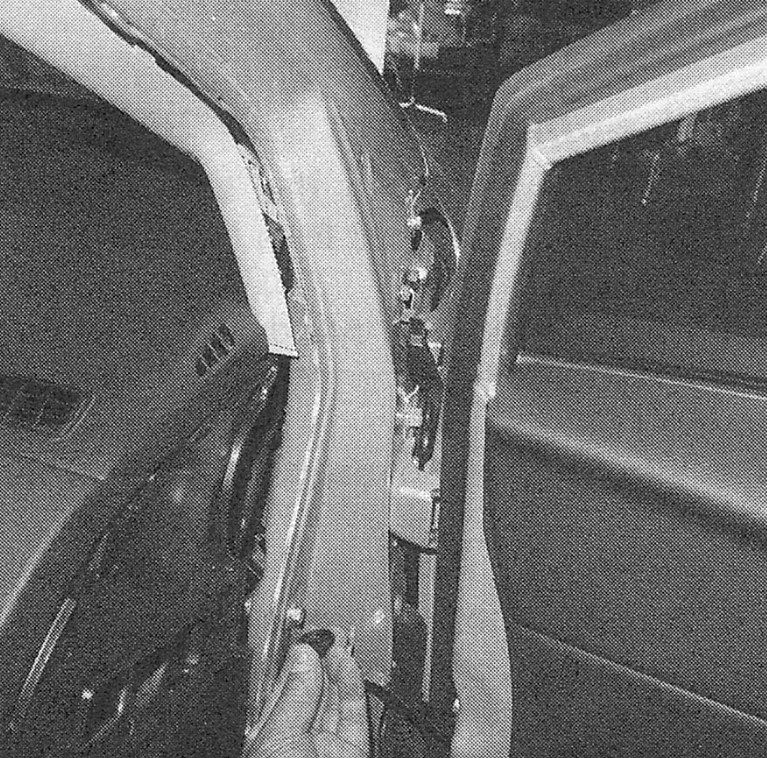
8. Remove the A pillar trim (see Interior trim components — removal and installation).
9. Remove the steering column (see Suspension and steering).
10. Remove the glovebox (see Dashboard trim panels — removal and installation).
11. Remove the radio (see Chassis electrical system) and the heater control assembly (see Cooling, heating and air conditioning systems).
12. Remove the center console (see Center console — removal and installation), (if applicable).
13. Remove the rear vent duct.
14. Disconnect the instrument panel electrical connectors including the passenger’s side airbag (see Chassis electrical system).
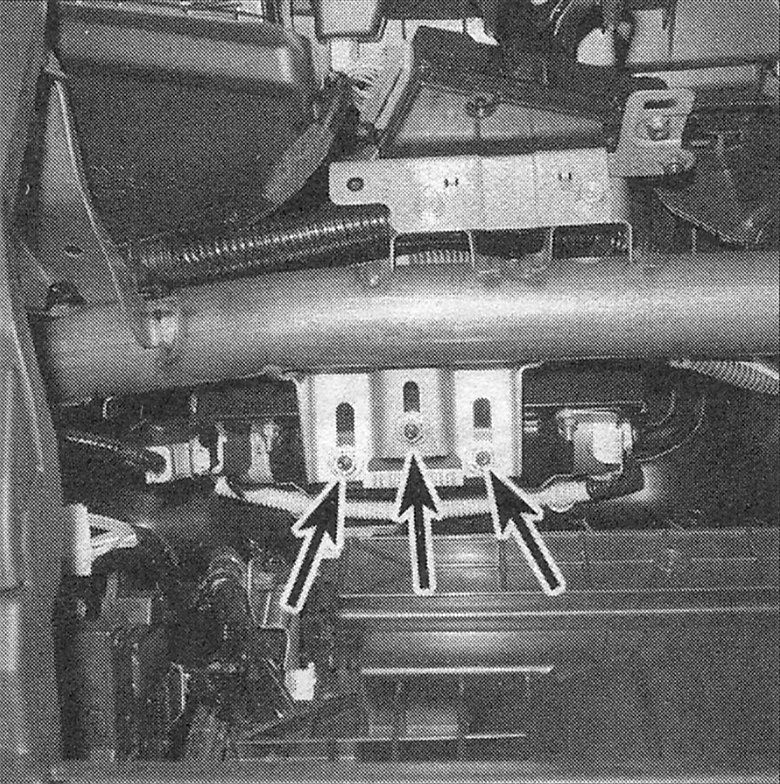
15. Remove the fasteners securing the lower center part of the instrument panel (see illustration).
i.15 Instrument panel support center bolts
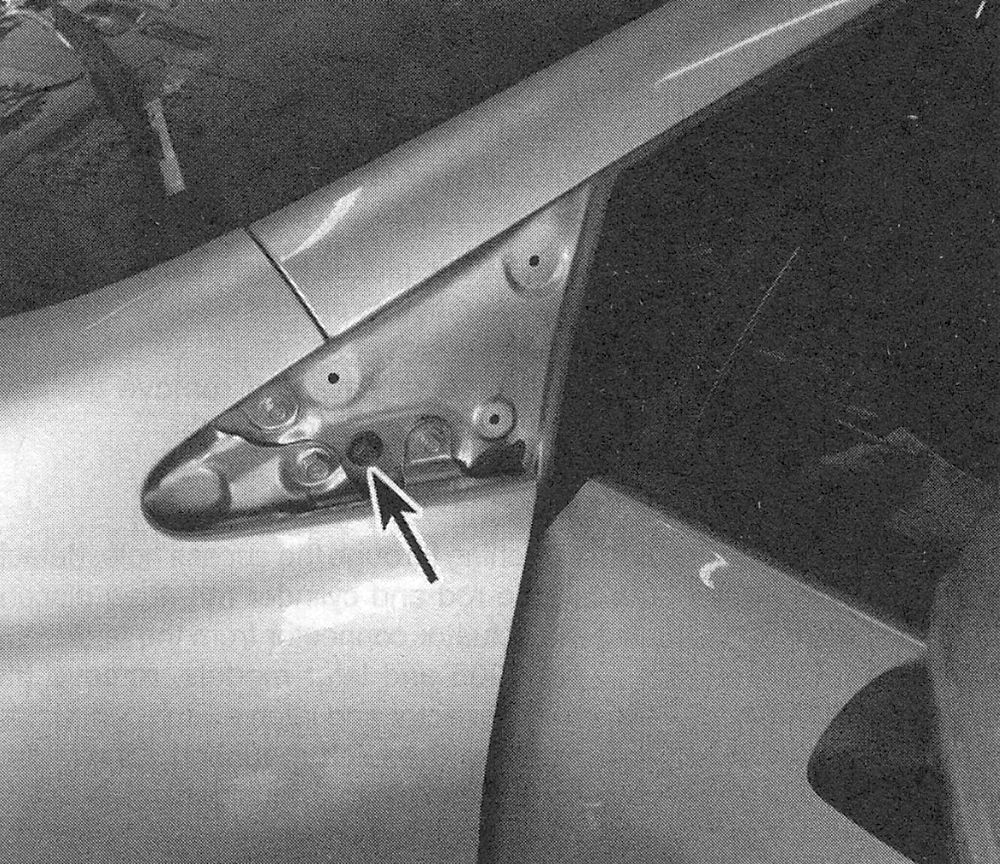
16. Remove the fasteners from each end of the instrument panel (see illustrations).
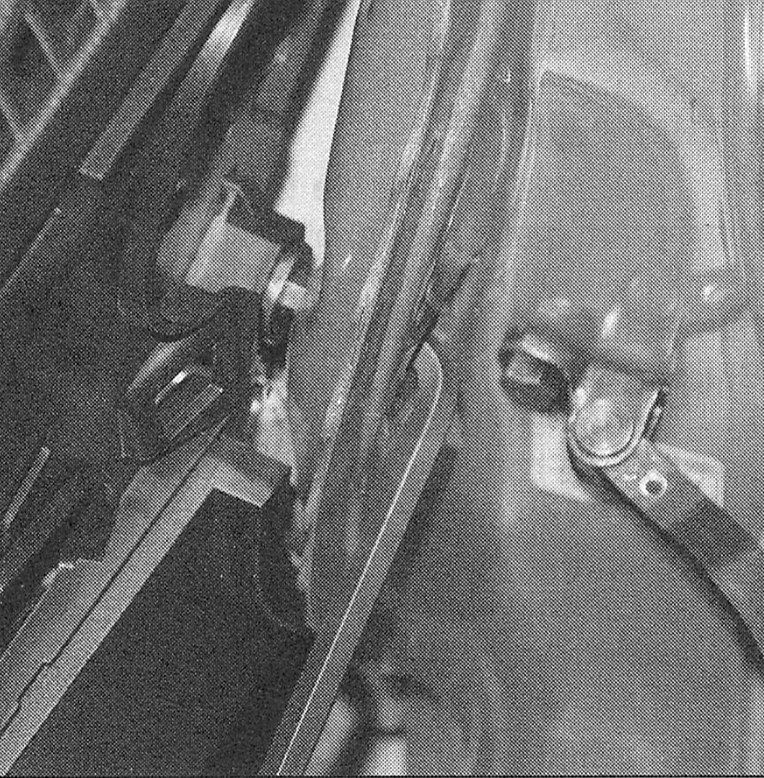
i.16a Pull off the covers in the door jambs and remove the lower bolts from each end of the dash …
i.16b Then, using an Allen wrench, thread the screw inserts into the instrument panel (when installing the instrument panel, be sure to back out these inserts before installing the bolts)
i.16c Pry off the covers at the upper rear corner of each fender. .
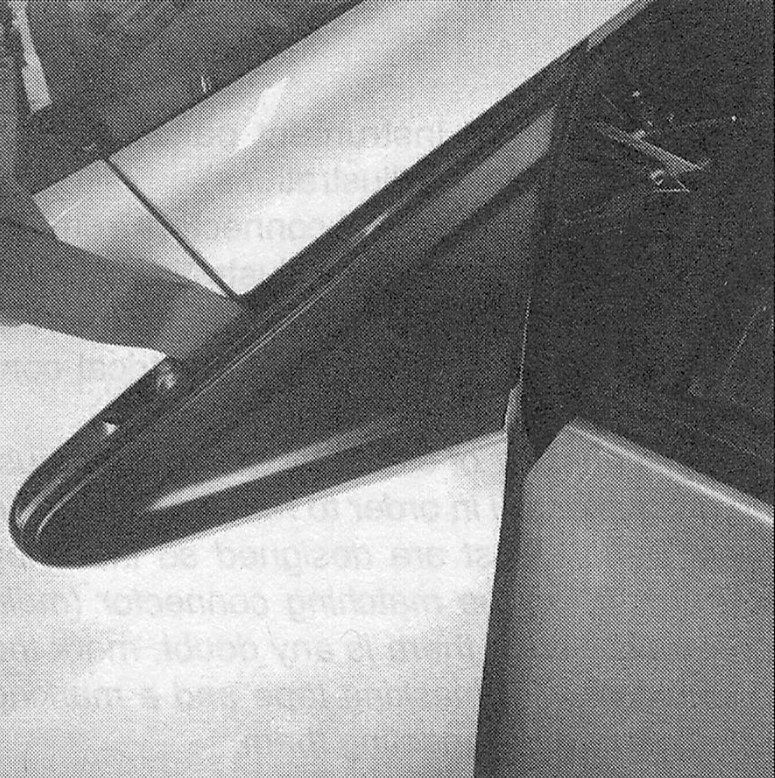
i.16d … and remove the upper dash bolts
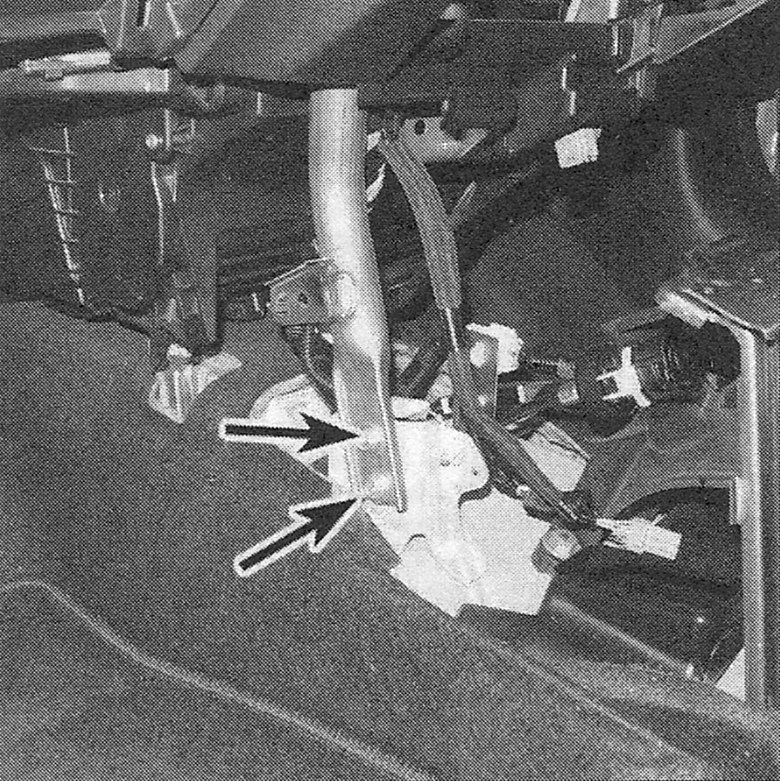
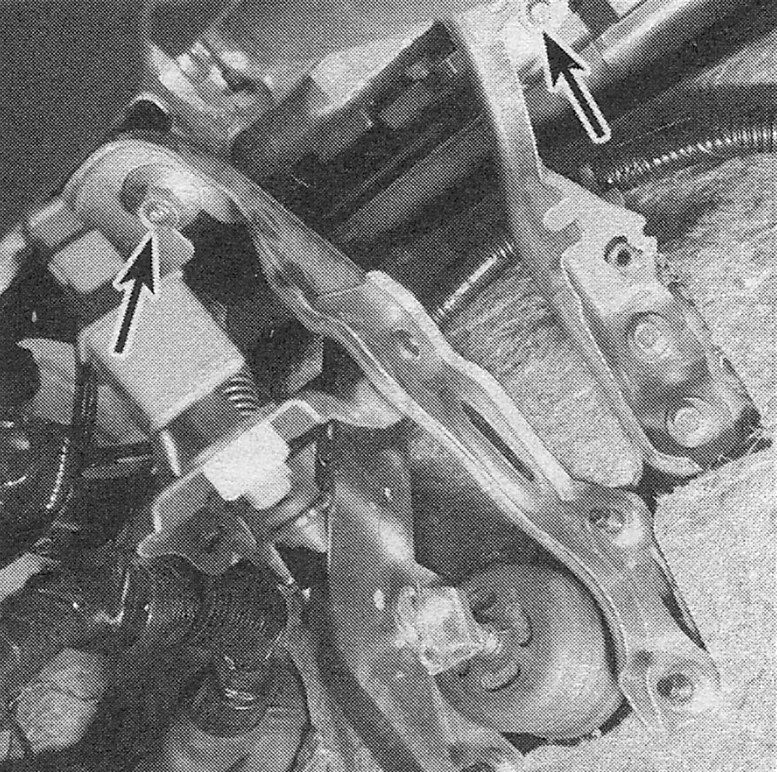
17. Remove the instrument panel support beam fasteners (see illustrations).
i.17a Right side instrument panel
i.17b Brake pedal bracket-to-support beam bolt and left side support bracket bolt
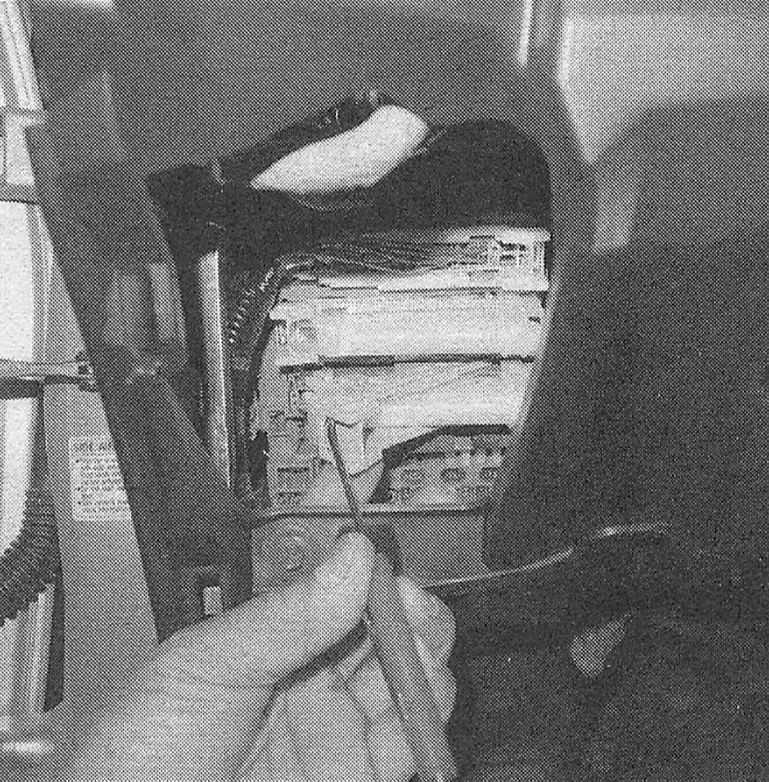
18. Unplug the electrical connectors from the interior fuse/relay box (see illustration).
i.18 Depress the tab, swing open the lock and unplug the electrical connectors from the fuse/relay box
19. Pull the instrument panel toward the rear of the vehicle and detach any electrical connectors interfering with removal.
Note: A number of electrical connectors must be disconnected in order to remove the instrument panel. Most are designed so that they will only fit on the matching connector (male or female), but if there is any doubt, mark the connectors with masking tape and a marking pen before disconnecting them.
Caution: Double check for any brackets or electrical connections you might have missed before proceeding any farther.
20. Once all the electrical connectors are detached, with the aid of an assistant, lift the instrument panel, then pull it away from the windshield and take it out through the passenger’s door opening.
21. Installation is the reverse of removal.
22. Reconnect the battery. Refer to see Engine electrical systems.