Shift cable — replacement and adjustment
Warning: These models are equipped with a Supplemental Restraint System (SRS), more commonly known as airbags. Always disable the airbag system before working in the vicinity of any airbag system component to avoid the possibility of accidental deployment of the airbag(s), which could cause personal injury (see Chassis electrical system).
Warning: Do not use a memory saving device to preserve the PCM or radio memory when working on or near airbag system components.
1. Raise the vehicle and support it securely on jack stands.
Replacement Civic
2. Set the parking brake.
3. Remove the center console (see Body).
4. Place the shift lever in the Reverse (R) position. Insert a 6.0 mm (0.236 in) alignment pin into the positioning holes in the shifter assembly base to lock the shift lever in Reverse (see illustration).
i.4 Insert a 6.0 mm (0.236 in) pin or drill bit into the positioning holes in the shifter assembly to lock the shift lever in Reverse
Caution: If a drill bit is used, use the smooth end as a drill bit may damage the shifted assembly
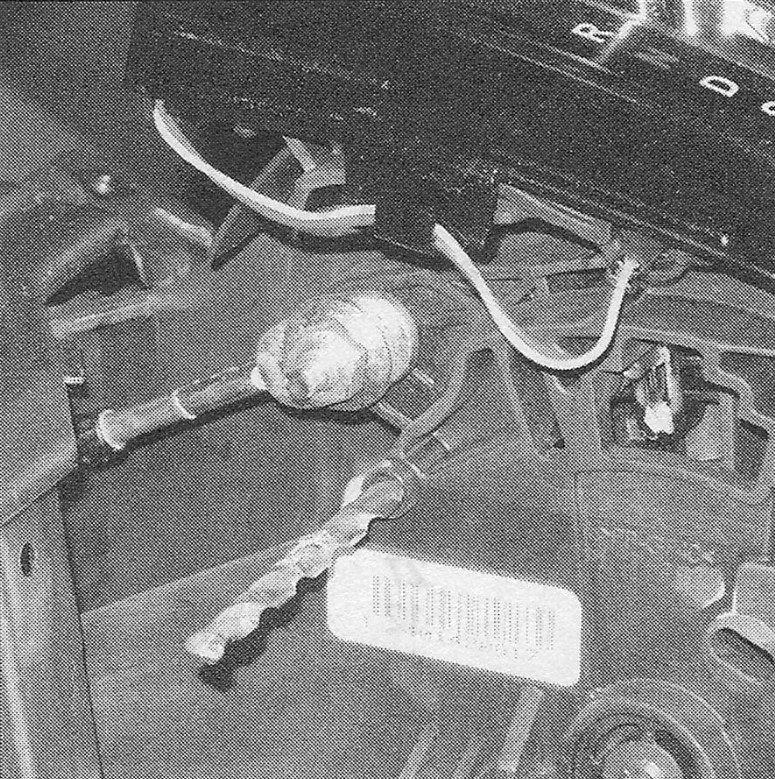
5. Remove the nut that secures the shift cable end.
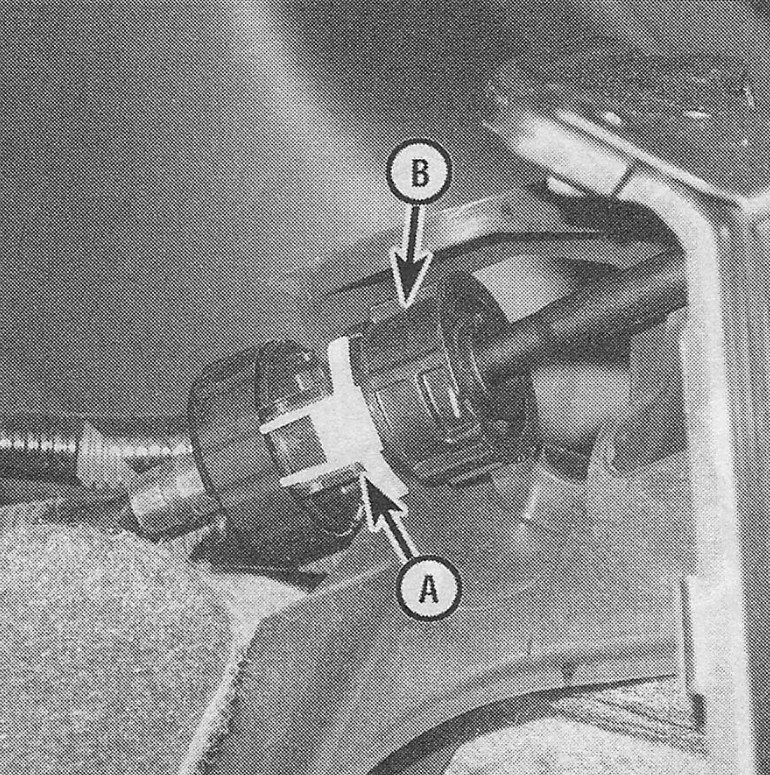
6. Pry the lock up and rotate the socket holder counterclockwise, then push the socket in and slide the assembly out of the slotted recess (see illustration) to disconnect the cable from the shifter assembly.
i.6 Pry the cable lock (A) up, then rotate the socket holder (B) counterclockwise and push the socket against the mounting bracket to remove
7. Raise and support the vehicle.
8. Locate and remove the shift cable cover from the transaxle.
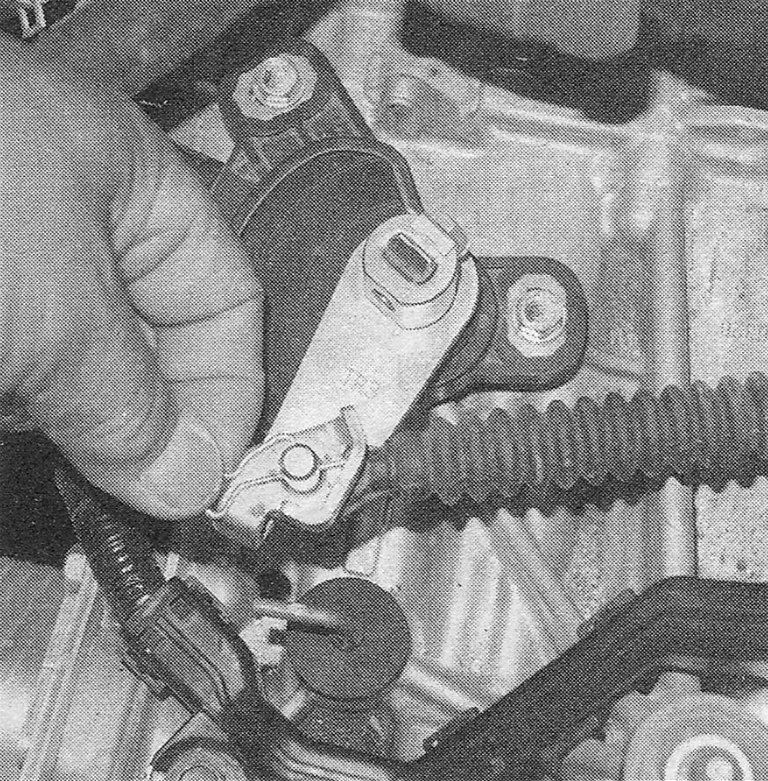
9. On non-CVT models, bend back the locking tab and remove the bolt attaching the shift cable to the shift control shaft.
10. On models with a CVT transaxle, remove the clip and pin to disconnect the shift cable from the shift control lever (see illustration).
i.10 On CVT models, pull the clip and remove the pin to disconnect the cable from the shift control lever
11. On all models, remove the shift cable bracket from the transaxle with the cable attached.
12. Remove the under-car heat shield to expose the shift cable.
Note: On models equipped with 2.4L engines, it may be necessary to remove the catalytic converter and pipe to allow removal of the heat shield. You may be able to loosen the heat shield enough to remove the cable without removing the exhaust components.
13. Remove the shift cable guide bracket mounting bolts (see illustration).
i.13 Remove the shift cable guide bracket bolts and the rubber grommet
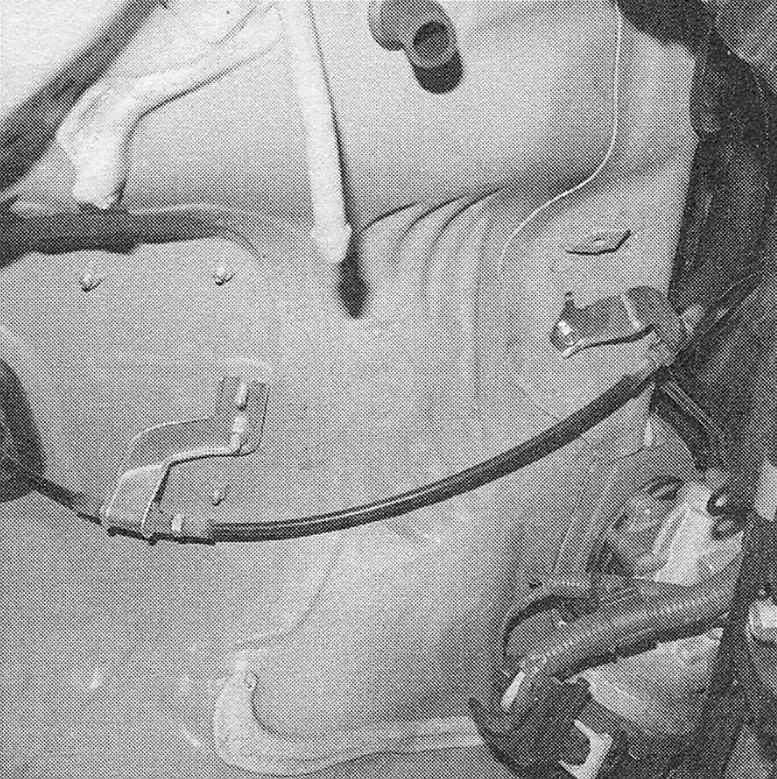
14. Pull the rubber grommet and shift cable out of the vehicle.
15. Installation is the reverse of the removal procedure, noting the following points:
- ) Install a new lock washer, then bend the locking tang against the bolt head.
- ) Be sure to adjust the cable before reattaching it to the shift lever (see Adjustment).
- ) When installing the cable to the shifter assembly, ensure the mounting stud is properly aligned with the cable end.
CR -V
16. Set the parking brake.
17. Remove the center console (see Body).
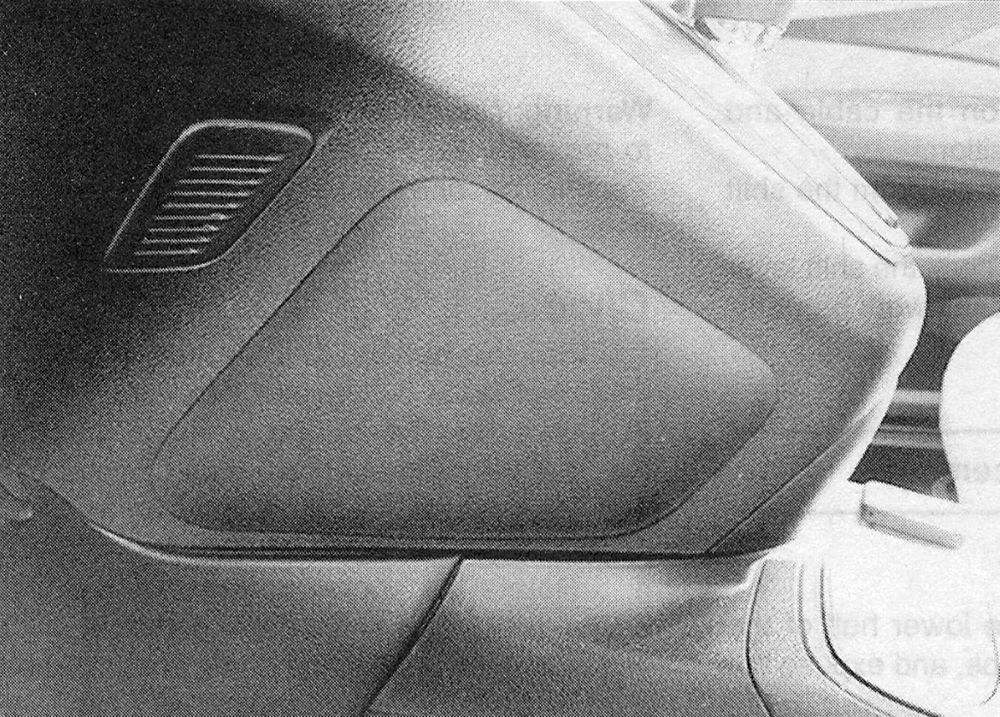
18. Remove the access panel from the left side of the shifter base (see illustration).
i.18 CR-V shifter assembly access cover
19. Place the shift lever in the Reverse (R) position. Insert a 6.0 mm (0.236 in) pin into the positioning holes in the shifter assembly to lock the shift lever in Reverse.
Caution: Do not use a drill bit as it may damage the shifter assembly.
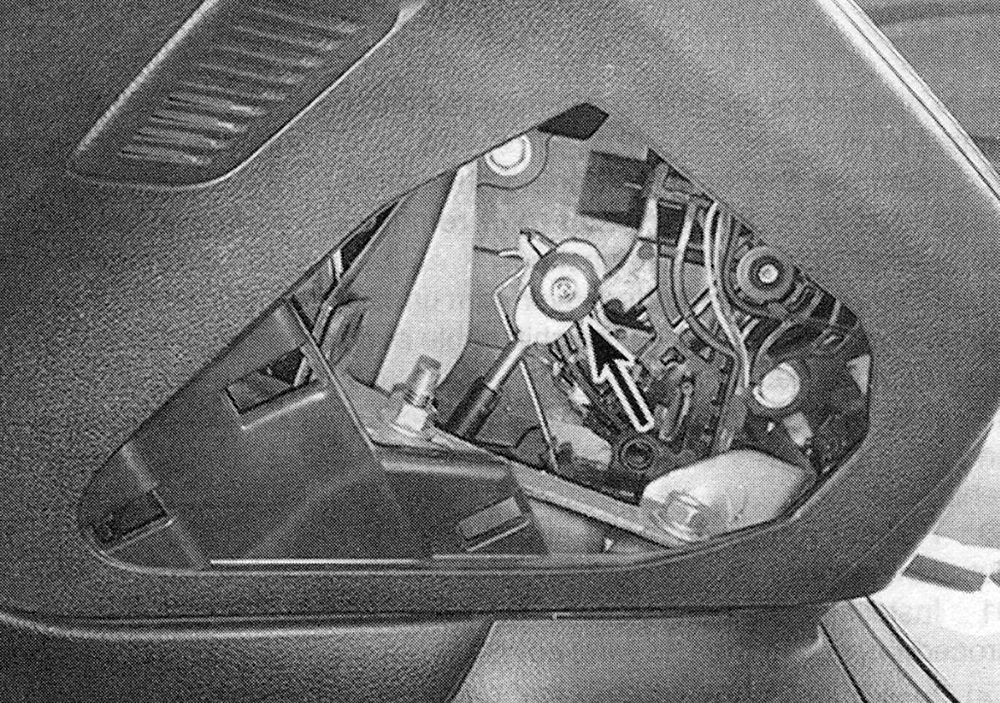
20. Remove the nut securing the shift cable to the shifter assembly (see illustration).
i.20 Working through the access hole on CR-V, remove the shift
21. Pry the lock retainer up and rotate the socket holder counterclockwise, then push the socket in and slide the assembly out of the slotted recess to disengage the shift cable housing from the bracket.
22. Raise and support the vehicle.
23. Remove the PCM and PCM bracket (see Powertrain Control Module (PCM) — removal and installation).
24. Remove the shift cable cover.
25. On 2WD models, bend back the locking tab and remove the bolt attaching the shift cable to the shift control shaft.
26. On 4WD models, remove the clip and
pin to disconnect the shift cable from the shift control lever.
27. Remove the bolts attaching the shift cable bracket to the transaxle, and remove the bracket with the cable attached.
28. Remove the floor under cover from under the vehicle body to expose the shift cable and mounting brackets.
29. Remove the shift cable guide bracket and mounting bolts and separate it from the vehicle body.
30. Pull the rubber grommet and shift cable out of the vehicle.
31. Installation is the reverse of the removal procedure, noting the following points:
- ) Install a new lock tab on the shift cable end holder.
- ) Be sure to adjust the cable before reattaching it to the shift lever (see Adjustment).
Adjustment
32. Set the parking brake. Remove the center console (see Center console — removal and installation).
33. Place the shift lever in the Reverse (R) position. Insert a 6.0 mm (0.236 in) pin into the positioning holes in the shifter assembly to lock the shift lever in Reverse.
34. With the shift cable disconnected from the shifter assembly and bracket. Push the shift cable until it stops and release your hand. Pull back one click until the cable stops (locks-in) in position. This is the Reverse (R) position. You can verify the correct position on the shift indicator with the ignition in run position.
35. Install the shift cable into the mounting bracket, then install the cable end to the shift lever mounting bolt and align the square surface with the alignment casting on the mounting bolt.
Note: It may be necessary to rotate the shift cable mounting stud to align it with the slotted recess in the cable.
36. Install the lock nut on the cable and tighten the cable in this position.
37. Remove the alignment pin from the shift lever bracket base.
38. Start the engine and check the shift lever in all gears. If any gear doesn’t work properly, refer to Diagnosis — general.