Bumper covers — removal and installation
Front
1. Raise the vehicle and support it securely on jack stands.
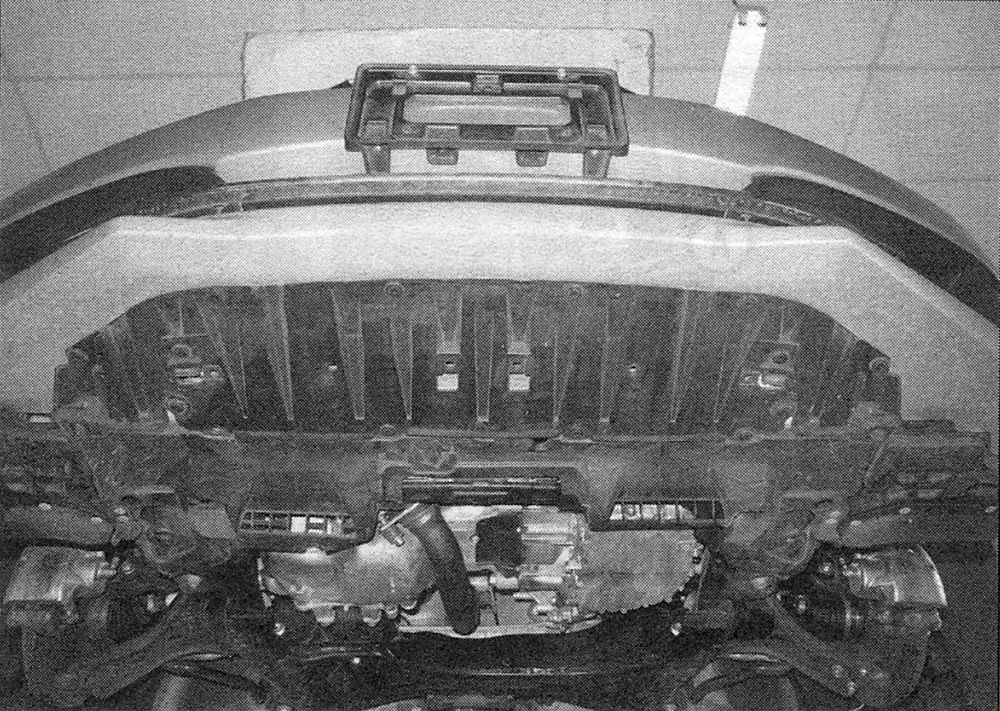
2. Working under the vehicle, detach the push pins, bolts or screws securing the lower edges of the bumper cover (see illustration). Note: There are six lower fasteners and one fastener on each outside edge of the bumper. The outside edge fasteners are near the junction between the bumper fascia and the fender. It is not necessary to remove the entire lower trim panel, but it can get in the way when reinstalling the bumper.
i.2 Bumper cover lower retaining fasteners are located around the edges of the panel as well as in the center area. If the fasteners are in good condition after removal, save them. If not, replace them with new ones.
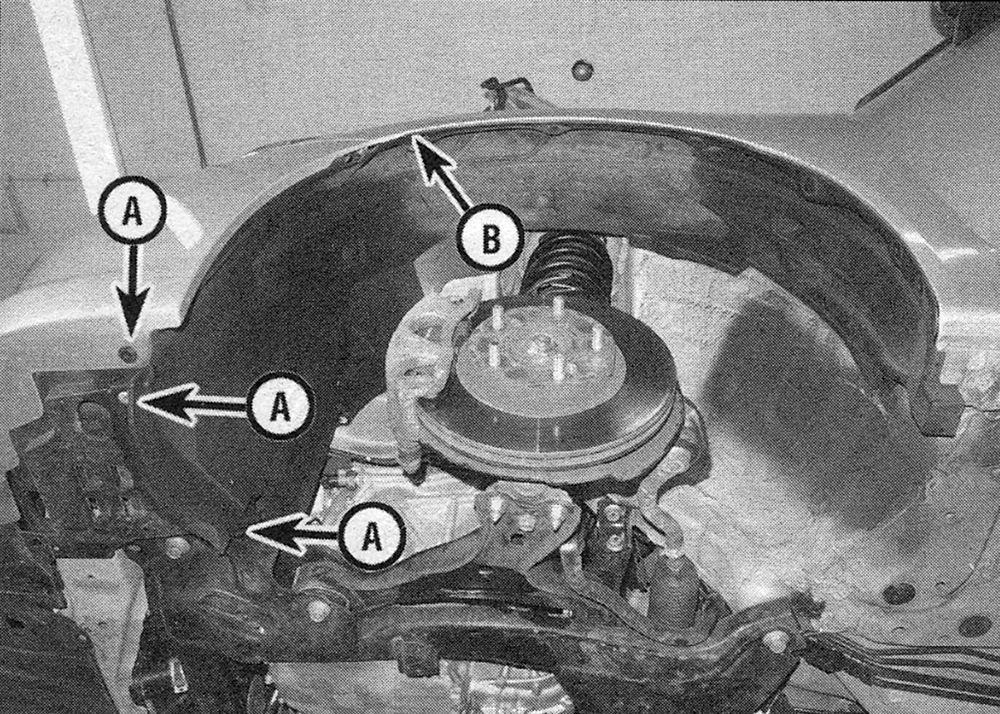
3. Working in the front wheel opening, remove the retaining screw securing the bumper cover to the fender well (see illustration).
i.3 Remove the lower fasteners (A) than any inner fender fasteners between the lower fasteners and the arrow (B).
Note: If your car is equipped with wheel arch protector trim pieces, they will need to be removed as well. Plastic push pins hold them in place. See Fastener and trim removal for details on how to remove these pins.
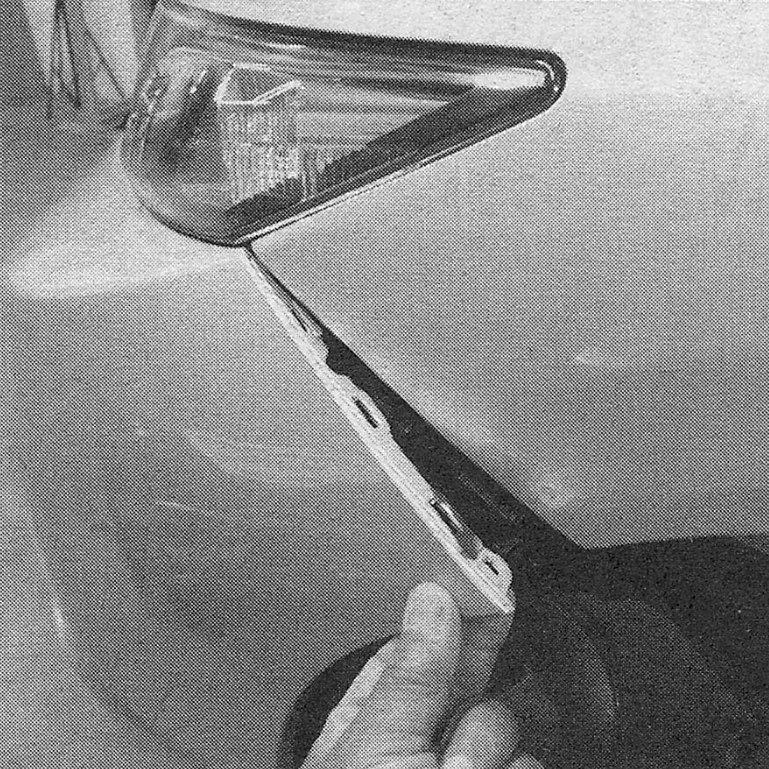
4. Detach the bumper to fender by pulling outward on the bumper to free it from the pressure fastener clips (see illustration).
i.4 Pull outward to free the bumper from the fender edge
5. Remove the front grille cover (see Radiator grille — removal and installation). Once the grille has been removed, you’ll find a plastic tab on either side (near the lower section of the headlamp assembly) that you will need to release with a screwdriver as you apply outward pressure to the bumper.
6. Now, while holding onto the bumper near the headlamp assembly and the outer edge of the bumper, pull outward to detach the pressure fittings that secure the bumper to the lower part of the headlamp assembly.
7. Disconnect the fog lamps (if applicable) and remove the bumper.
8. Installation is the reverse of removal.
Rear
9. Raise the vehicle and support it securely on jack stands.
10. Working under the vehicle, detach the plastic clips and screws securing the splash guards and the lower edge of the bumper cover.
11. If your vehicle is equipped with wheel arch protector trim these will need to be removed as well. They are secured onto the wheel well arch with plastic fasteners. See Fastener and trim removal for details on the proper removal of these fasteners.
12. Remove the screws securing the bumper cover in the rear wheel openings.
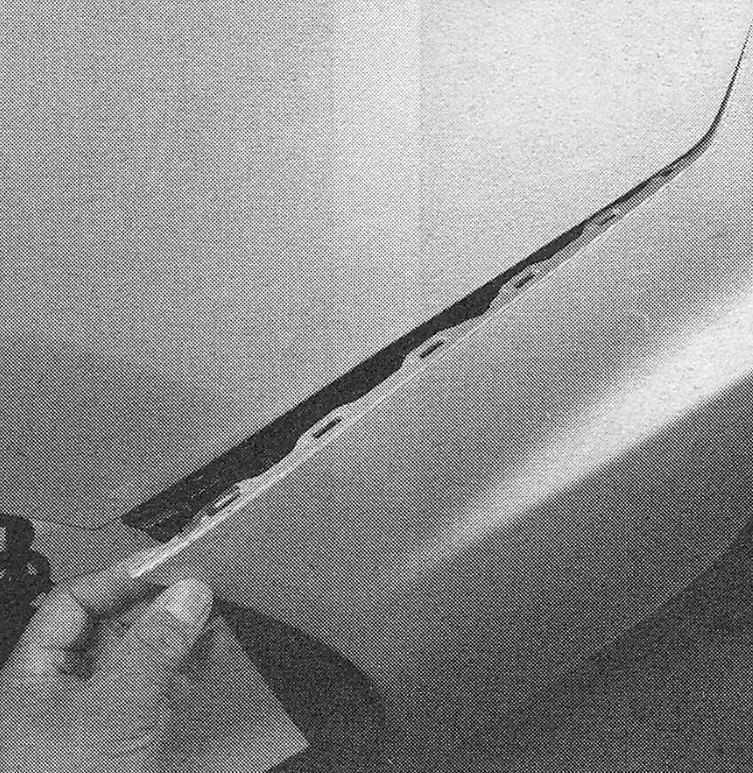
13. Separate the bumper to quarter panel fasteners by pulling the bumper outward until it’s free (see illustration).
i.13 Pull the bumper away from the quarter panel to free up the pressure fastener clips
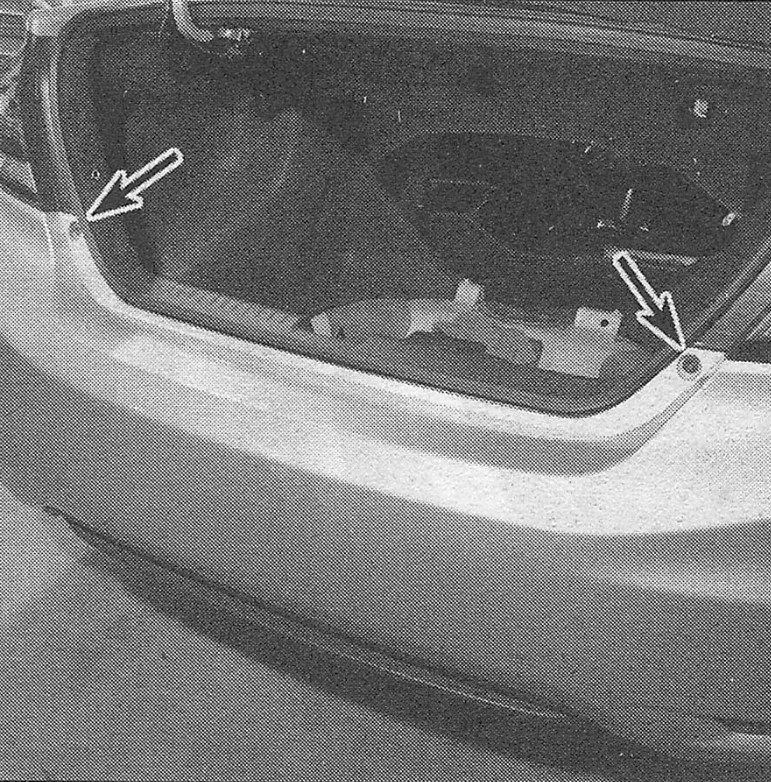
14. Open the trunk or rear liftgate and remove the screws and clips securing the upper edge of the bumper cover (see illustration). Pull the bumper cover out and away from the vehicle.
i.14 Remove these fasteners to remove the bumper
15. Installation is the reverse of removal.