Center console — removal and installation
Warning: Models covered by this manual are equipped with a Supplemental Restraint System (SRS), more commonly known as airbags. Always disable the airbag system before working in the vicinity of any airbag system component to avoid the possibility of accidental deployment of the airbag, which could cause personal injury (see Chassis electrical system).
1. Disconnect the cable from the negative terminal of the battery (see Engine electrical systems).
Civic models
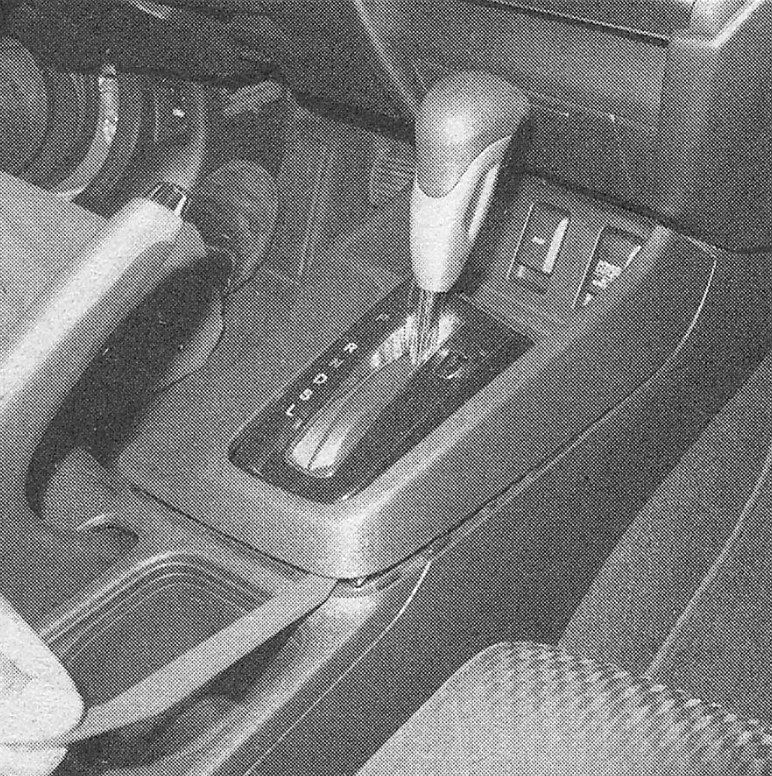
2. If you’re working on an automatic trans- mission model, pry off the gear selector trim bezel and center console trim (see illustration). On manual transmission models, unscrew the shift lever knob.
i.2 Using a trim tool, carefully pry the top shifter trim cover off
3. Disconnect the electrical connections (if applicable) and remove the gear selector trim panel.
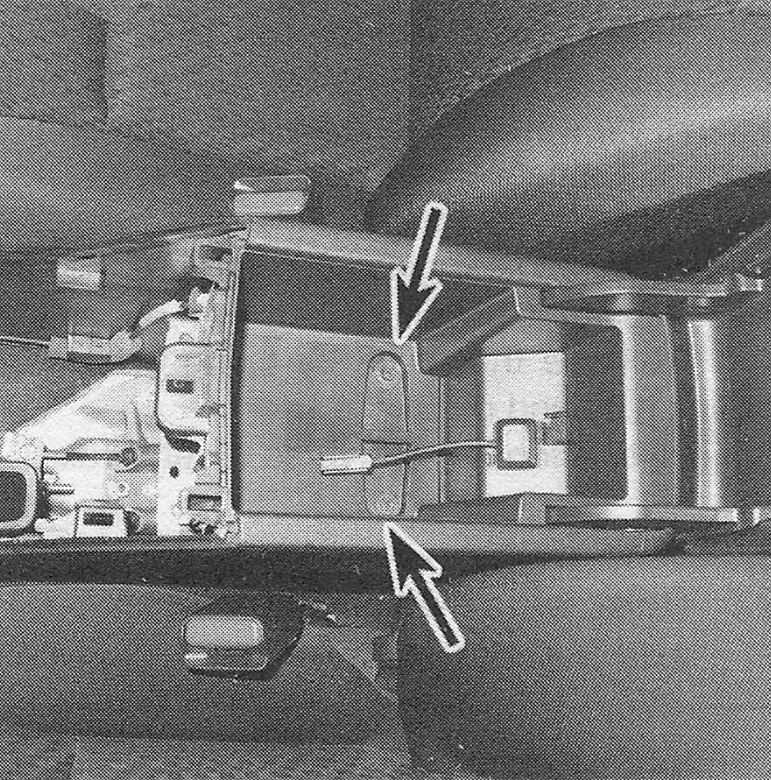
4. Open the center console arm rest, remove the mat and retaining screws (see illustration).
i.4 Remove the center console fasteners under the arm rest
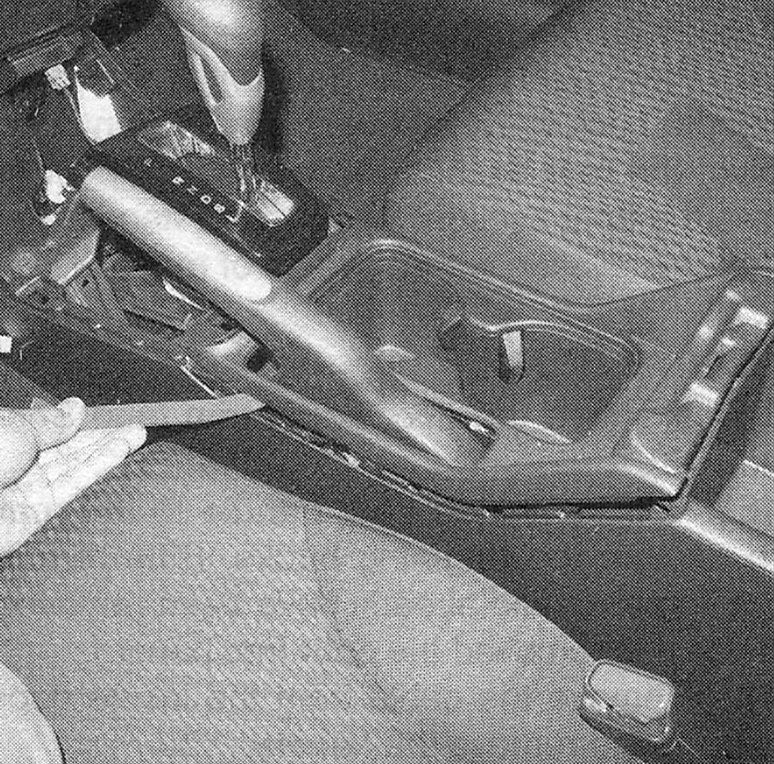
5. Remove the cup holder assembly to gain access to the bolts (see illustration).
i.5 Pry the cup holder assembly out to remove the fasteners below the cup holder assembly
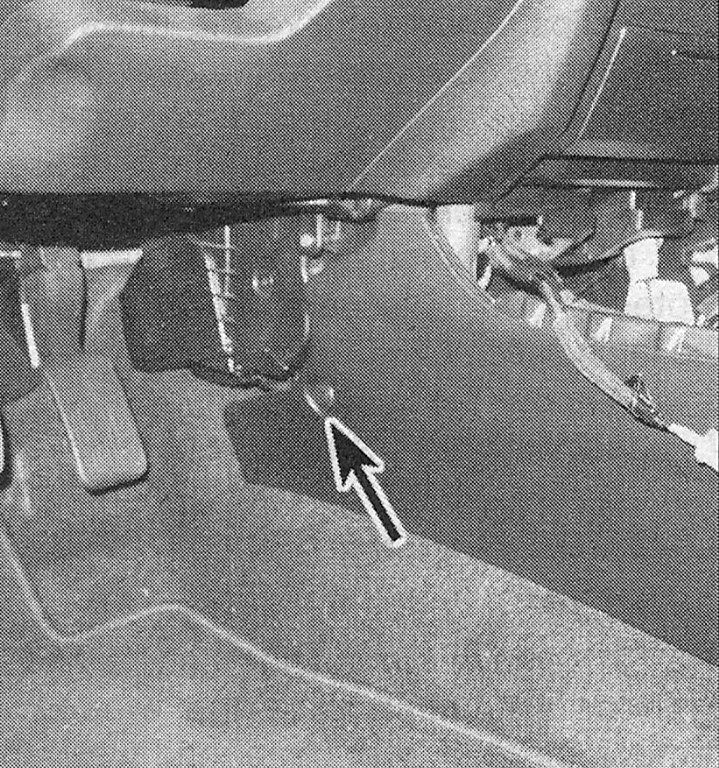
6. Remove the fasteners in the front edges of the console (see illustration). There’s one on each side.
i.6 Save these fasteners for reinstalling
7. Disconnect any electrical connection and remove the console from the vehicle.
8. There are several locking slots that secure the console. Slide the console back just a bit and lift the console off of these locking slots. Then, remove the console.
9. Installation is the reverse of removal.
CR-V models
10. Remove the forward side trim covers by pulling them away from the center console. (There are no screws, only pressure snap connectors.)
11. Pull the rear trim cover off of the console. (There are no screws, only pressure snap connectors.)
12. Pry the lower center dash trim panel off. (It’s just above the center console.)
13. Remove the bolts securing the rear portion of the console to the body. (They’re located under the rear trim you previously removed.)
14. Remove the mat from the center console and then remove the retaining bolts.
15. Remove the pressure snap connectors on either side of the console that secure the console to the dash. (They’re behind the forward side trims previously removed.)
16. Slide the front seats all the way to the front and lift the rear portion of the console up, then pull the console rearward to remove it from the vehicle.
17. Installation is the reverse of removal.