Dashboard trim panels — removal and installation
Warning: Models covered by this manual are equipped with a Supplemental Restraint System (SRS), more commonly known as airbags. Always disable the airbag system before working in the vicinity of any airbag system component to avoid the possibility of accidental deployment of the airbag, which could cause personal injury (see Chassis electrical system).
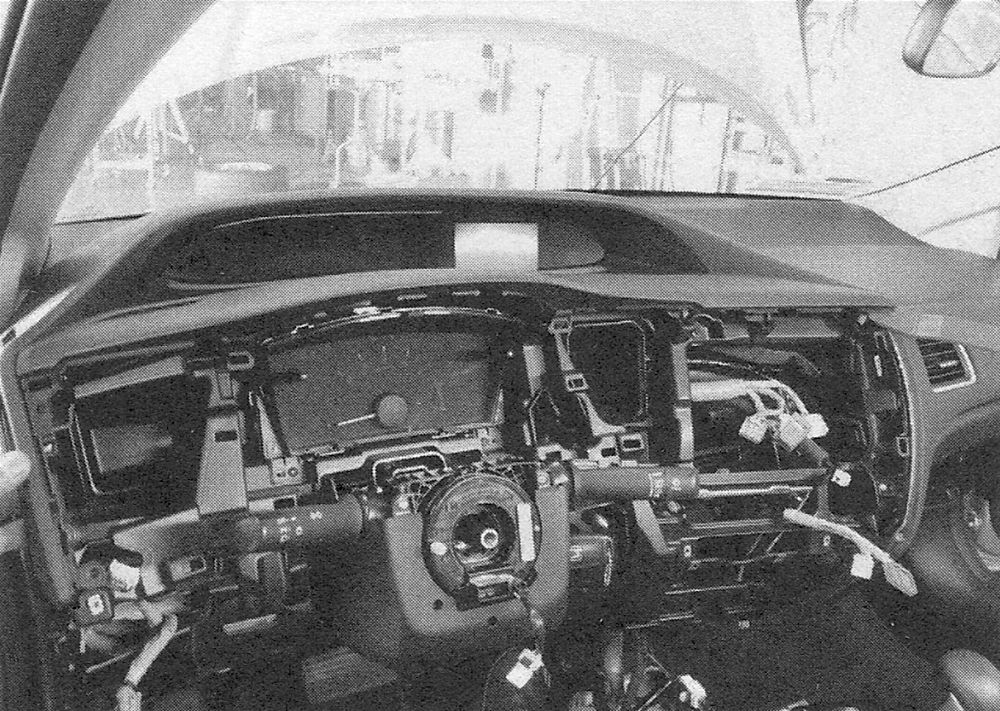
1. Disconnect the cable from the negative battery terminal (see Engine electrical systems).
Driver’s instrument panel lower cover
2. Using a flat bladed trim tool pry the edges up far enough to get your fingers around the trim panel. Then, pull the panel straight off (see illustration). (It is only held on with pressure connectors.)
i.2 Grasp the edges and pull the trim panel off. Disconnect any electrical connectors
3. Installation is the reverse of removal.
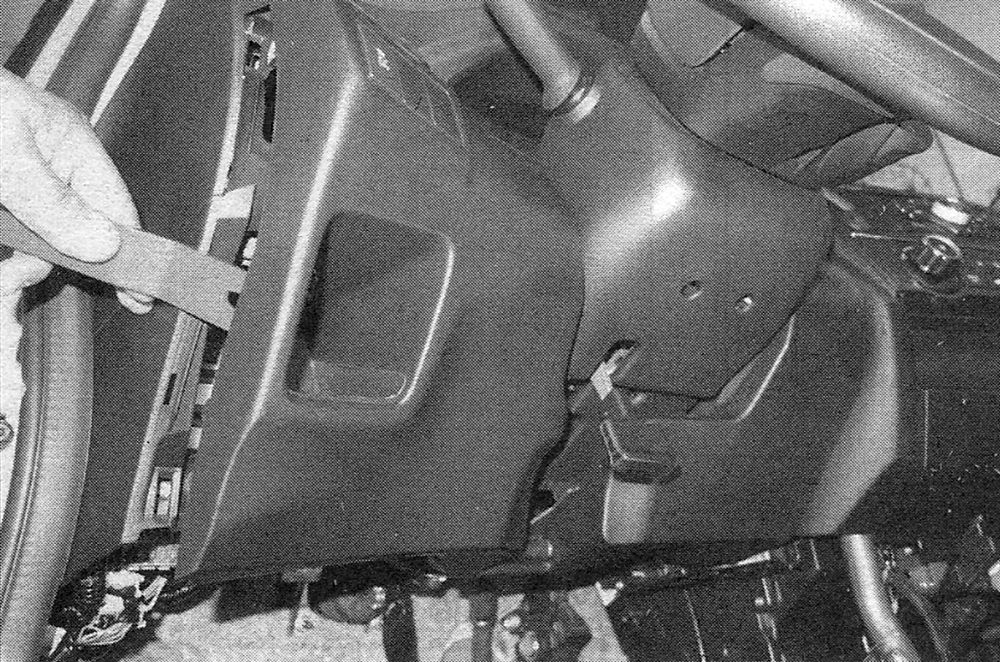
Glove box
4. Open the glove box door and remove the glove box stops, then lower the glove box from the instrument panel. Disconnect the glove box damper hooks from the top corner of the glove box (if applicable).
5. At the bottom of the glovebox, remove the screws from the hinges and press in on the tabs to lower the glove box (see illustrations).
i.5a Glove box screw locations
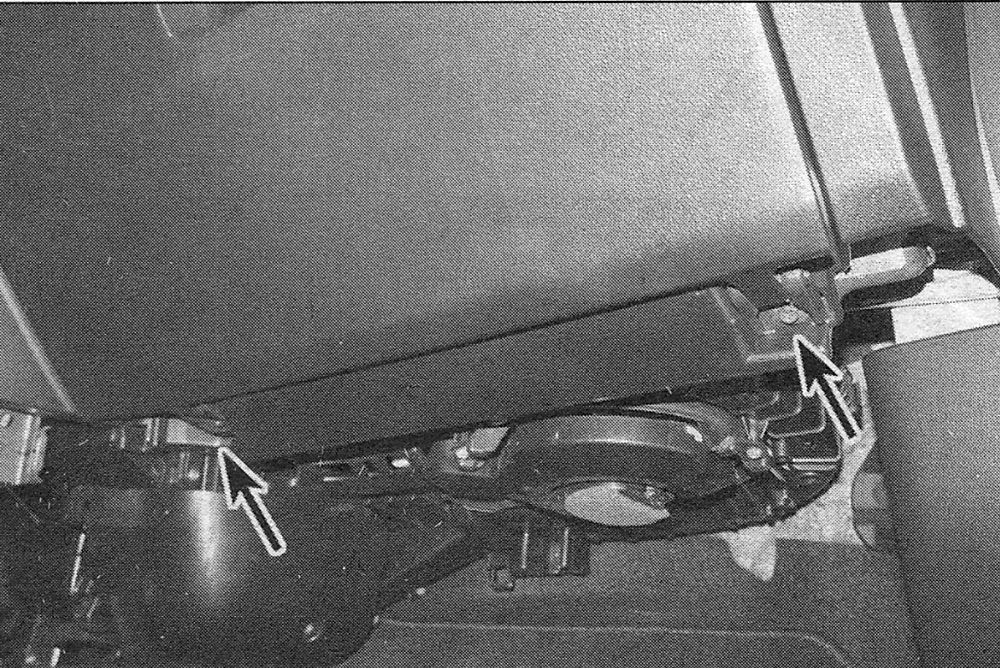
i.5b Press in on the tabs to lower the glove box
6. Installation is the reverse of removal.
Instrument cluster bezel Civic
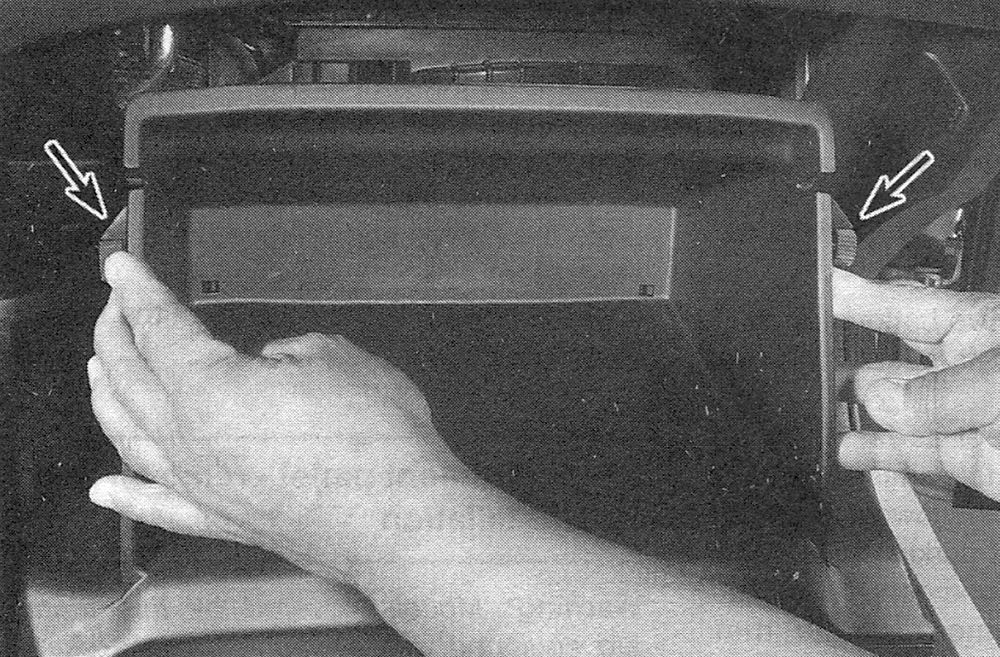
7. Grasp the bezel securely and pull back to detach the clips from the instrument panel (see illustration).
i.7 Removing the cluster bezel
8. Installation is the reverse of removal.
CR -V
9. Lower the steering column using the tilt steering release.
10. Remove the driver’s instrument panel lower cover just above the steering wheel upper cover by prying it out with a flat bladed trim tool.
11. Grasp the instrument cluster bezel and pull it away from the instrument cluster.
12. Unplug any electrical connectors, then remove the panel.
13. Installation is the reverse of removal.
Center trim panel CR-V center display visor
14. Remove the center HVAC vents by prying the edge loose and pulling them away from the dash.
15. Remove the radio/navigation assembly (see Chassis electrical system).
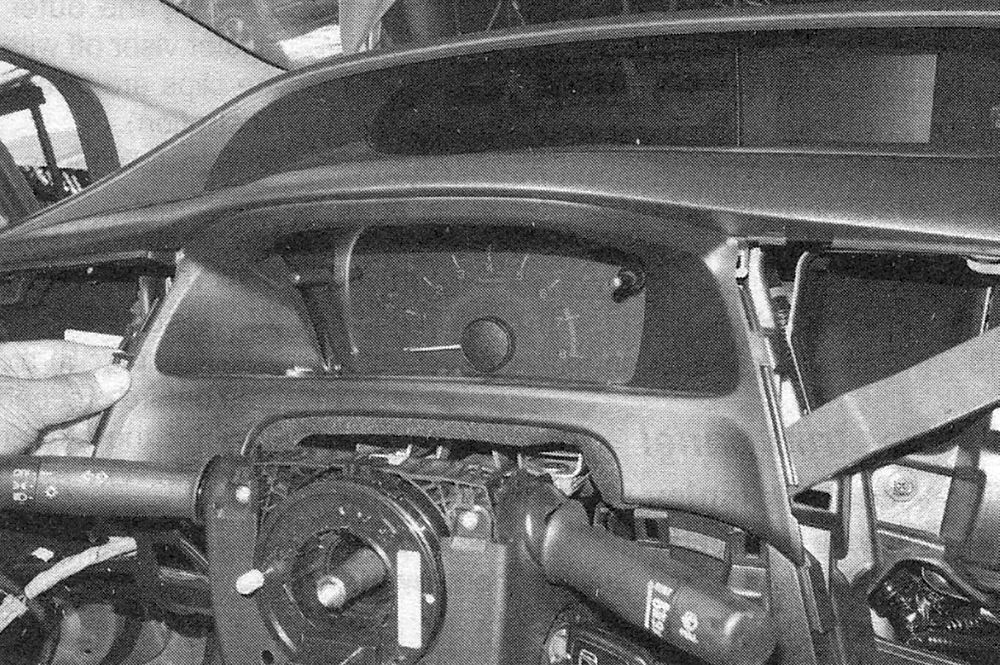
16. Remove the center display visor mounting bolts (on the bottom edges) then release the trim panel clips.
17. Carefully remove the trim panel out far enough to unplug any electrical connectors, then remove the trim panel from the dashboard.
18. Installation is the reverse of removal.
Civic lower center trim panel
19. Remove the screws securing the lower edge of the center trim panel.
20. Lift the lower edge of the panel and work your way upward along the edges to detach the clips. Unplug any electrical connectors, then remove the panel.
21. Installation is the reverse of removal.
Driver’s instrument panel upper cover (instrument cluster visor)
Civic models
22. Remove the driver’s side lower trim panel.
23. Remove the driver’s side A pillar.
24. Remove the instrument cluster bezel.
25. Using a trim tool, carefully pry up and remove the instrument panel side trim.
26. Remove the fasteners securing the instrument upper cover to the dash.
27. Pry the outer edges of the instrument cluster visor off with flat bladed trim tool. Once the clips are free lift the upper cover off (see illustration).
i.27 Remove the upper instrument panel
CR-V upper dash trim pad — removal and installation
29. Disconnect the negative battery terminal (see Engine electrical systems) and wait at least three minutes before proceeding.
30. Tilt the steering wheel as far down as possible. On automatic transmissions, set parking brake and shift to the lowest gear. On manual transmissions, set parking brake and place the shift lever in second gear.
31. Remove the instrument cluster trim bezel.
32. Remove the right and left dash end trim panels.
33. Remove the passenger side HVAC vent outlets. (Pry them out with a flat bladed trim tool.)
34. Remove the passenger side assist handle. Reach into the HVAC vent openings, depress the release tabs and remove the handle.
35. Remove the right and left side A pillar trim (see Interior trim components — removal and installation).
36. Remove the screw securing the upper instrument cluster trim panel.
37. Installation is the reverse of removal. Tighten all the screws to 18 ft-lbs.