4. If applicable, remove the wheel arch protector trim. The trim is held on by plastic fasteners. See Fastener and trim removal for details on how to properly remove this type of fastener.
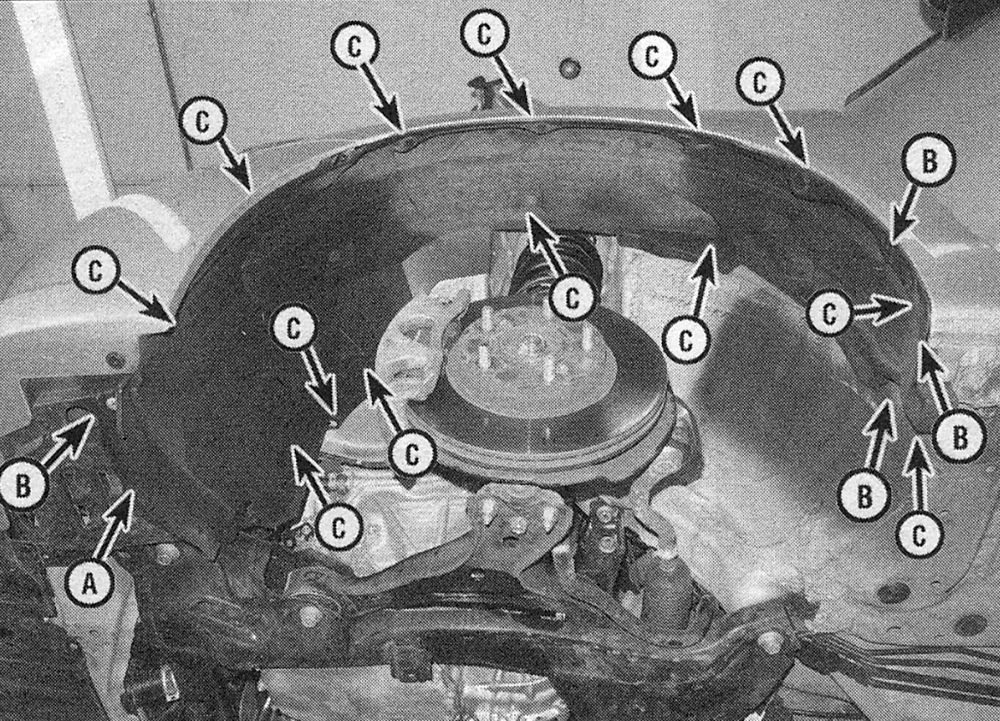
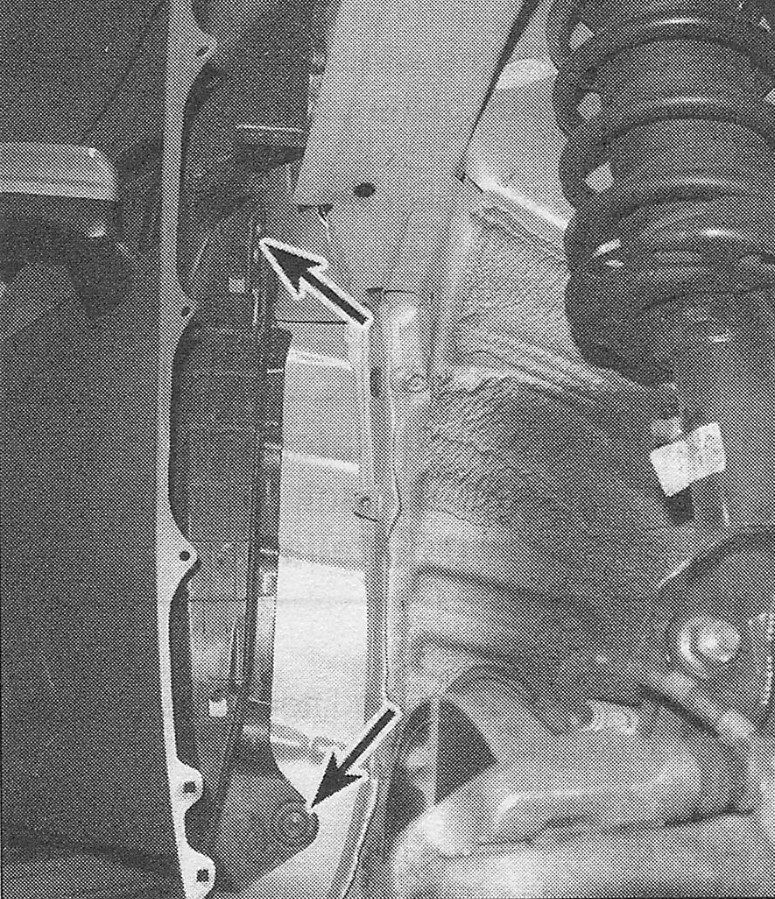
5. Remove the inner fender liner (see illustration).
i.5 Remove the fasteners retaining the inner fender liner
A Bolt B Screw C Plastic fastener
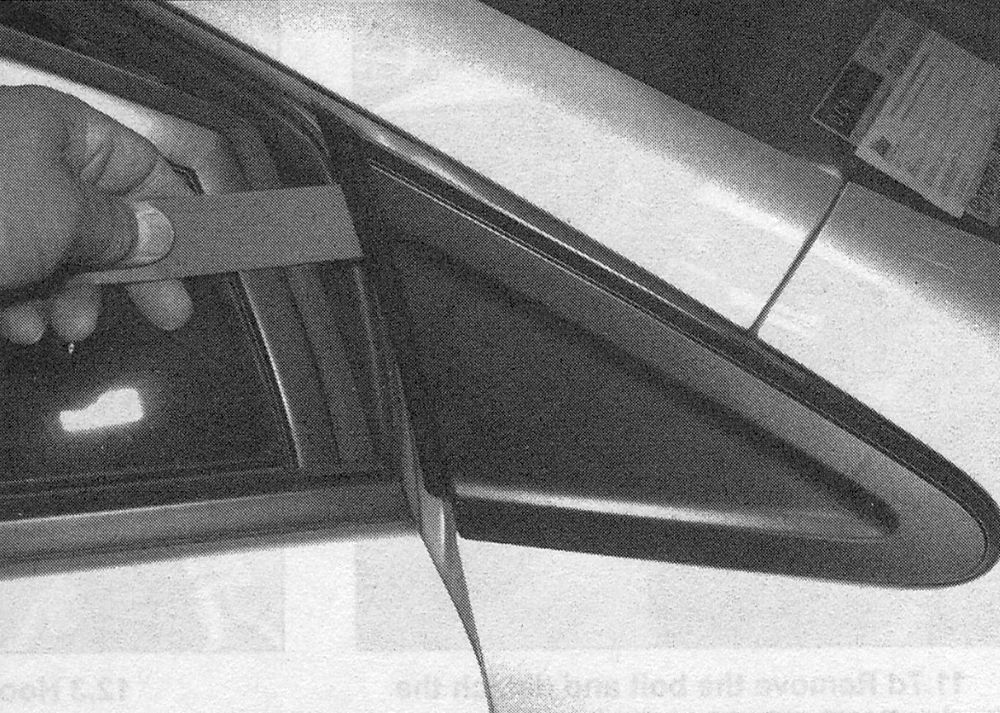
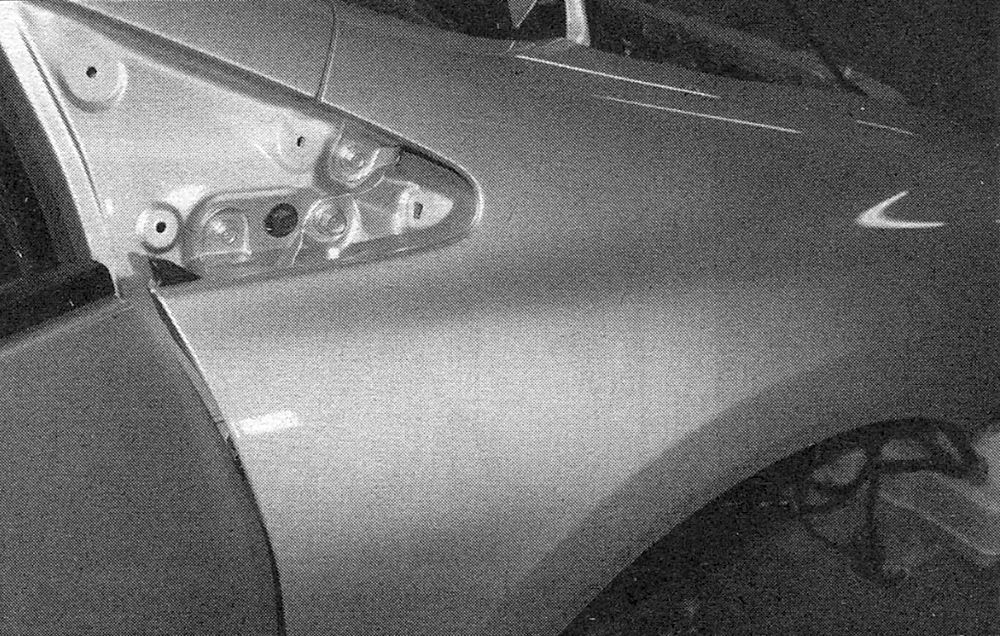
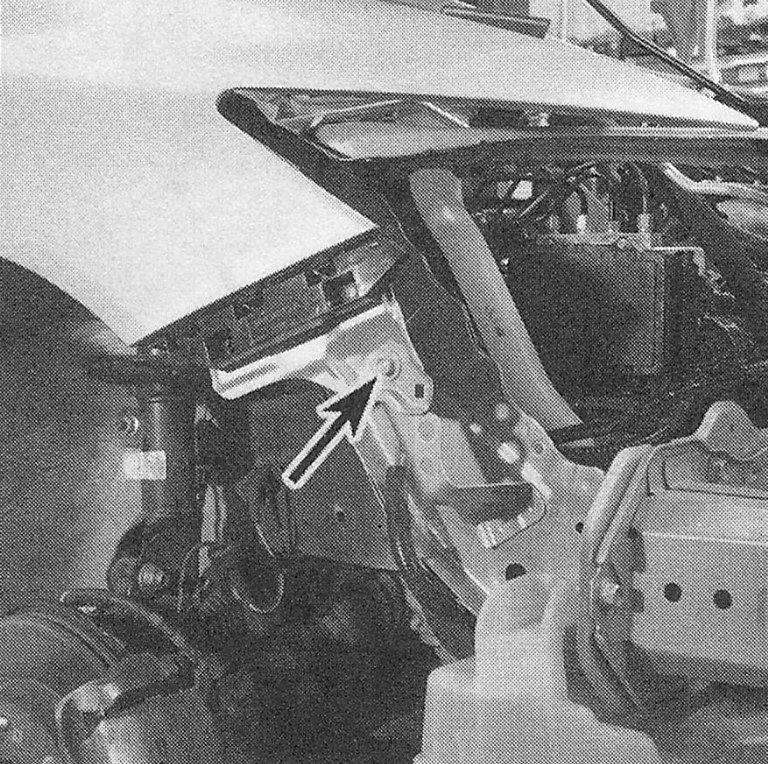
6. If applicable, remove the trim panel on the top rear edge of the fender and A pillar section, then remove the upper rear fender bolt (see illustrations).
i.6a Pry the trim off with a trim tool
i.6b Upper rear fender bolts
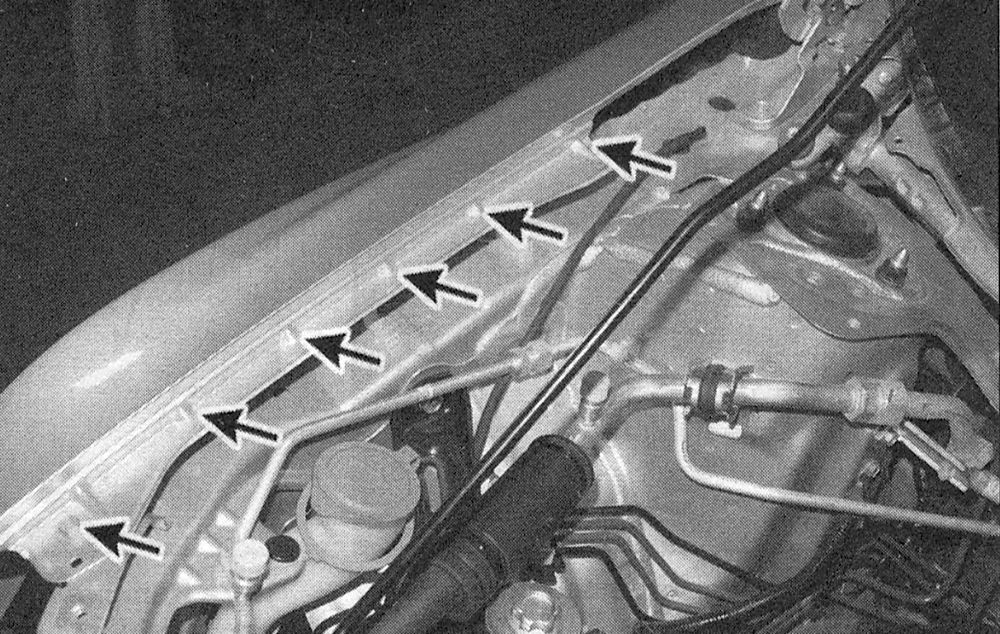
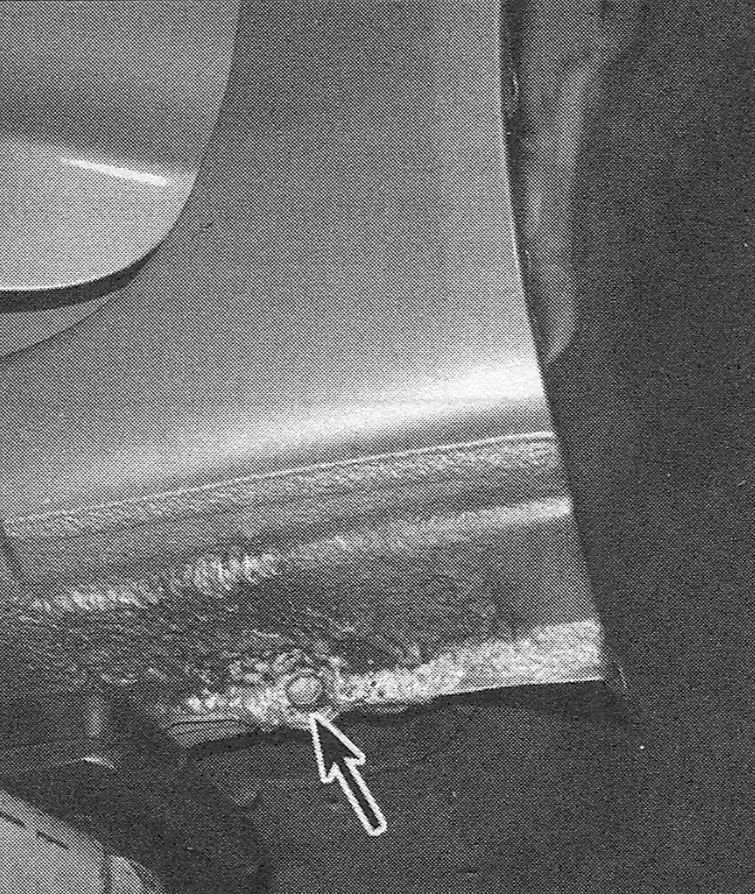
7. Remove the remaining fender mounting bolts and the fender fairing clips (see illustrations).
i.7a Upper fender bolt locations
i.7b Fender fairing clips inside the fender well
i.7c Lower rear fender bolt
i.7d Remove the bolt and detach the bracket behind the headlight
8. Lift the fender about an inch to free the locating tabs in the inner fender fairing. Remove the fender fairing from the vehicle, then remove the fender.
Note: It’s a good idea to have an assistant support the fender while it’s being detached or moved away from the vehicle to prevent damage to the surrounding body panels.