Instrument panel switches
Warning: All models covered by this manual are equipped with a Supplemental Restraint System (SRS), more commonly known as airbags. Always disable the airbag system before working in the vicinity of any airbag system component to avoid the possibility of accidental deployment of the airbag, which could cause personal injury (see Airbag system — general information).
Cruise control switch installation and removal
1. Disconnect the cable from the negative battery terminal (see Engine electrical systems), then wait at least three minutes before proceeding.
2. Remove the steering wheel (see Suspension and steering).
3. Remove the steering wheel rear cover.
4. Remove the screws retaining the cruise control switch to the steering wheel.
5. Installation is the reverse of removal. Reconnect the cable to the negative battery terminal (see Engine electrical systems).
Hazard flasher switch — Civic
6. Disconnect the cable from the negative battery terminal (see Engine electrical systems), then wait at least three minutes before proceeding.
7. Remove the lower driver’s side trim panel (knee bolster) (see Body).
8. Remove the instrument cluster assembly trim (see Body).
9. Pull the trim panel out far enough to dis- connect the electrical connections.
10. Turn the instrument panel assembly trim over and remove the hazard flasher switch (see illustrations).
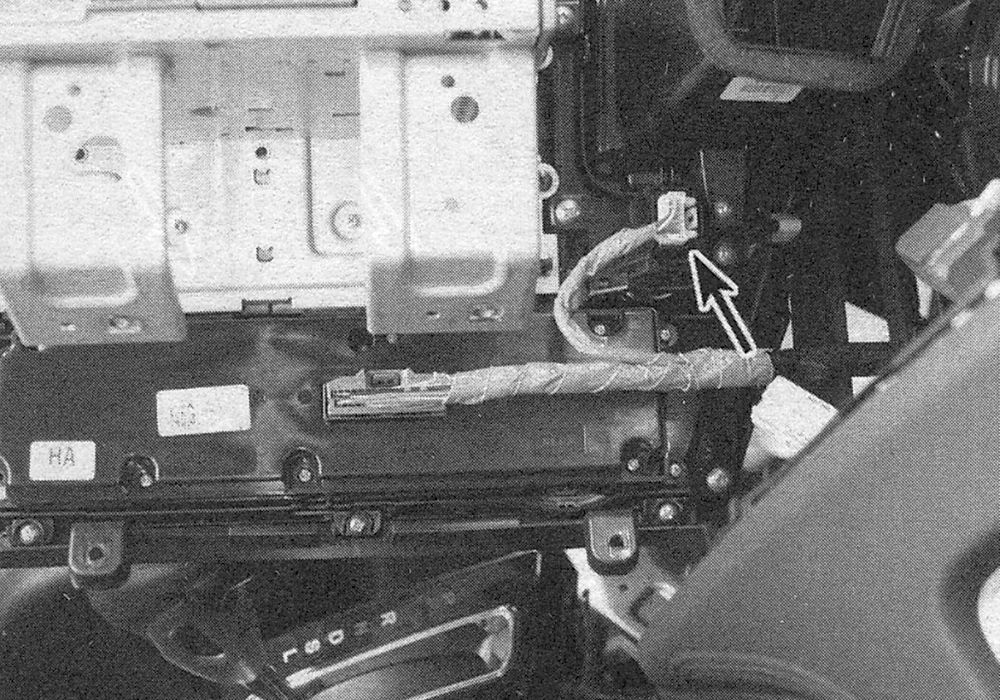
i.10a Disconnect the electrical connector
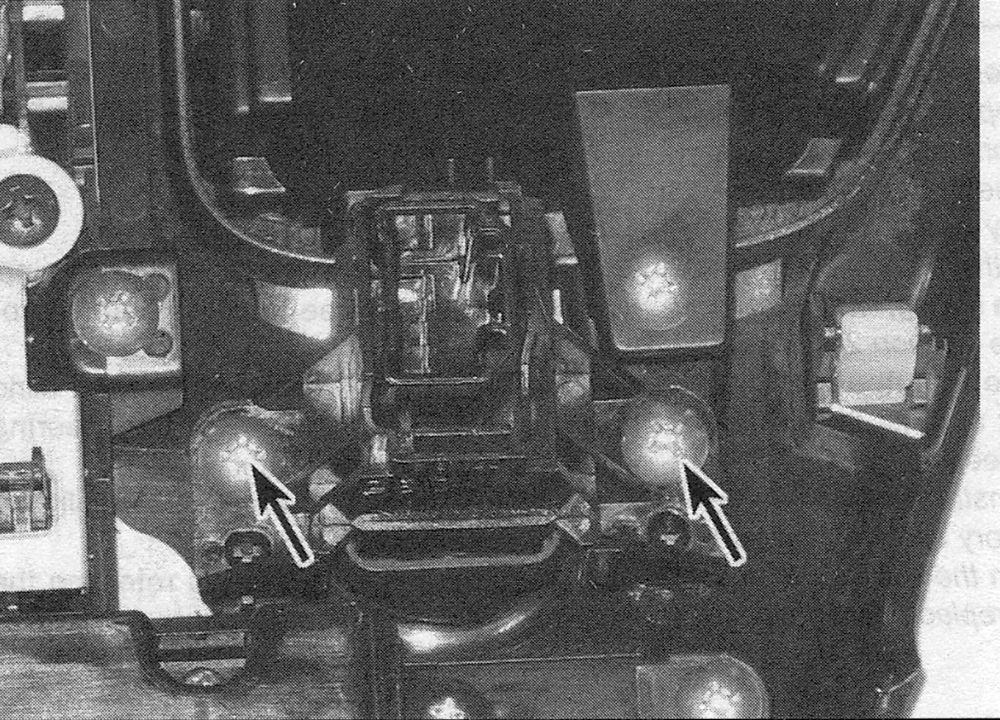
i.10b to remove the hazard switch unscrew the fasteners and pull it out of the trim panel
11. Installation is the reverse of removal. Reconnect the cable to the negative battery terminal (see Engine electrical systems).
Hazard flasher switch — CR-V
12. Disconnect the negative battery terminal and wait at least three minutes before proceeding.
13. Remove the two inner HVAC vents (see Body).
14. Remove the audio system (see Radio and speakers — removal and installation).
15. Remove the hazard flasher switch retaining screws.
16. Disconnect the electrical connection.
17. Installation is the reverse of removal. Reconnect the negative battery terminal (see Engine electrical systems).
Rear window defogger switch
18. The rear window defogger switch is an integral part of the heater and air conditioning control assembly. To replace the rear window defogger switch, you must replace the heater and air conditioning control assembly (see Cooling, heating and air conditioning systems).