Clutch release bearing and lever — removal, inspection and installation
Warning: Dust produced by clutch wear is hazardous to your health. DO NOT blow it out with compressed air and DO NOT inhale it. DO NOT use gasoline or petroleum-based solvents to remove the dust. Brake system cleaner should be used to flush the dust into a drain pan. After the clutch components are wiped clean with a rag, dispose of the contaminated rags and cleaner in a covered, marked container
2. Remove the rubber boot from the clutch release fork. Use a pair of pliers to squeeze the spring clip and pull the clutch release fork off the ball stud.
3. Slide the release bearing off the input shaft along with the release fork.
Inspection
4. Wipe off the bearing with a clean rag and inspect it for damage, wear and cracks. Don’t immerse the bearing in solvent — it’s sealed for life and immersion in solvent will ruin it.
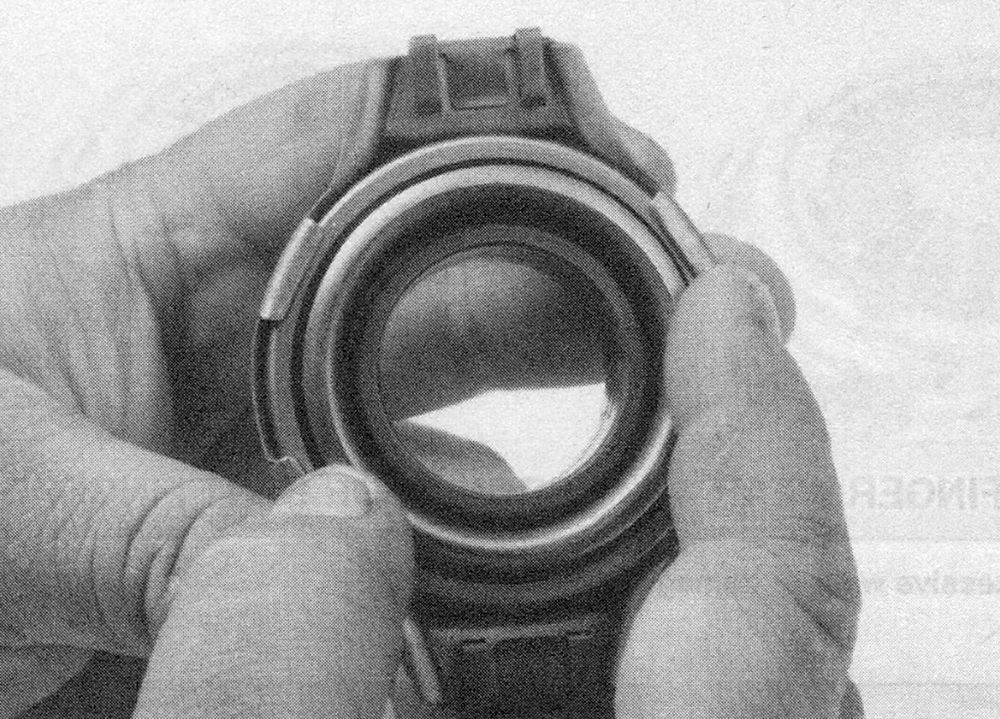
5. Hold the center of the bearing and rotate the outer portion while applying pressure (see illustration). If the bearing doesn’t turn smoothly or if it’s noisy or rough, replace it.
i.5 Hold the bearing by the outer race and rotate the inner race while applying pressure — if the bearing doesn’t turn smoothly or if it’s noisy, replace the bearing
Note: Considering the difficulty involved with replacing the release bearing, we recommend replacing the release bearing whenever the clutch components are replaced.
Installation
6. Lightly lubricate the friction surfaces of the release bearing, ball stud and the input shaft bearing retainer with high-temperature grease.
7. Install the release lever and bearing onto the input shaft.
8. The remainder of installation is the reverse of removal.