Heater core — replacement
Warning: The models covered by this manual are equipped with a Supplemental Restraint System (SRS), more commonly known as airbags. Always disable the airbag system before working in the vicinity of any airbag system component to avoid the possibility of accidental deployment of the airbag, which could cause personal injury (see Chassis electrical system).
Warning: The air conditioning system is under high pressure. DO NOT loosen any fittings or remove any components until after the system has been discharged. Air conditioning refrigerant must be properly discharged into an EPA-approved container at a dealer service department or an automotive air conditioning repair facility. Always wear eye protection when disconnecting air conditioning system fittings.
Warning: Wait until the engine is completelycool before beginning this procedure.
Note: The following procedure covers the typical heater core removal for Civics. However, the heater core removal on CR-Vs is similar.
1. If so equipped, have the air conditioning system discharged by a dealer service department or an automotive air conditioning shop before proceeding (see Warning above).
2. Disconnect the cable from the negative battery terminal (see Engine electrical systems).
3. Drain the cooling system (see Tune-up and routine maintenance).
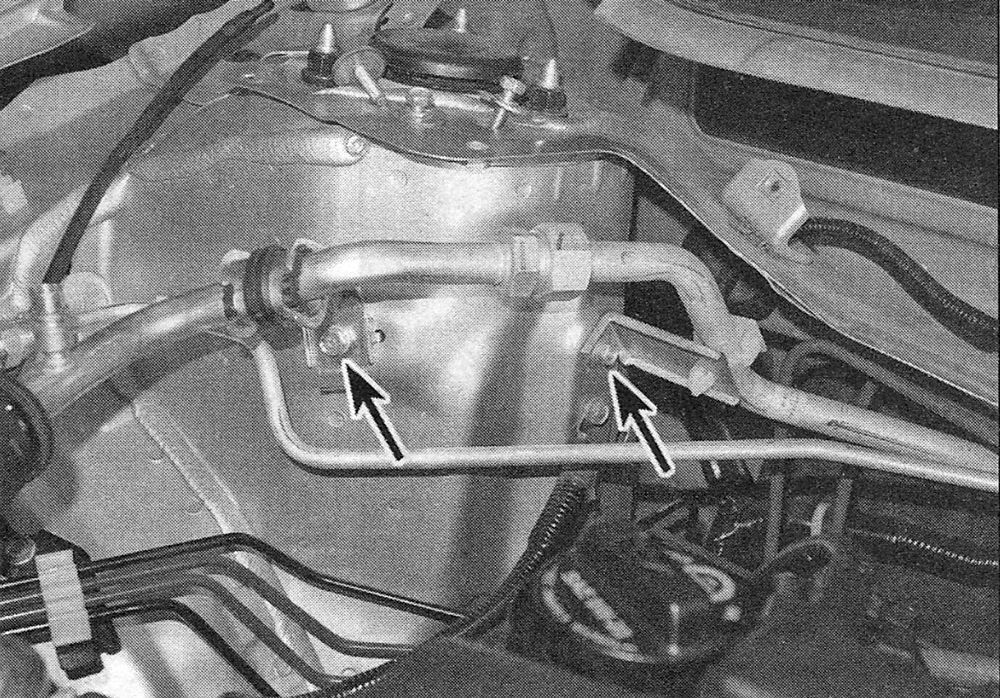
4. Remove the evaporator side air conditioning line mounting bolts inside the engine compartment (see illustration).
i.4 Evaporator side air conditioning line mounting bolt locations
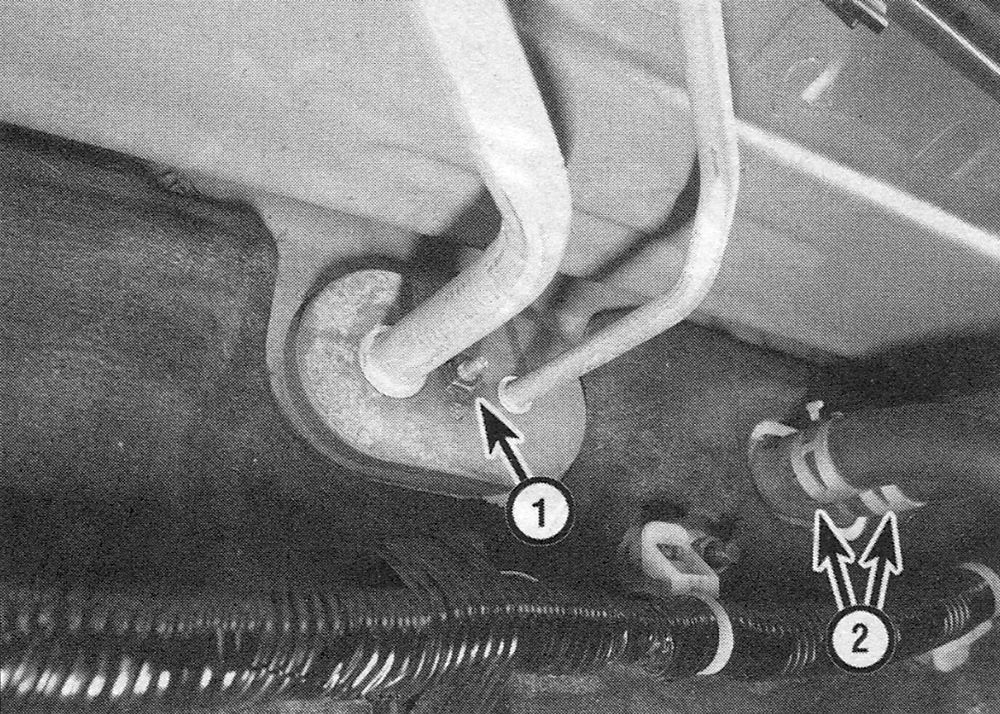
5. Disconnect the air conditioning evaporator lines at the dash inside the engine compartment from the TXV, then disconnect the heater hoses from the heater core (see illustration).
i.5 Disconnect air conditioning evaporator lines from the thermalexpansion valve (1) and the heater hoses (2) from the heater coreinside the engine compartment
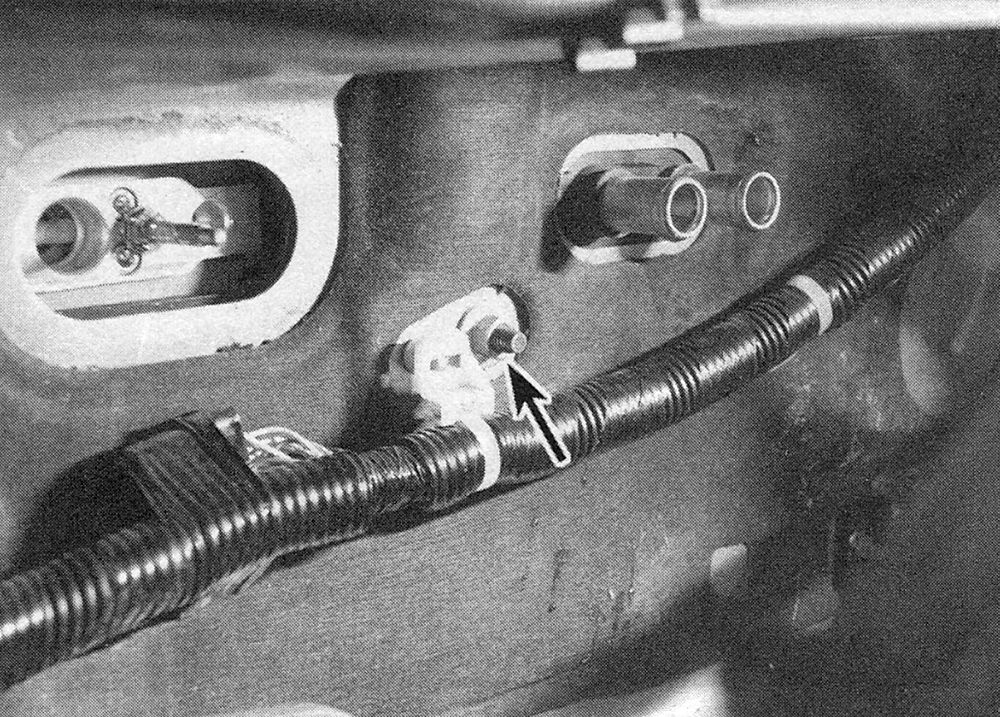
6. Remove the heater control unit mounting on the inside of the engine compartment (see illustration), taking care not to damage the fuel or brake lines.
i.6 Working on the inside of the engine compartment, removethe heater control unit mounting nut
7. Remove the instrument panel (see Body).
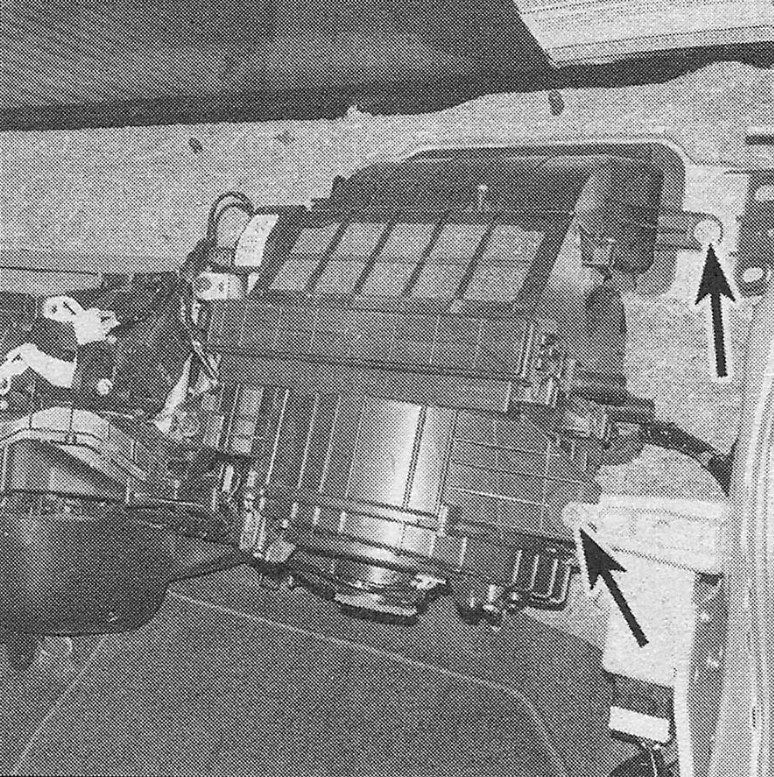
8. Disconnect the blower motor and powertransistor electrical connectors. Remove the heater/air conditioning assembly mounting bolts (see illustrations), disconnect the electrical connectors and remove the assembly from the vehicle.
i.8a Remove the blower unit mounting nut/bolts from the left side …
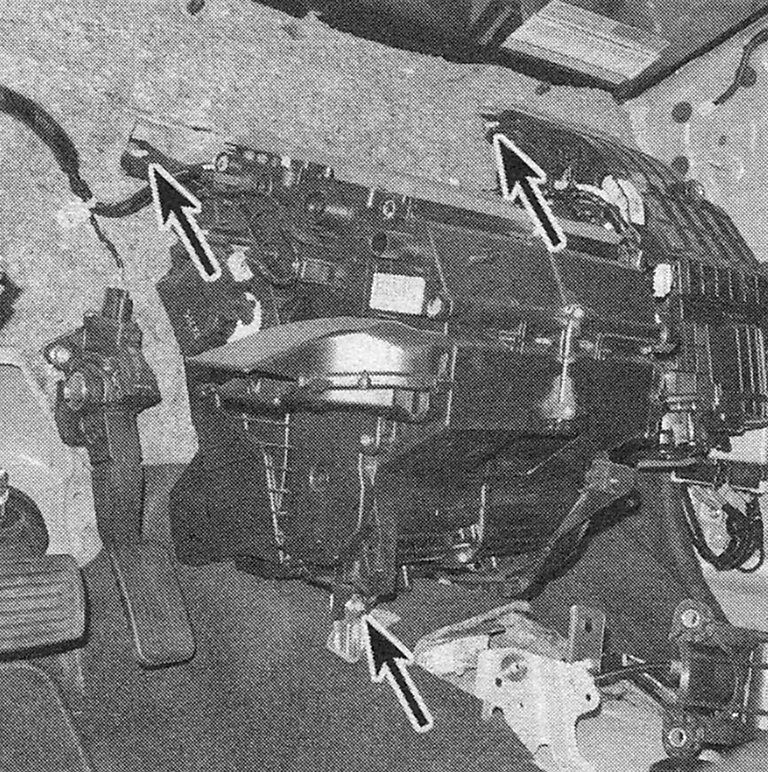
i.8b … and right side of the housing
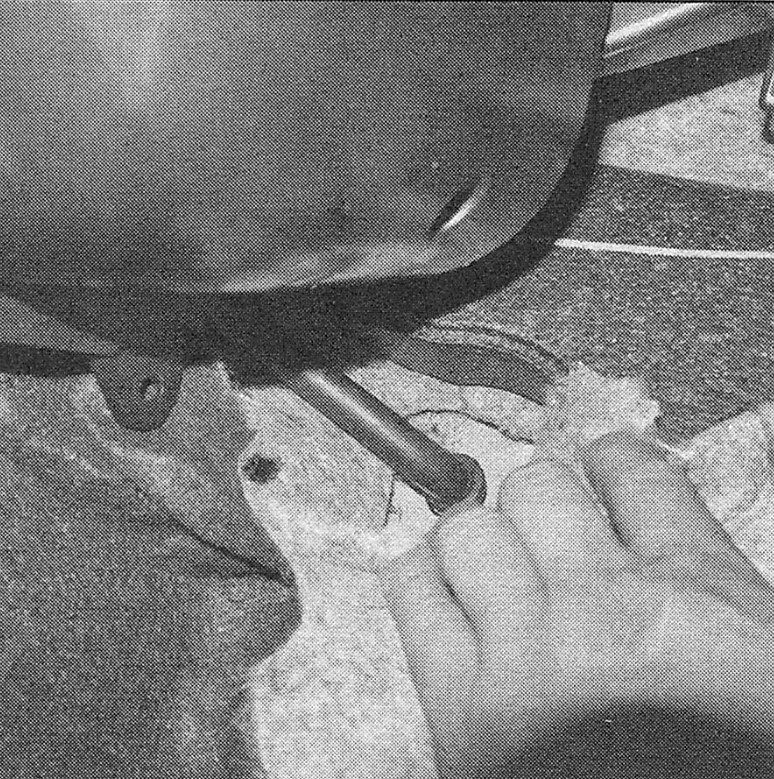
9. Remove the evaporator drain (see illustration).
i.9 Pull the carpet back and pull the drain hose out from the firewall
10. Remove the blower unit to heater/air conditioning housing bolts and separate the housings.
11. Remove the passenger’s heater duct screws and duct.
12. Remove the heater core cover (see illustration).
11.12 Remove the heater cover screws from the expansion valve cover
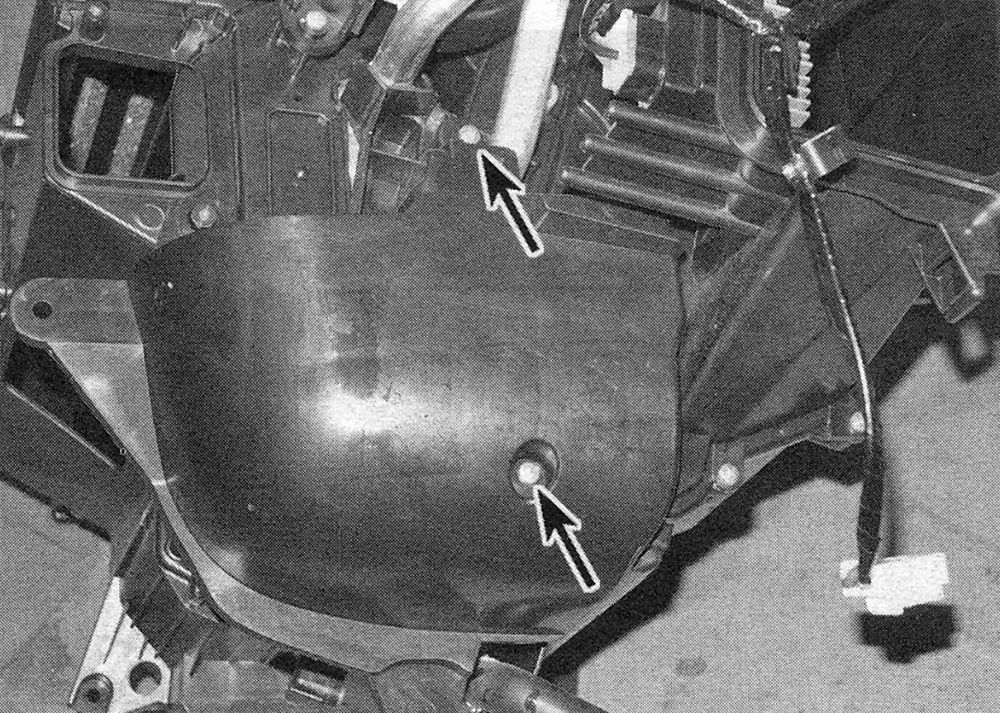
13. If equipped with air conditioning, remove the expansion valve cover fasteners and the seal (see illustrations).
i.13a Remove the expansion valve cover fasteners …
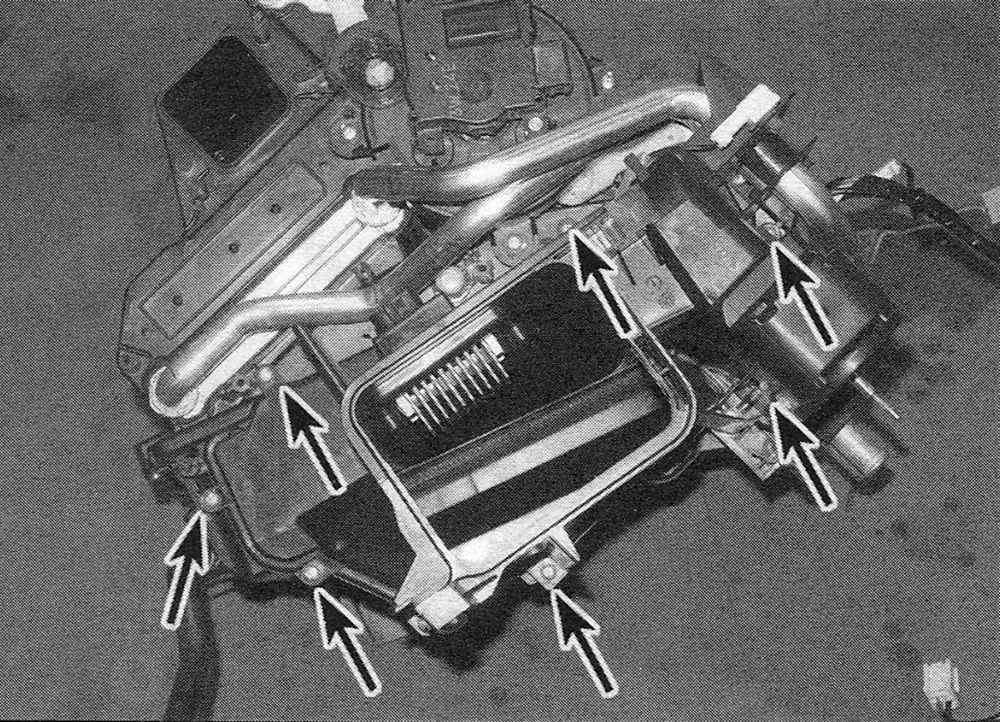
i.13b. then lift the cover from the heater/air conditioning unit
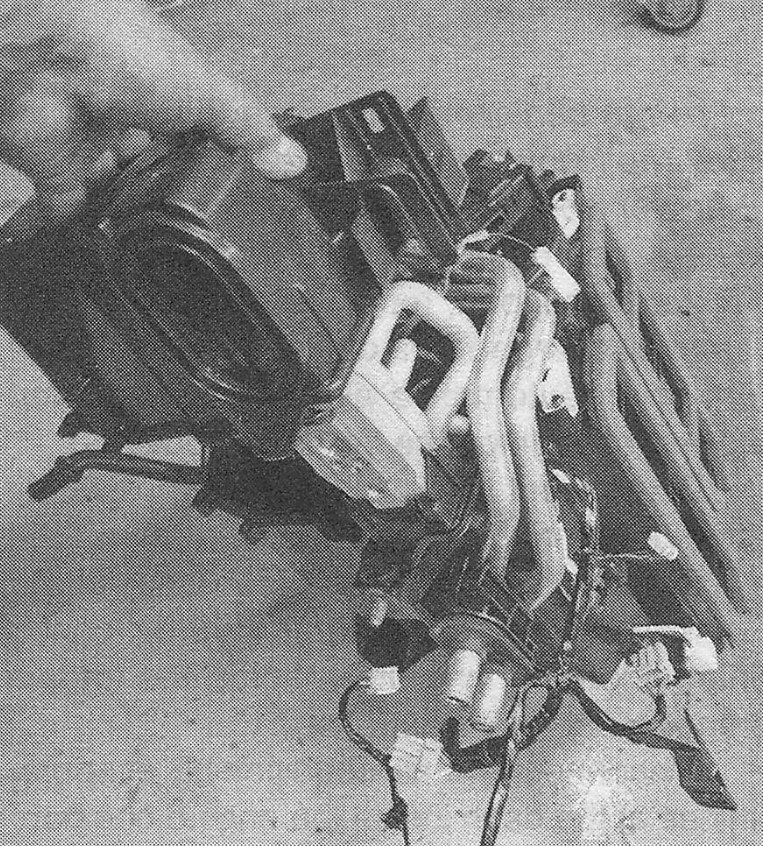
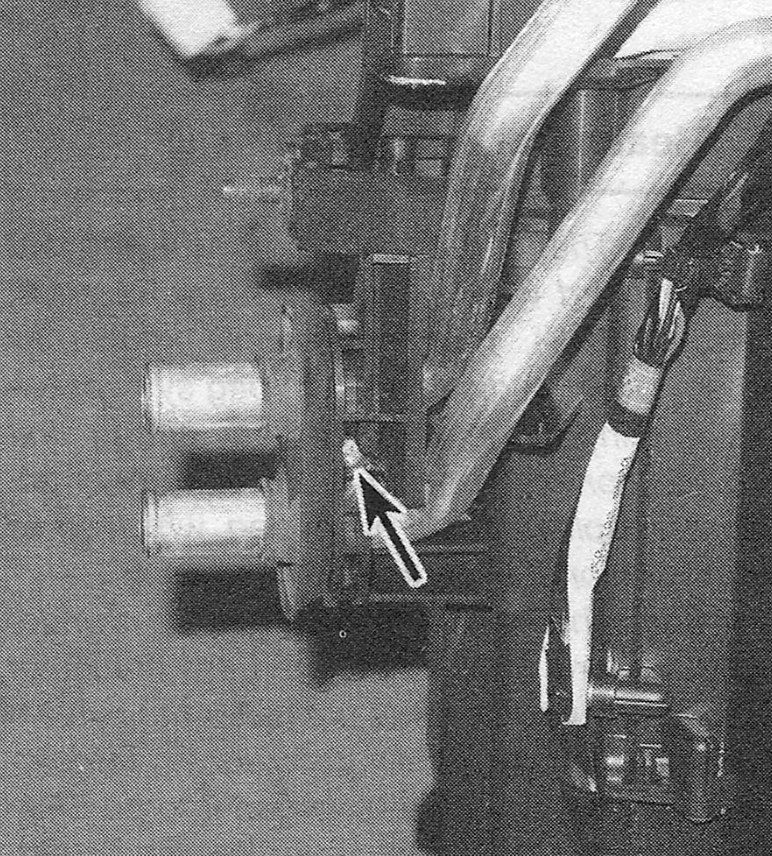
14. Remove the heater pipe bracket screw and bracket (see illustration).
i.14 Heater pipe bracket screw location
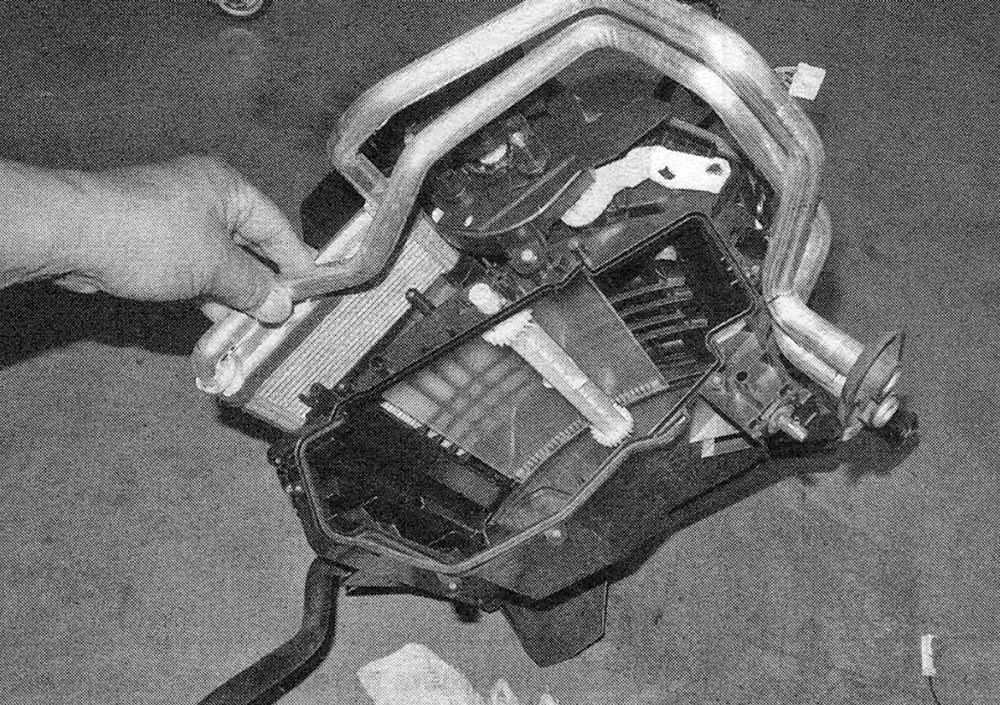
15. Lift the heater cover from the heater/air conditioning unit (see illustration).
11.15 Lift the heater core from the heater/AC unit
16. Installation is the reverse of removal. Don’t forget to reconnect the heater core inlet and outlet hoses at the firewall.
17. Reconnect the battery (see Engine electrical systems).
18. Refill the cooling system (see Tune-up and routine maintenance).
19. If equipped, have the air conditioning system evacuated, leak tested and recharged by the shop that discharged it.