Oxygen sensors — replacement
Note: Because it is installed in the exhaust manifold or pipe, both of which contract when cool, an oxygen sensor might be very difficult to loosen when the engine is cold. Rather than risk damage to the sensor or its mounting threads, start and run the engine for a minute or two, then shut it off. Be careful not to burn yourself during the following procedure.
1. Remove the key from the ignition key lock cylinder. Raise the vehicle and place it securely on jackstands.
2. Special care must be taken whenever a sensor is serviced.
- ) Oxygen sensors have a permanently attached pigtail and an electrical connector that cannot be removed. Damaging or removing the pigtail or electrical connector will render the sensor useless.
- ) Keep grease, dirt and other contaminants away from the electrical connector and the louvered end of the sensor.
- ) Do not use cleaning solvents of any kind on an oxygen sensor.
- ) Oxygen sensors are extremely delicate. Do not drop a sensor, throw it around or handle it roughly.
- ) Make sure the silicone boot on the sensor is installed in the correct position. Otherwise, the boot might melt and prevent the sensor from operating correctly.
3. There are two oxygen sensors. The upstream oxygen sensor — also referred to by Honda as the «Air/Fuel (A/F) ratio sensor» — is located above the catalytic converter (which is an integral part of the exhaust manifold), and the downstream sensor is located below the catalyst.
Upstream oxygen sensor
4. Disconnect the upstream oxygen sensor electrical connector.
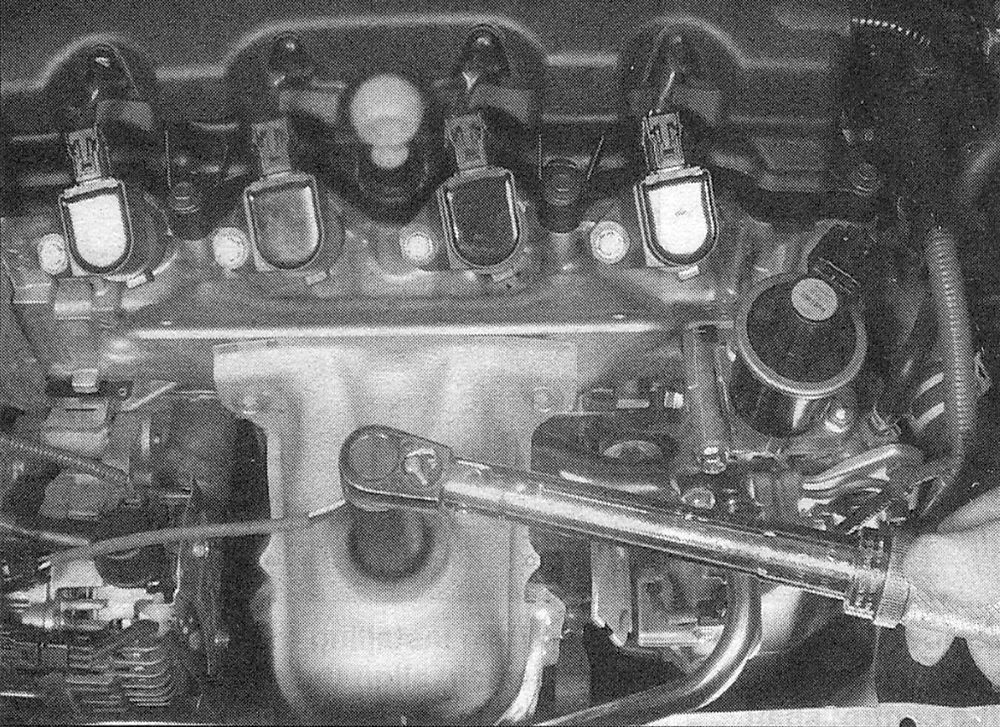
5. Using a special 02 sensor socket, remove the upstream oxygen sensor (see illustration).
i.5 Remove the upstream oxygen sensor using a special 02 socket (Civic 1.8L shown)
6. If you’re going to install the old sensor, apply anti-seize compound to the threads of the sensor to facilitate future removal. If you’re going to install a new oxygen sensor, it’s not necessary to apply anti-seize compound to the threads. The threads on new sensors already have anti-seize compound on them.
7. Installation is the reverse of removal. Be sure to tighten the upstream oxygen sensor securely.
Downstream oxygen sensor
8. Raise the front of the vehicle and place it securely on jack stands.
9. Locate the downstream oxygen sensor at the lower end of the exhaust manifold or in the exhaust pipe.
10. Disconnect the downstream oxygen sensor electrical connector.
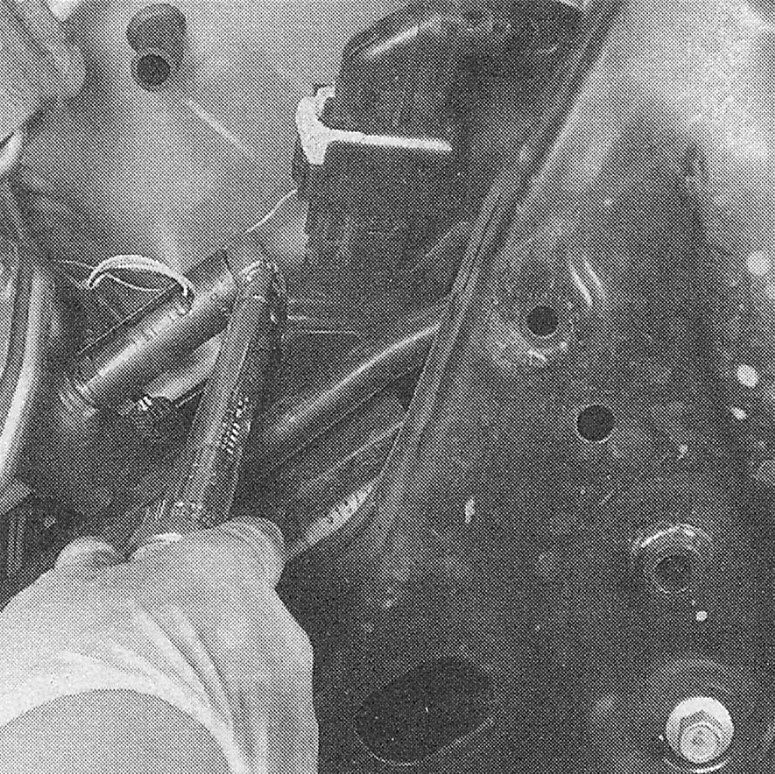
11. Using a special 02 sensor socket, remove the downstream oxygen sensor (see illustration).
i.11 Remove the downstream oxygen sensor using a special 02 socket (Civic 1.8L shown)
12. Remove the downstream oxygen sensor from the exhaust manifold.
13. If you’re going to install the old sensor, apply anti-seize compound to the threads of the sensor to facilitate future removal. If you’re going to install a new oxygen sensor, it’s not necessary to apply anti-seize compound to the threads. The threads on new sensors already have anti-seize compound on them.
14. Installation is the reverse of removal. Be sure to tighten the oxygen sensor securely.