Steering wheel — removal and installation
Warning: These models are equipped with a Supplemental Restraint System (SRS), more commonly known as airbags. Always disable the airbag system before working in the vicinity of any airbag system component to avoid the possibility of accidental deployment of the airbag(s), which could cause personal injury (see Chassis electrical system).
Warning: Do not use a memory saving device to preserve the PCM or radio memory when working on or near airbag system components.
Removal
1. Make sure the front wheels are pointed straight ahead, then disconnect the cable from the negative terminal of the battery (see Engine electrical systems). Wait at least three minutes before proceeding.
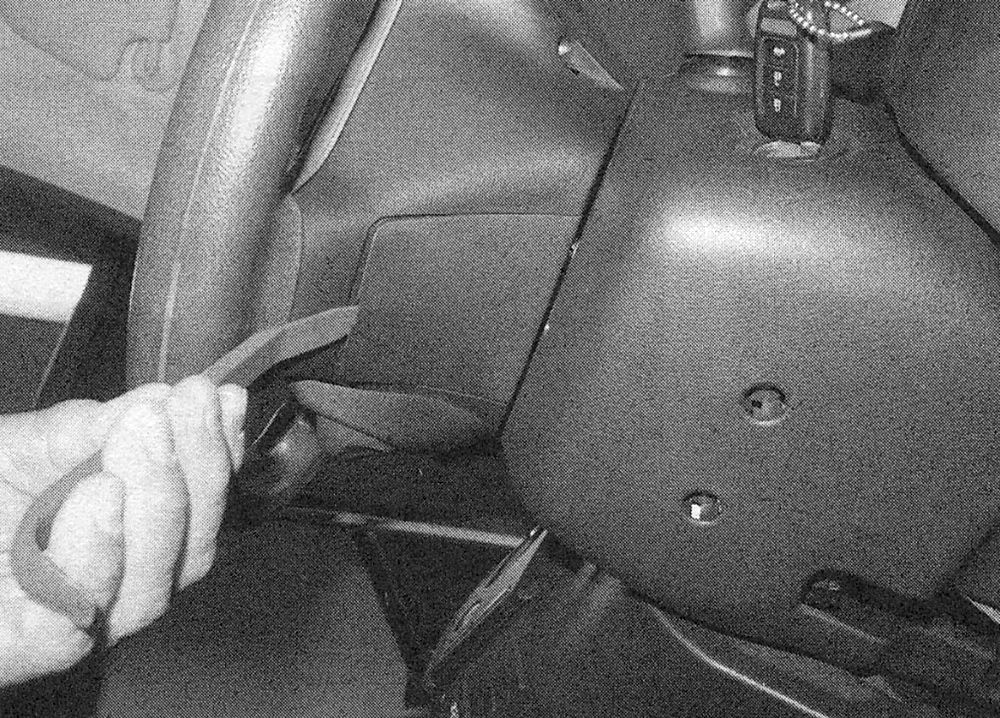
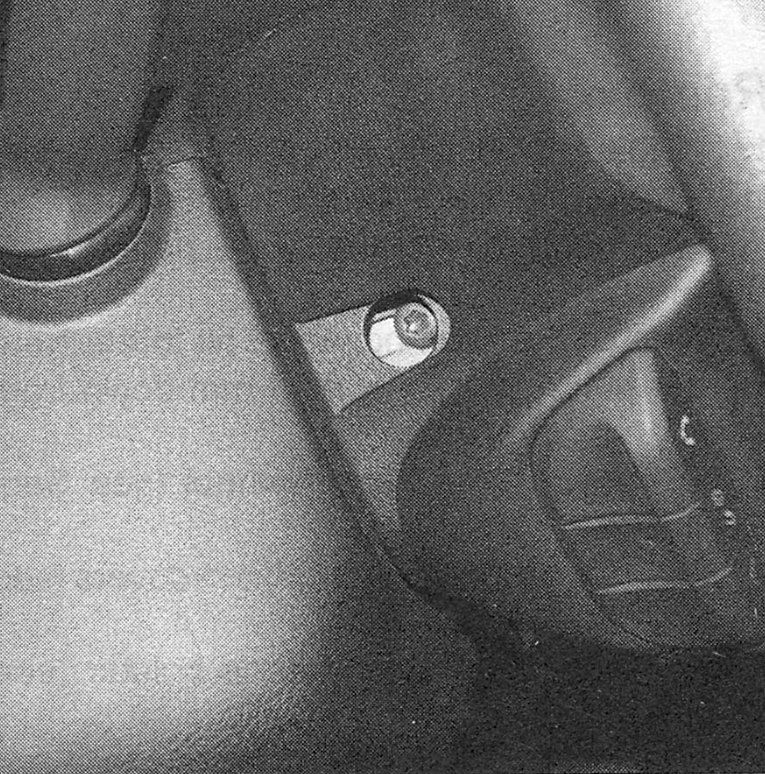
2. Remove the airbag connector access panel from the bottom of the steering wheel (see illustration).
i.2 Remove the panel from the underside of the steering wheel
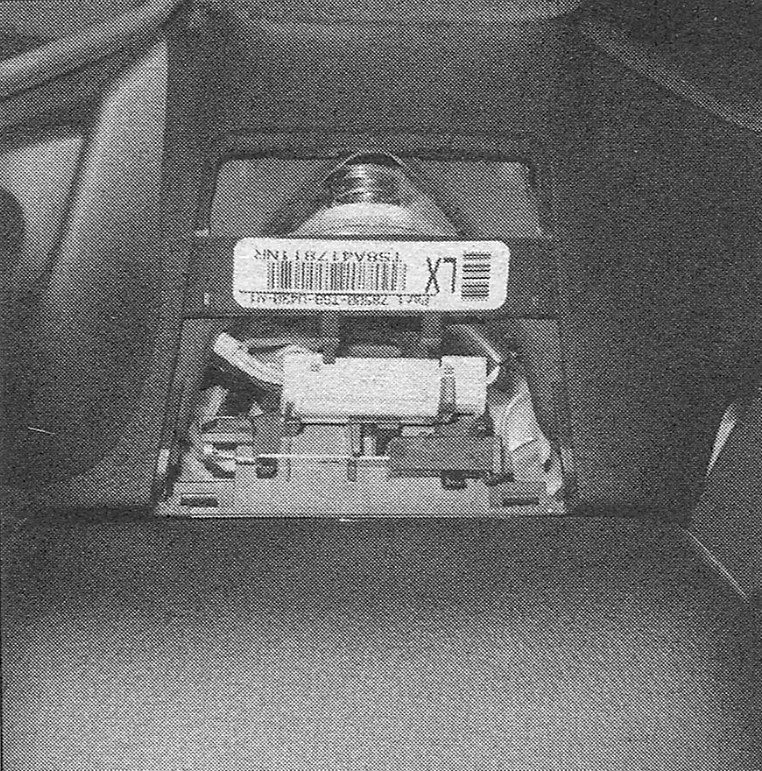
3. Unplug the electrical connectors (see illustrations).
i.3a Disconnect the electrical connector for the airbag module
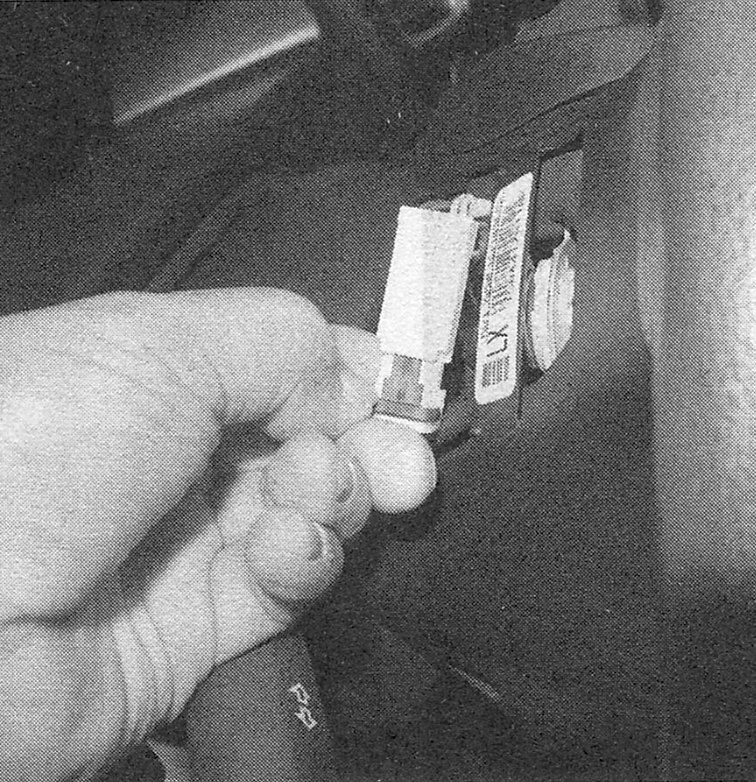
i.3b Pull the connector off of the retaining clip, then disconnect the connector
i.3c Push the electrical connection back into the cavity but not back onto the retainer
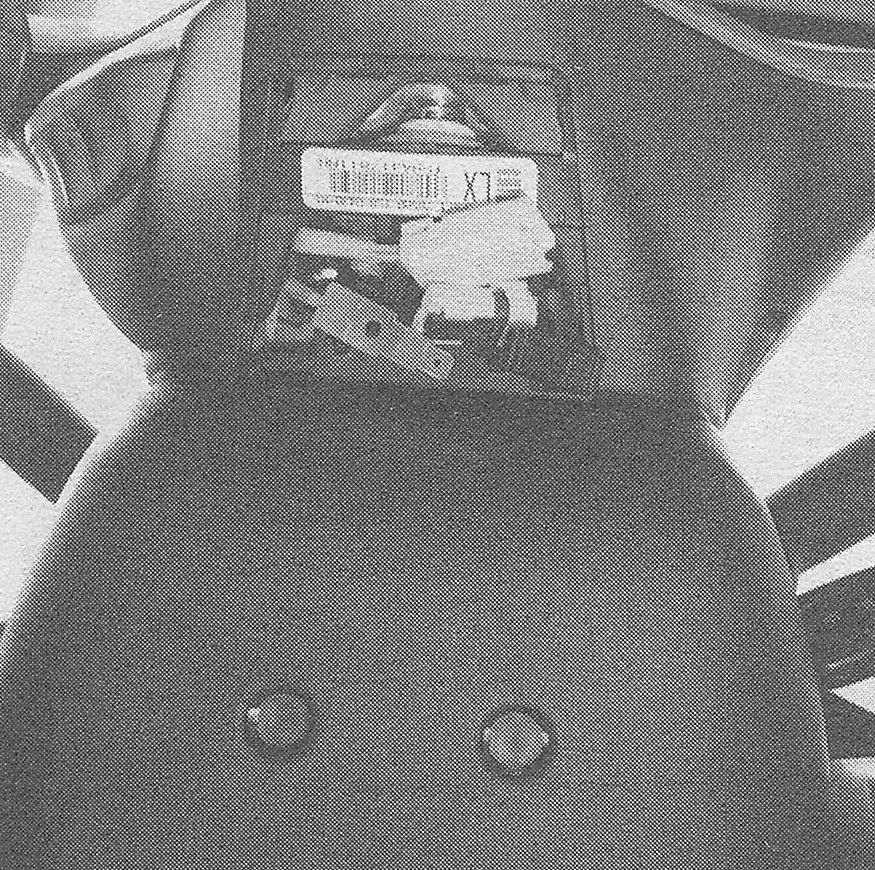
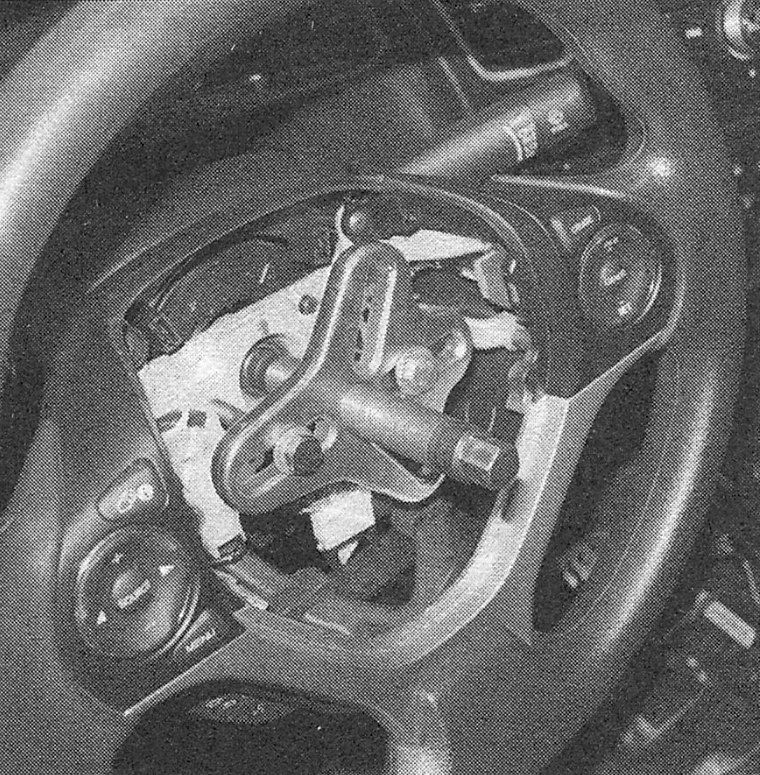
4. Remove the fasteners retaining the air- bag module to the steering wheel (see illustration).
i.4 Remove the airbag Torn-head fasteners on each side of the steering wheel
5. Pull off the airbag module, then carefully set it in a safe location.
Caution: Carry the airbag module with the trim side facing away from you, and set the steering wheel/airbag module down with the trim side facing up. Don’t place anything on top of the airbag module.
6. Disconnect the connectors for the horn and the cruise control switch.
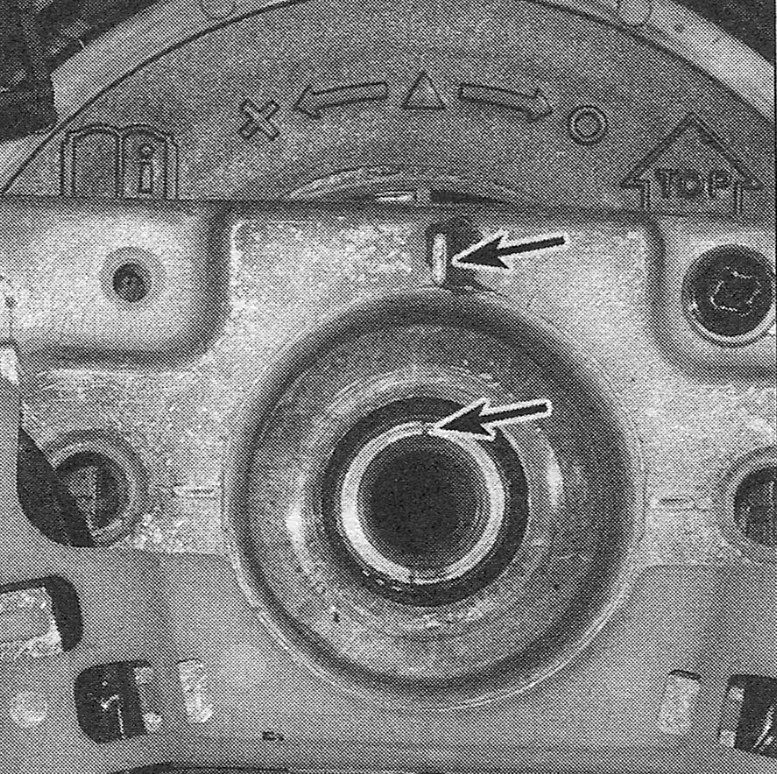
7. Check to see if there are matchmarks on the steering wheel and steering column shaft (see illustration). If there are none, make your own.
i.7 Steering wheel matchmarks
8. Remove the steering wheel using a steering wheel puller (see illustration). The puller screw must be contacting the steering wheel bolt or shaft.
i.8 Use a steering wheel puller to remove the steering wheel
Caution: Don’t thread the bolts of the puller into the steering wheel more than five turns, as they could contact the airbag clock spring and damage it.
Caution: While the steering wheel is removed, DO NOT turn the steering shaft. If you do so, the airbag clock spring could be damaged. Once the steering wheel has been released from the shaft, remove the puller and retaining bolt. Make a mark indicating the relationship of the steering wheel hub to the steering shaft, then pull the steering wheel off the shaft.
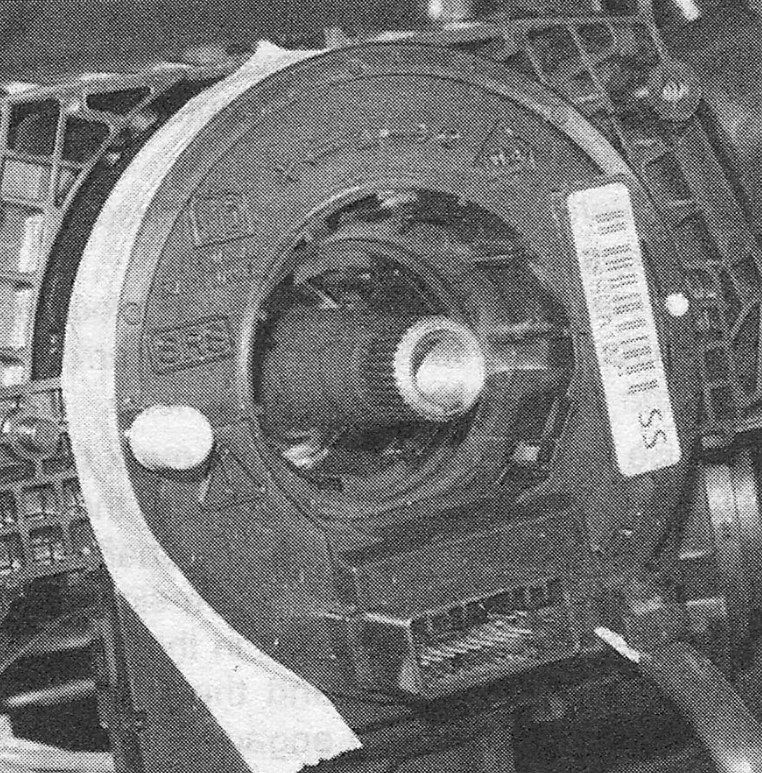
9. If it is necessary to remove the clock-spring, remove the steering column covers (see Body). Tape the clock spring to prevent it from turning, then unplug the clock spring electrical connectors, release the retaining tabs and detach if from the steering column (see illustration).
i.9 Use a small screwdriver to release the clock spring retaining tabs
Installation
10. With the front wheels pointed straight ahead, make sure that the airbag clock spring is centered with the arrow on the clock spring
pointing up. This shouldn’t be a problem as long as you have not turned the steering shaft while the wheel was removed. If for some reason the shaft was turned, center the clock-spring as follows:
- ) Rotate the clock spring clockwise until it
- ) Rotate the clock spring counterclockwise about 2-1/2 to 3 turns until the arrow on the clock spring points straight up.
11. Be sure to align the index mark on the steering wheel hub with the mark on the shaft when you slip the wheel onto the shaft. Make sure the locating pins on the turn signal canceling cam engage the holes in the backside of the steering wheel, and the notches in the steering wheel hub engage the tabs on the turn signal canceling cam. Install a NEW steering wheel bolt and tighten it to the torque listed in this Chapter’s Specifications.
12. Connect the horn and the cruise control switch connectors.
13. Reattach the airbag module using NEW fasteners and tighten them to the torque listed in this Chapter’s Specifications.
14. Plug in the electrical connector for the airbag module and install the trim panel.
15. Reconnect the negative battery cable (see Engine electrical systems).