Spark plug check and replacement
1. The spark plugs are located in the center of the cylinder head.
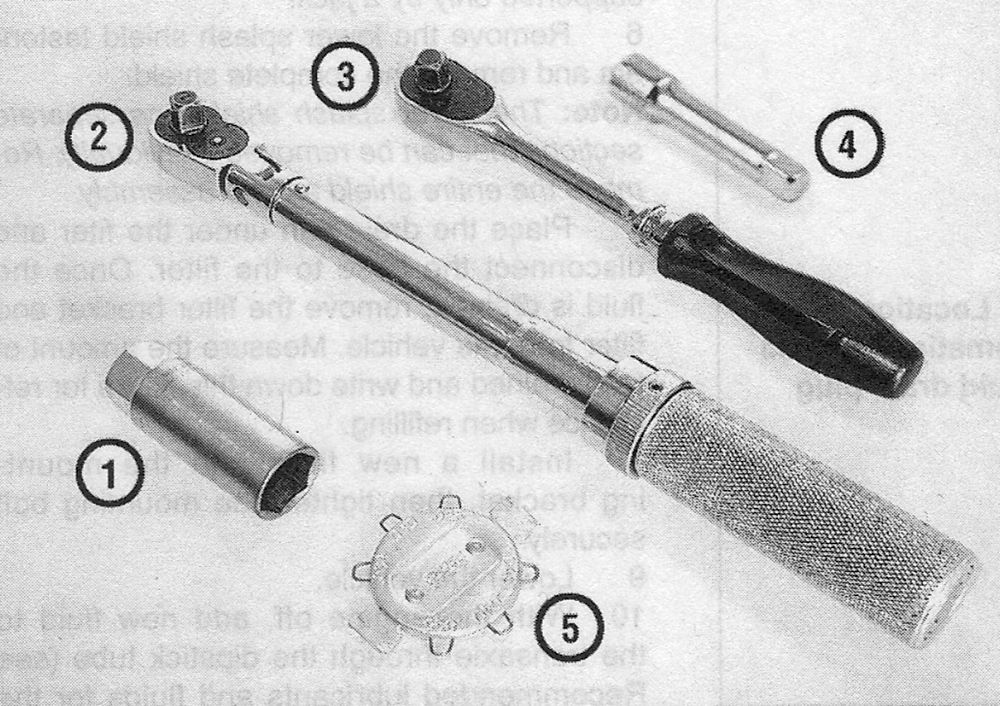
2. In most cases the tools necessary for spark plug replacement include a spark plug socket which fits onto a ratchet (this special socket is padded inside to protect the porcelain insulators on the new plugs and hold them in place), various extensions and a feeler gauge to check and adjust the spark plug gap (see illustration). Since these engines are equipped with an aluminum cylinder head, a torque wrench should be used when tightening the spark plugs.
i.2 Tools required for changing spark plugs
1 Spark plug socket — This will have special padding inside to protect the spark plugs porcelain insulator
2. Torque wrench — Although not mandatory, using this tool is the best way to ensure the plugs are tightened properly
3. Ratchet — Standard hand tool to fit the spark plug socket
4. Extension — Depending on model and accessories, you may need special extensions and universal joints to reach one or more of the plugs
5. Spark plug gap gauge — This gauge for checking the gap comes in a variety of styles. Make sure the gap for your engine is included
3. The best approach when replacing the spark plugs is to purchase the new spark plugs beforehand, adjust them to the engine. This information can be found in this Chapter’s Specifications or in your owner’s manual.
4. Allow the engine to cool completely before attempting to remove any of the plugs. During this cooling off time, each of the new spark plugs can be inspected for defects and the gaps can be checked.
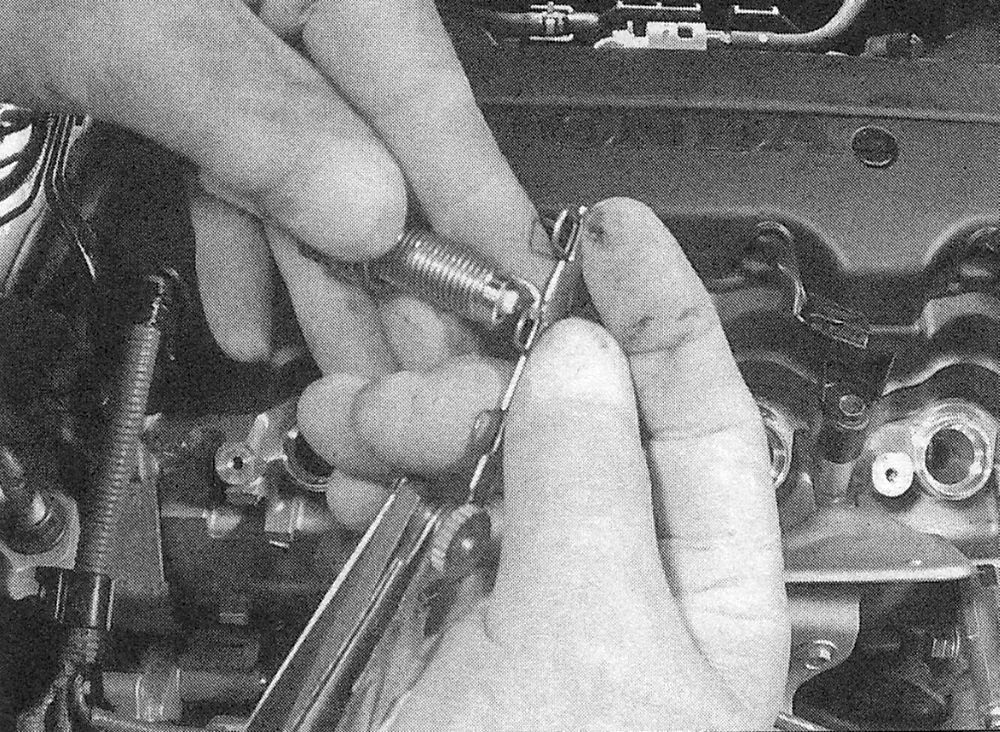
5. The gap is checked by inserting the proper thickness gauge between the electrodes at the tip of the plug (see illustration). The gap between the electrodes should be as listed in this Chapter’s Specifications or in your owner’s manual. Also check for cracks in the spark plug body (if any are found, the plug must not be used).
i.5 If the wire does not slide between the electrodes with a slight drag, the spark plug should be replaced
Caution: The manufacturer recommends against adjusting the gap on platinum- or iridium-tipped spark plugs; if the gap is out of specification, replace the plug.
6. Cover the fender to prevent damage to the paint. Fender covers are available from auto parts stores but an old blanket will work just fine.
7. Remove the ignition coils (see Engine electrical systems).
8. If compressed air is available, use it to blow any dirt or foreign material away from the spark plug area. This will eliminate the possibility of material falling into the cylinder through the spark plug hole as the spark plug is removed.
Warning: Wear eye protection!
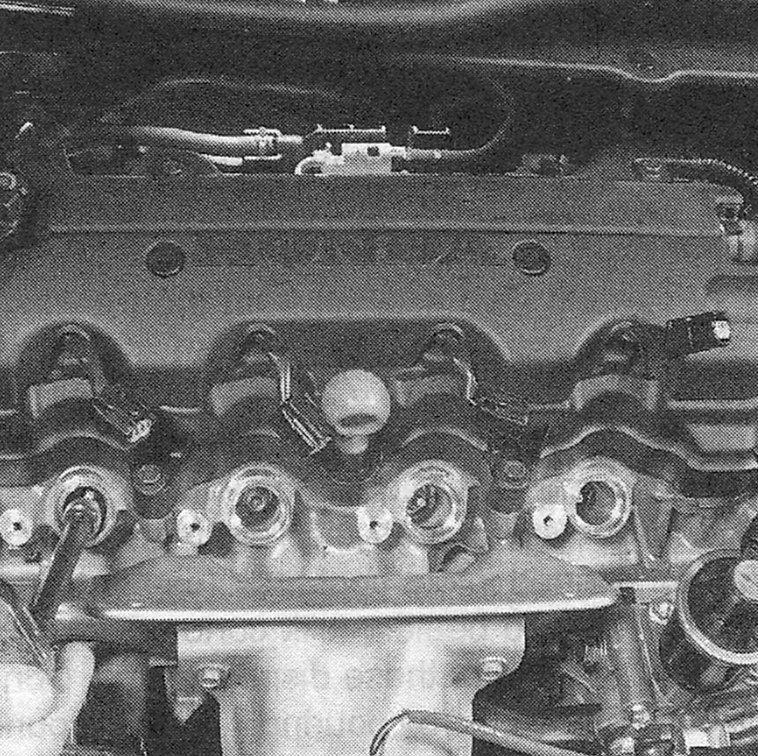
9. Place the spark plug socket over the plug and remove it from the engine by turning it in a counterclockwise direction (see illustration).
i.9 Use a ratchet and extension to remove the spark plugs
10. Compare the spark plug to those shown in the photos located on the inside back cover of this book to get an indication of the general running condition of the engine.
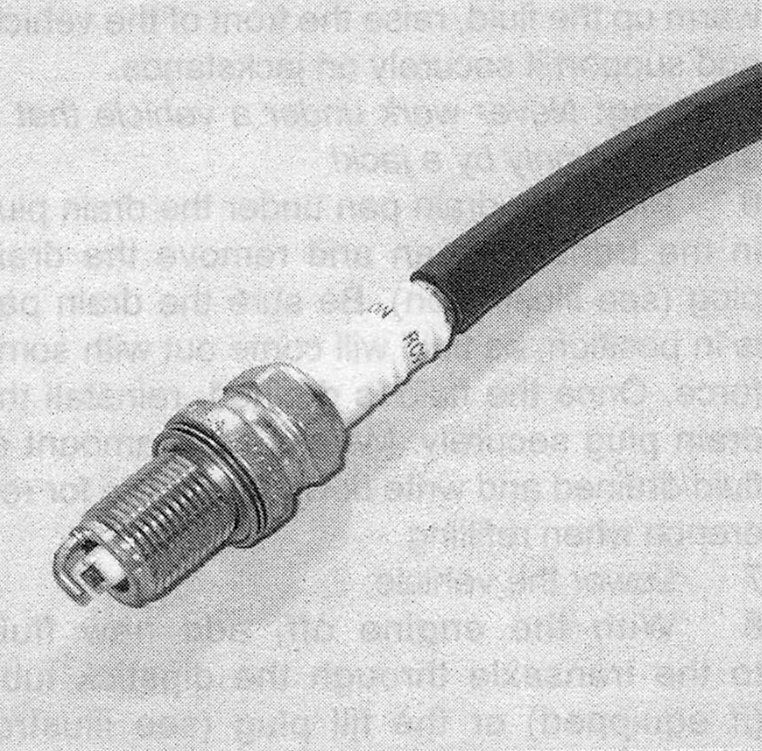
11. Apply a small amount of anti-seize compound to the spark plug threads (see illustration). Install one of the new plugs into the hole until you can no longer turn it with your fingers, then tighten it with a torque wrench (if available) or the ratchet. It is a good idea to slip a short length of rubber hose over the end of the plug to use as a tool to thread it into place (see illustration). The hose will grip the plug well enough to turn it, but will start to slip if the plug begins to cross-thread in the hole — this will prevent damaged threads and the accompanying repair costs.
i.11a Apply a thin coat of anti-seize compound to the spark plug threads
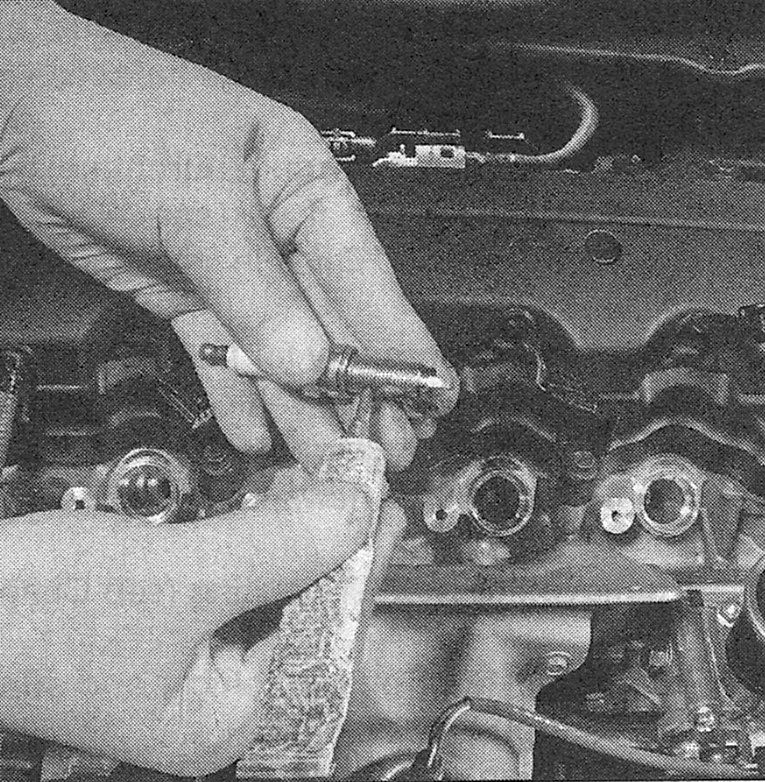
i.11b A length of snug-fitting rubber hose will save time and prevent damaged threads when installing the spark plugs
12. Attach the coil to the new spark plug using a twisting motion until it is firmly seated on the end of the spark plug. Tighten the mounting bolt securely.
13. Repeat the procedure for the remaining spark plugs.